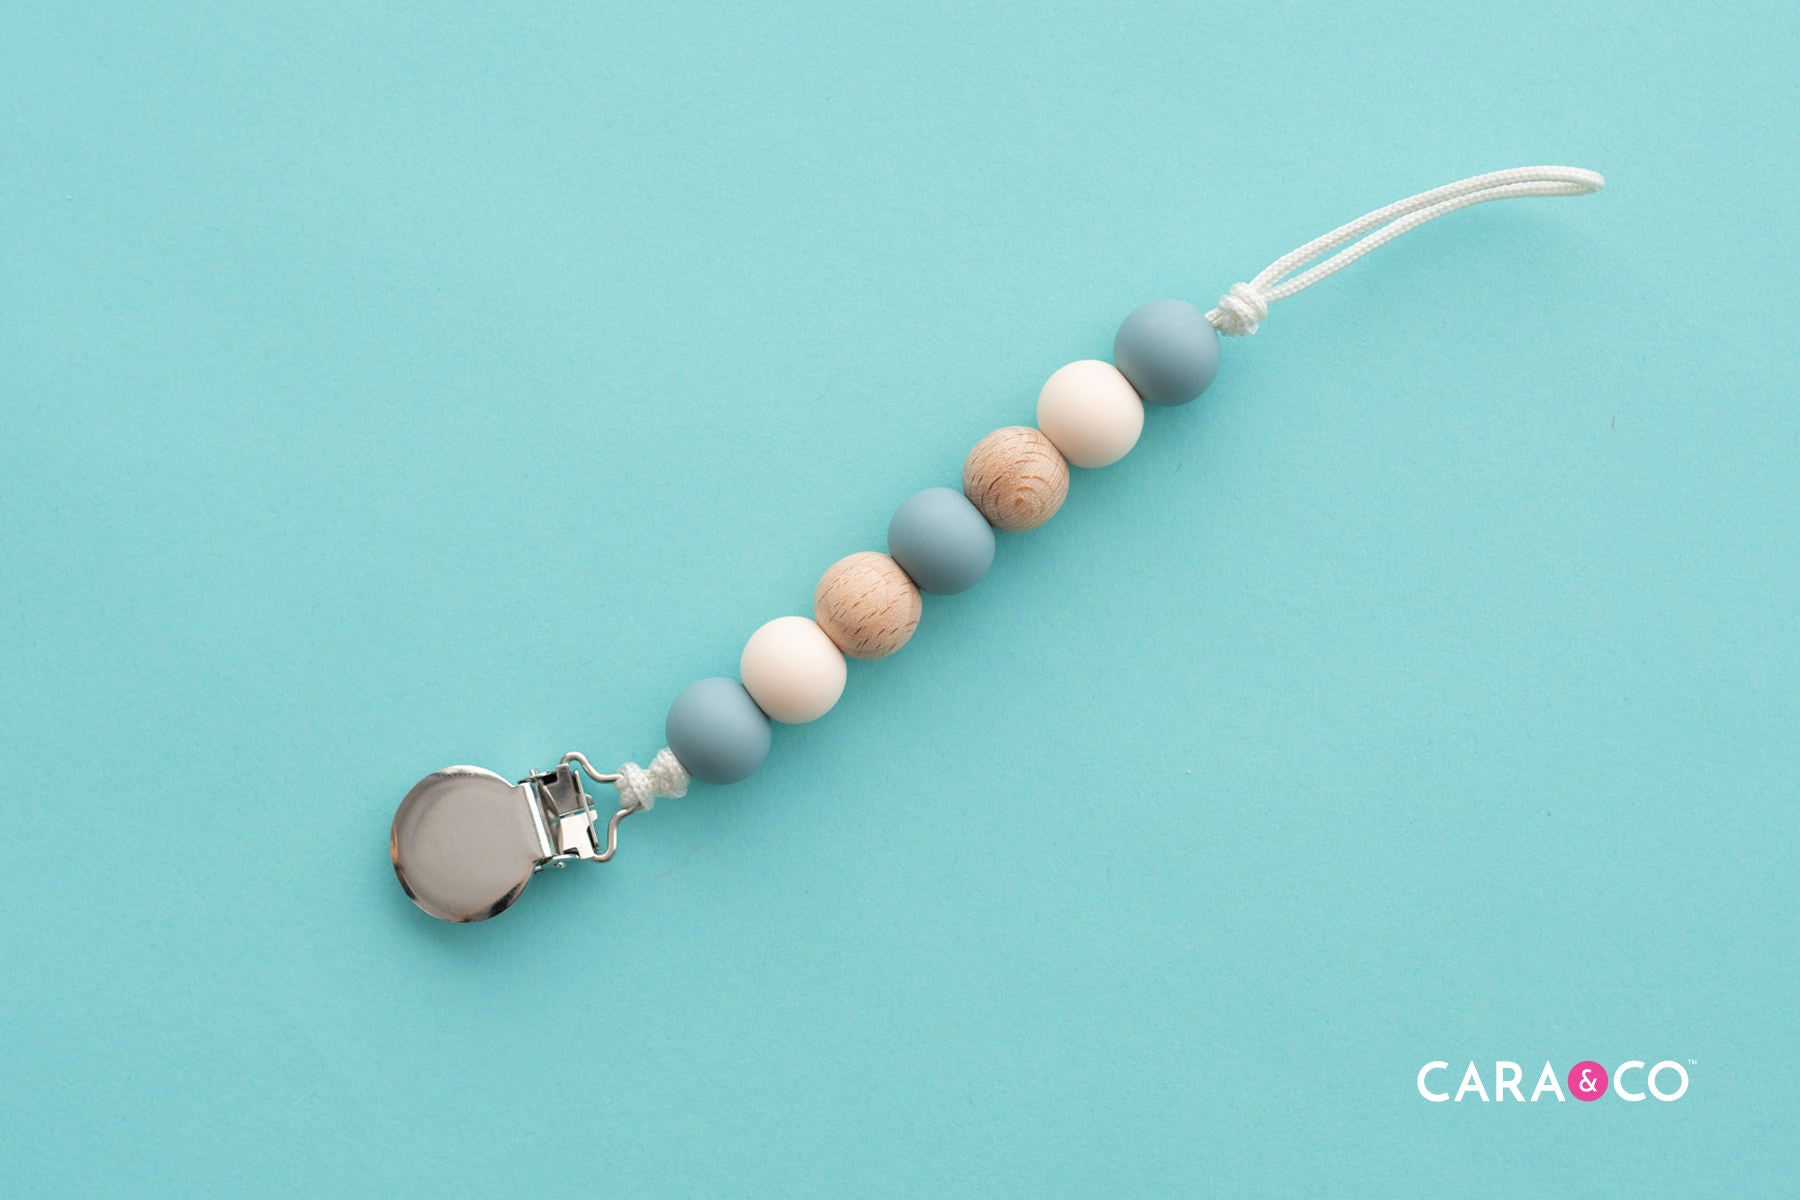
Welcome to our Pacifier Clip Tutorial- STYLE #2! This tutorial features our amazing paracord and is a popular design technique to create gorgeous, safe, and durable pacifier clips!
Supplies Needed:
- 1 x metal pacifier clip
- 7 x 15mm round beads
- 1 x 18" length of nylon paracord
- Scissors
- Lighter
- Measuring tape or ruler
- A disassembled paper clip. Take a paper clip, smooth it out, and then fold it in half.
Step-by-Step Instructions:
*Please note that the recommended length for a pacifier clip in the US is 6-8" for compliance standards.
1. Take your paracord and measure about 18" of cord. The length will vary depending on how many beads you use, but for 7 x 15mm beads this is great length!

2. Fuse the two ends of your cord together. This is done by taking both ends of the cord and melting them together really well with your lighter. You want the ends to start melting. Immediately push both ends into each other. Do this as quickly as possible. Always exercise extreme caution when doing this so that you do not burn your fingers! (To help with this, you could use a set of our Silicone Thimbles to protect your fingers). Once the cords look somewhat fused together and have cooled down slightly, rub the fused piece together with your fingers to smooth the area.


3. Take out the lighter again and lightly run the flame over the fused area, smoothing and rubbing the fusion until you feel confident that it has fused well. It is critical that you let it sit for a few minutes to really harden. The nylon cord will become like hard plastic once its fused properly.

4. This next step is important! After allowing the cord to harden, test the strength of the cord by giving it a really good pull. When you are confident with the strength of the cord, you can move on to the next step.

5. Take the cord and the clip, and loop the cord through the clip, making sure that the fused area is placed closer to the clip as you will want your beads to cover it.


6. Next, make a knot right up against the clip – this knot is an extra safety precaution to keep your beads secured and safe!

7. Take out your disassembled paper clip. The paper clip is going to act like a threading needle. Take the paper clip, loop your string through it, and start threading your beads in the order you’ve designed!


8. Once all the beads are threaded on your paracord, there will be some excess string left at the end. Create a knot tightly up against the last bead and pull it super tight. Ensure you check that the cord and clip is securely and strongly put together!


That's it! Your pacifier cord is now complete and ready to have a teether or pacifier attached!
Interested in our Pacifier Clip Tutorial Style #1? Find all the details for that tutorial here.
All of the products used in this tutorial are found on our website, so feel free to browse! We carry the largest variety of DIY teething and craft supplies in North America, so the options for your own DIY projects are endless!
Follow us on Instagram and Facebook to stay up to date on all things chewelry and crafting! When you create your own designs, be sure to tag us with #createdwithcarasupply– we’d love to see them!
xo
- the girls
*At Cara & Co, we take safety seriously. We have had our custom tutorial design above third-party tested by a CPSC accredited testing lab to ensure it meets compliance standards for Canadian (SOR/2011-17) and US (ASTM F963-17) children's pacifier clip requirements. However, this does not remove the responsibility of each customer to ensure that the products they create from this tutorial are tested and meet all relevant compliance standards.
**The products, materials, and supplies sold by Cara & Co. Silicone Craft Supply are intended for use by adults and should never be left unattended with a child.
***Small objects and beads can present choking hazards to young children. Never leave a child unattended with beads or other products. Always dispose of any damaged product. No product is completely indestructible, and fully formed teeth could potentially damage product if chewed aggressively, so responsible attentiveness is needed for any user or purchaser. Customers should always inspect and monitor their products, discontinuing use at the first sight of damage.
****Once our products have been sold and shipped to our customers, Cara & Co Silicone Craft Supply Inc., waives all responsibility and liability from the use of our products. Customers are responsible that their final products made from our supplies meet the appropriate safety requirements for their region. Our buyers understand that by purchasing our products or using suggestions from the above tutorial, the buyer assumes any and all responsibility and liability for the use of the products.
*****Cords, clasps and pacifier clips are not intended to be chewed on and may present choking hazards.
8 comments
Hi Trisa! We’ve sent you an email. Feel free to respond with any questions you have! :)
Question when I click on the supplies needed to make these for the nylon paracord and it takes me to your supplies list it says on the cord not suitable for teething or for children ? So I just want to make sure it’s not going to the wrong place or it is or isn’t safe for babies ? Only because they do tend to teeth on the beads and sometimes it pops off them and if they put the string in there mouth or anything that it isn’t going to harm them ?
Hi Diana!
Great question! All the items that you would need for this pacifier clip are hyperlinked under the “Supplies Needed” section of this tutorial. You can select the colors and styles you would like and add them to your cart!
For the teardrop wristlet you have two options! First, you can go to our tutorial and follow the hyperlinks to each item you will need. This way you can completely customize your wristlet to your preference! The second option is to go to the “Shop” tab at the top of our page, and under “Kits & More” you will find the “Kits & Bead Packs” section. We have teardrop wristlet kits there with everything you will need to make your wristlet!
How do I order the supplies for
Pacifier clip and tear drop wristlet
Hi Joanne,
Thank you for reaching out! In our YouTube video, we demonstrate how to thread the beads using a paper clip. You can find the video at the beginning of our blog post. For your convenience, here is the direct link: https://youtu.be/Zhxsr7J-pgM?si=mjY80GJnlWLuasW0
We hope this is helpful, but please don’t hesitate to reach out if you have any further questions! Xo