Fall inspo coming your way! We love the transition from Summer to all things Fall and we’re getting ready to change up our home decor!

Making your own Wood Bead Pumpkin is super fast, super easy & the cutest addition to your mantel or table decor!
Supplies Needed:
- Wired twine (as thin as you can find it!)
- Approx 130 wood beads (we used 16 of our 15mm beech wood beads on each strand)
- Faux greenery
- Wire cutters (we have a pair in our Crafting tool set)
- Hot glue gun and sticks

Step-by-Step Instructions:
1. Taking your wire cutters and wired twine, measure out a length of about 26” of wire and cut. Fold that length in half so you have a folded wire piece a total of about 13” in length.

2. Cut a total of four of these lengths.

3. At the fold point, intertwine your wire sections so that they all hook together. Your shape should look similar to the spokes of a wheel. Twist each twine wire section at the base to keep them from coming apart.


4. Spread out your sections on the table in front of you so that you have 8 evenly spaced wires. Begin to thread your wood beads onto the wire. The best fit for our twine wire was the 15mm wood beads in beech!
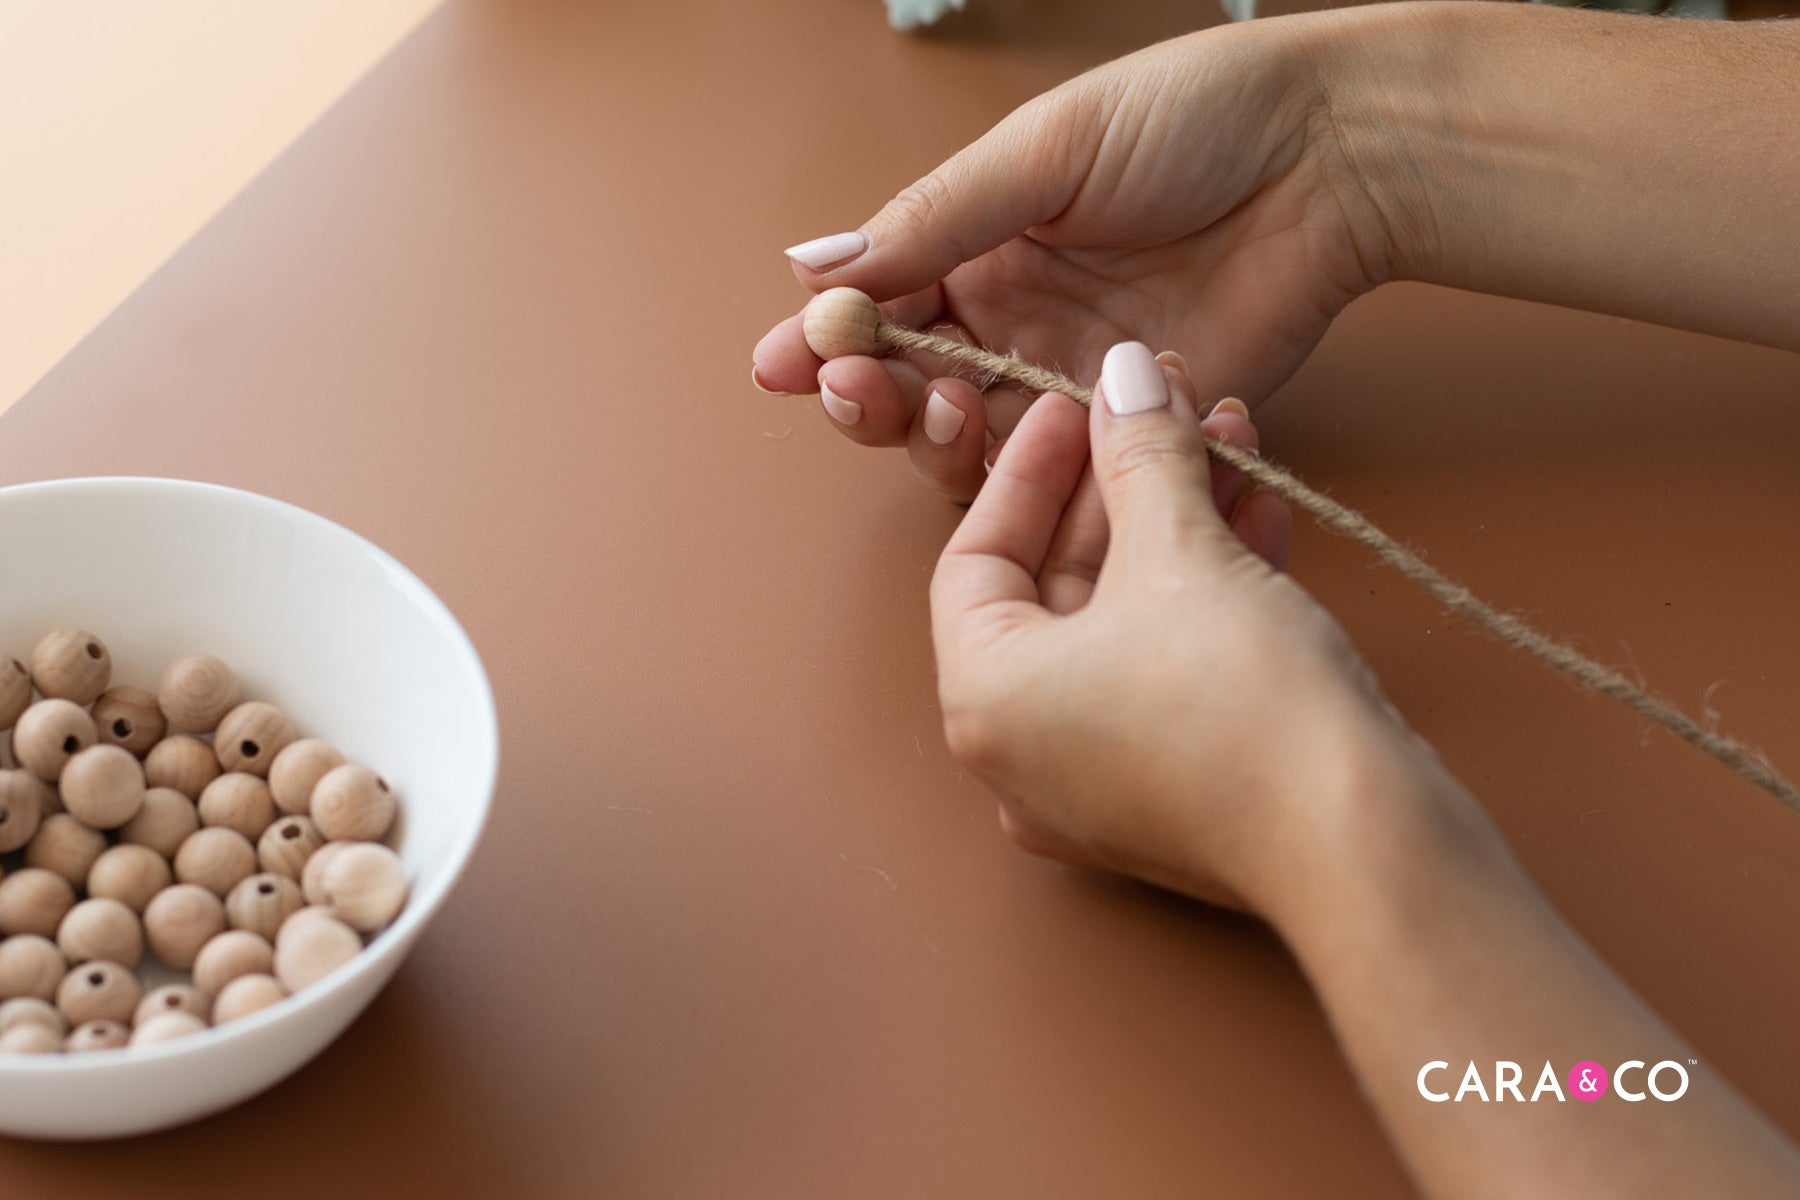
5. Thread on 16 beads (or as many as you like the look of) on each wire.

6. At the end of your beads, bend the wire to a right angle. This will keep the beads in place while you assemble your pumpkin, and help make the shape of the stem.

7. Pulling opposite sides together, twist your twine wires together. Go around the entire pumpkin until all your wires are twisted together into the stem. You can also hot glue them together if you prefer that look! We felt the twisted stem looked more realistic to us :)

8. Cut out a few greenery leaves and hot glue them in place.


You’re all done! All you need now is a Pumpkin Spice Latte, and you’re set for fall ;)

As always, we L O V E to see your creations! If you tried this tutorial, make sure that you tag us on Instagram using our hashtag #createdwithcarasupply.
Happy Crafting!
Xo
- the girls
*The products, materials, and supplies sold by Cara & Co. Silicone Craft Supply are intended for use by adults and should never be left unattended with a child.
***Small objects and beads can present choking hazards to young children. Never leave a child unattended with beads or other products. Always dispose of any damaged product. No product is completely indestructible, and fully formed teeth could potentially damage product if chewed aggressively, so responsible attentiveness is needed for any user or purchaser. Customers should always inspect and monitor their products, discontinuing use at the first sight of damage.
****Once our products have been sold and shipped to our customers, Cara & Co Silicone Craft Supply Inc., waives all responsibility and liability from the use of our products. Customers are responsible that their final products made from our supplies meet the appropriate safety requirements for their region. Our buyers understand that by purchasing our products or using suggestions from the above tutorial, the buyer assumes any and all responsibility and liability for the use of the products.
*****Cords, clasps and pacifier clips are not intended to be chewed on and may present choking hazards.
4 comments
Hello Deb!
We are so glad you enjoyed the tutorial! Happy crafting! Xo
I can’t wait to try this! Thanks for posting such detailed instructions and photos. It’s not a difficult project, but it’s always nice to see exactly how you did it!
Hello Deb!
We are so glad you enjoyed the tutorial! Happy crafting! Xo
I can’t wait to try this! Thanks for posting such detailed instructions and photos. It’s not a difficult project, but it’s always nice to see exactly how you did it!