What could be more fun for a parent, than a toy that is both functional and relieving for their teething child?! This teether toy rattle meets so many different developmental stages for your precious littles. From bright colored, chewable beads, to natural beech wood rings that create a lovely rattling sound, this entire toy is such a sensory gift! And best of all, it's easy to make and customize.
Supplies Needed:
- 1 x 60” white regular cord
- 10 x 19mm round beads
- 2 x 2.35" Beech wood ring
- 1 x Crafting needle
Step-by-Step Instructions:
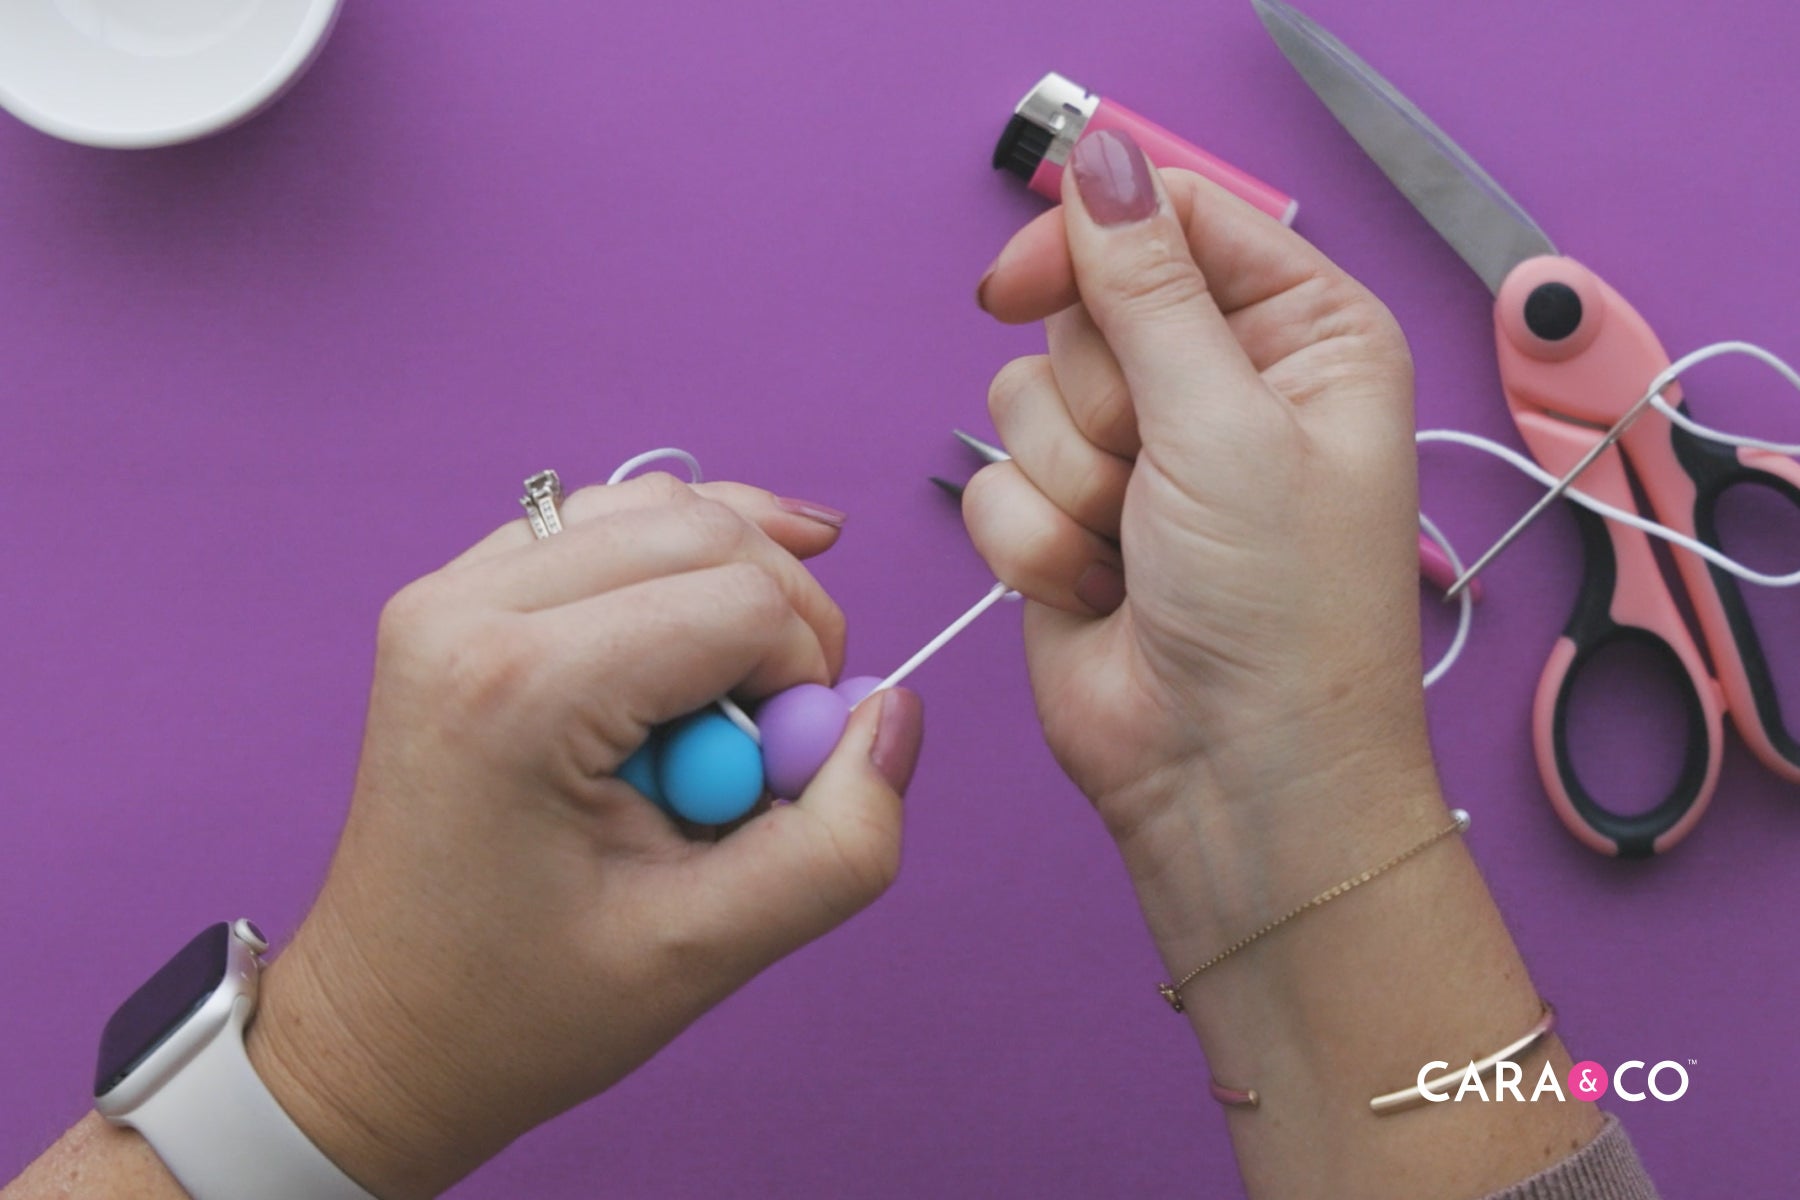
1. Melt one end of the nylon cord – this prevents fraying when you begin beading.
2. Begin stringing your beads in preferred order of colour.

3. Once all of the beads are strung, slide the wood rings onto the beaded cord.

4. Knot the cord tightly between two beads. Ensure that when you begin knotting, you have kept the beads on the cord as tightly together as possible. Pull the knot tight. Then double knot for extra safety.

5. Take your lighter and run it over your double knot to slightly melt it.

6. Once the knot is cool, thread one of your strings with your crafting needle. Carefully thread your needle through one of the beads beside your current double knot. (You may need pliers to help you get the needle through!)

7. Pull your threaded cord all the way through that bead, carefully pulling your knot into that bead to hide it. You should have a string on each side of this bead.

8. Taking that same threaded string, keep threading it through the next five beads.

9. Carefully place your needle on your other string, and thread it through the beads in the opposite direction until you meet up with your first string.

10. Tie a tight double knot. Take your lighter and run it over your double knot to slightly melt it.


11. Thread one of your strings back onto your needle and carefully thread it through one of the beads next to your knot. Pull the knot into the bead.
12. Trim the ends of your string that are coming out of your bead. Fuse the ends of the string to prevent fraying.


Just like that, your teether toy is completed and ready for you little one to enjoy. The strong beech rings provide an extra element of fun as they rattle against each other! We are sure it will be your child’s favorite toy right away!

Happy Crafting! We would love to see the combinations you make! Send us your photos by tagging us with the hashtag #createdwithcarasupply
xo
-the girls
*At Cara & Co, we take safety seriously. We have had our custom tutorial design above third-party tested by a CPSC accredited testing lab to ensure it meets compliance standards for Canadian (SOR/2011-17) and US (ASTM F963-17) children's toy requirements. However, this does not remove the responsibility of each customer to ensure that the products they create from this tutorial are tested and meet all relevant compliance standards.
**The products, materials, and supplies sold by Cara & Co. Silicone Craft Supply are intended for use by adults and should never be left unattended with a child.
***Small objects and beads can present choking hazards to young children. Never leave a child unattended with beads or other products. Always dispose of any damaged product. No product is completely indestructible, and fully formed teeth could potentially damage product if chewed aggressively, so responsible attentiveness is needed for any user or purchaser. Customers should always inspect and monitor their products, discontinuing use at the first sight of damage.
****Once our products have been sold and shipped to our customers, Cara & Co Silicone Craft Supply Inc., waives all responsibility and liability from the use of our products. Customers are responsible that their final products made from our supplies meet the appropriate safety requirements for their region. Our buyers understand that by purchasing our products or using suggestions from the above tutorial, the buyer assumes any and all responsibility and liability for the use of the products.
*****Cords, clasps and pacifier clips are not intended to be chewed on and may present choking hazards.