
Supplies Needed:
- Metal Soother clip with a 25mm attached ring (hooked ends will not work with this particular tutorial)
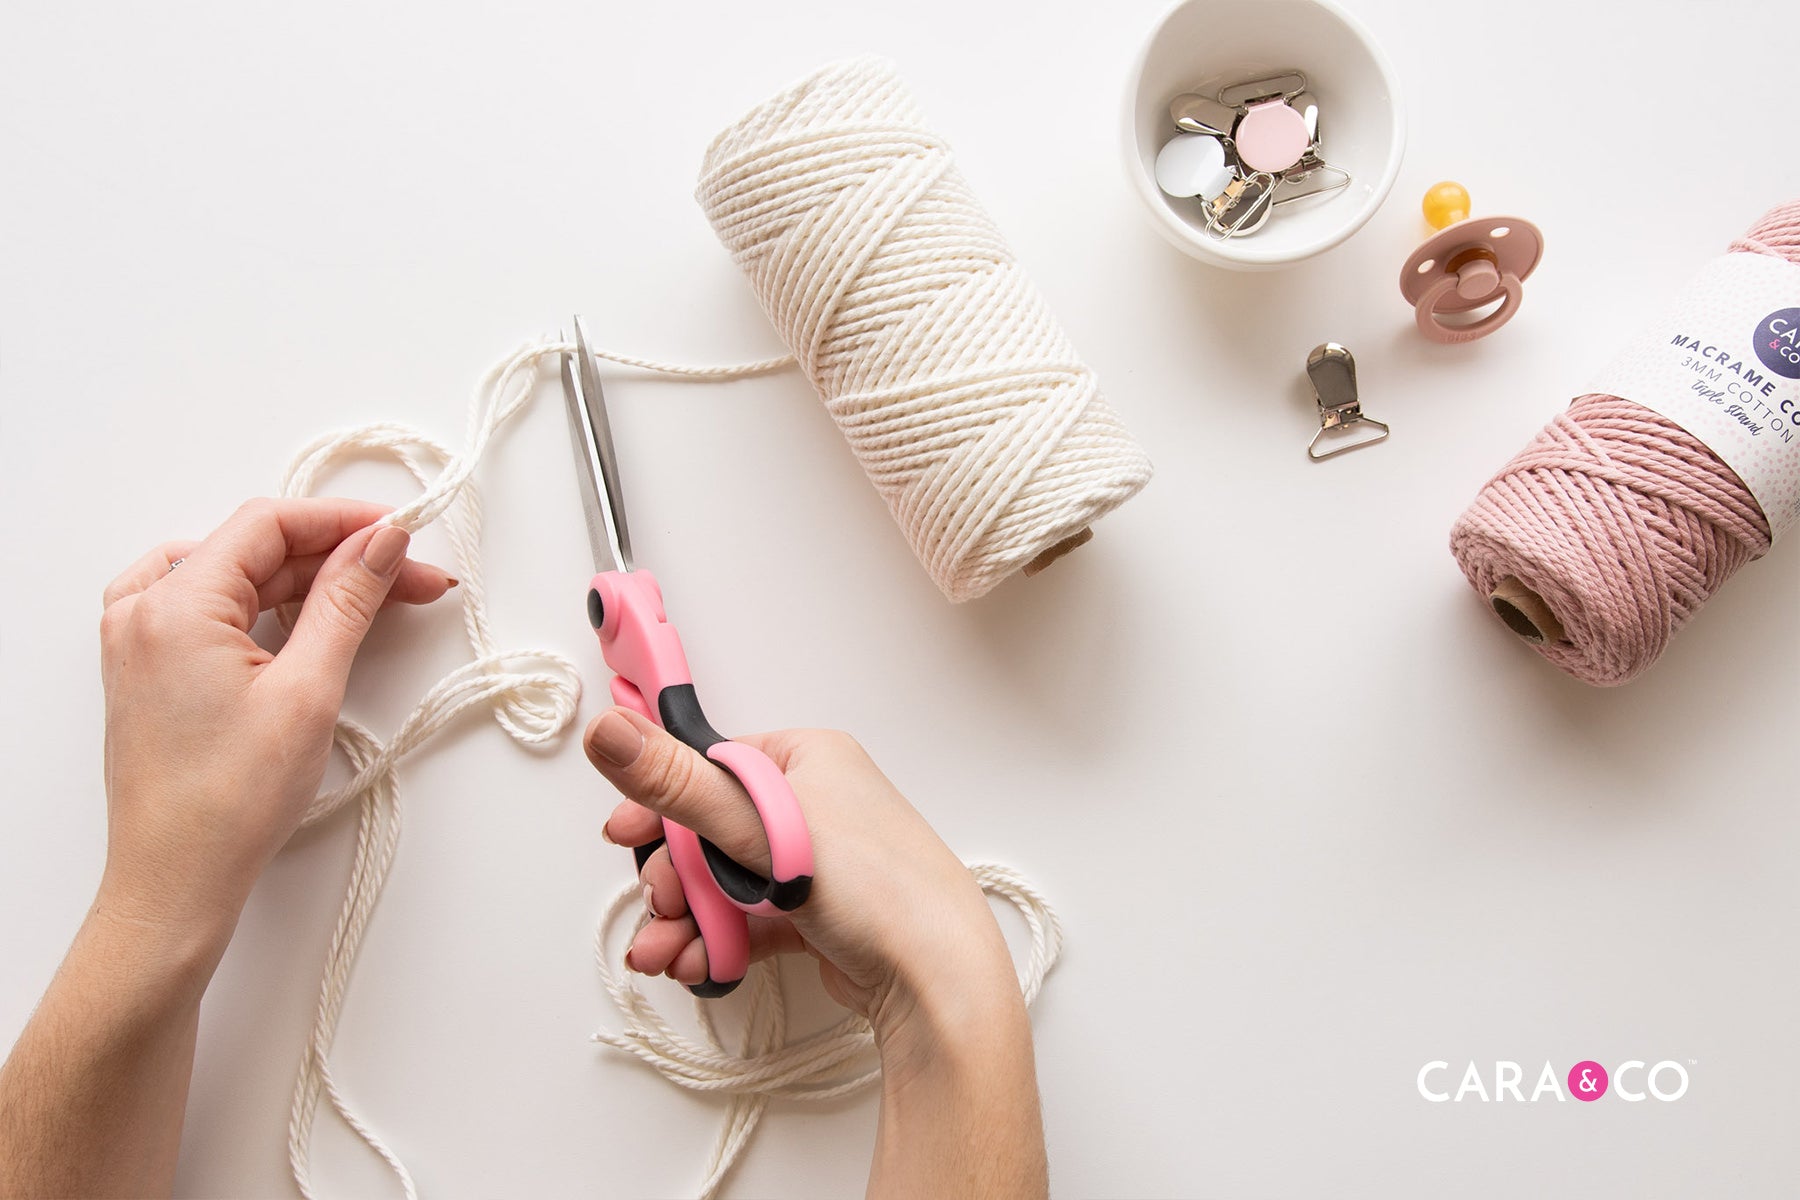
- 3 strands of Macrame measured to 60” long
- Sharp scissors
Optional Supplies:
- Clipboard
- Metal paper clip
Should you want to purchase just enough macrame to try this tutorial, you’re in luck!! We have launched Macrame Pacifier DIY KITS on our website for you! This kit comes in our three most popular colors and includes the supplies from our shop to make your very own pacifier clip!
Step-by-Step Instructions:
1. Measure out your Macrame and cut 3 lengths 60” long.

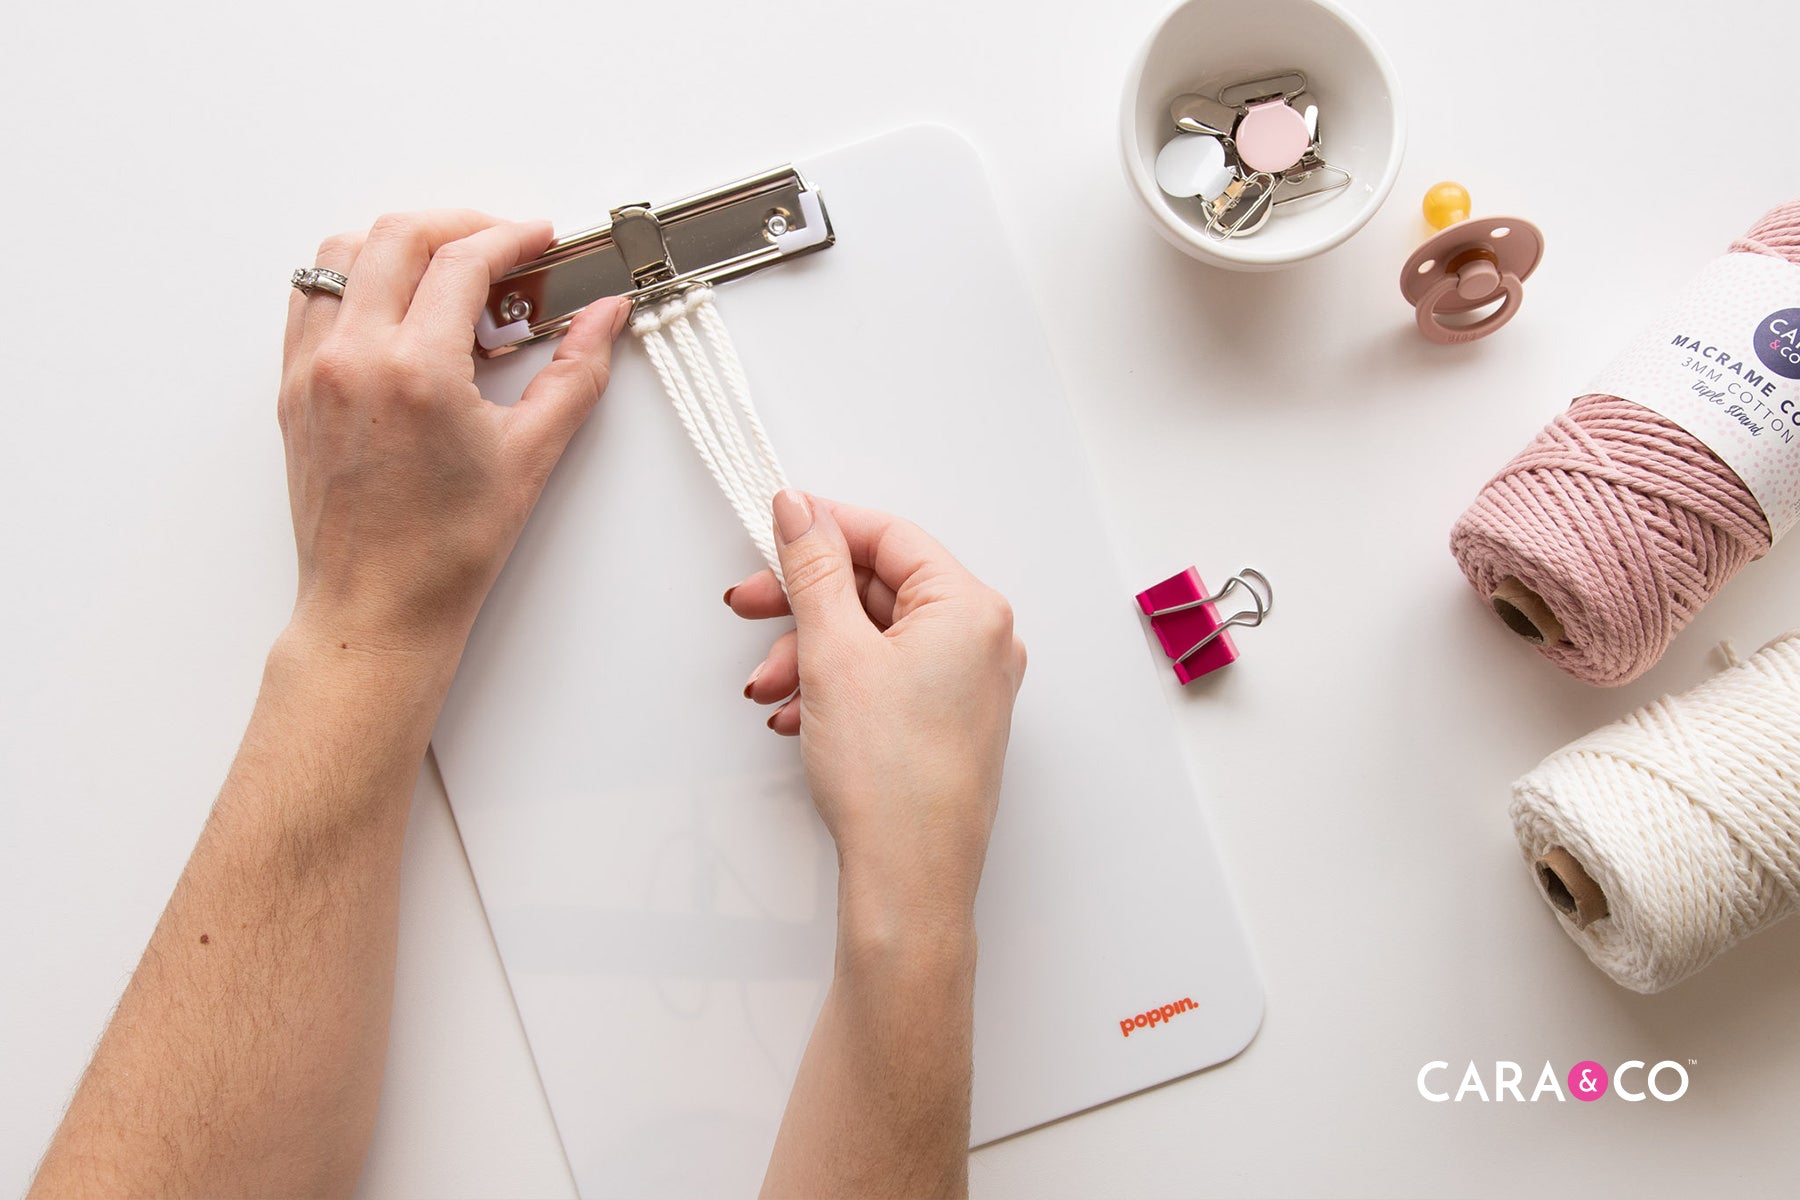
2. Fold your macrame in half. At the halfway point, loop your strands on to your soother clip ring using a Hitch Knot. A Hitch Knot is simply pushing your loop through the middle of the soother clip ring, and threading the long ends back through the loop on the other side of the clip ring. Repeat this 3 times until all your strands are on the ring together.


3. Snug your knots up to the ring and make sure the knots are pushed close together on the ring. Straighten out your strings.

4. If using a clipboard and paper clip to help keep your strands straight, simply hold the soother clip in the board clip. Take your two outside strands and push them off to the sides. Taking your paper clip, clip down the remaining four middle strands to the bottom of the clipboard. This will help you keep your strings taught while you do your knots.

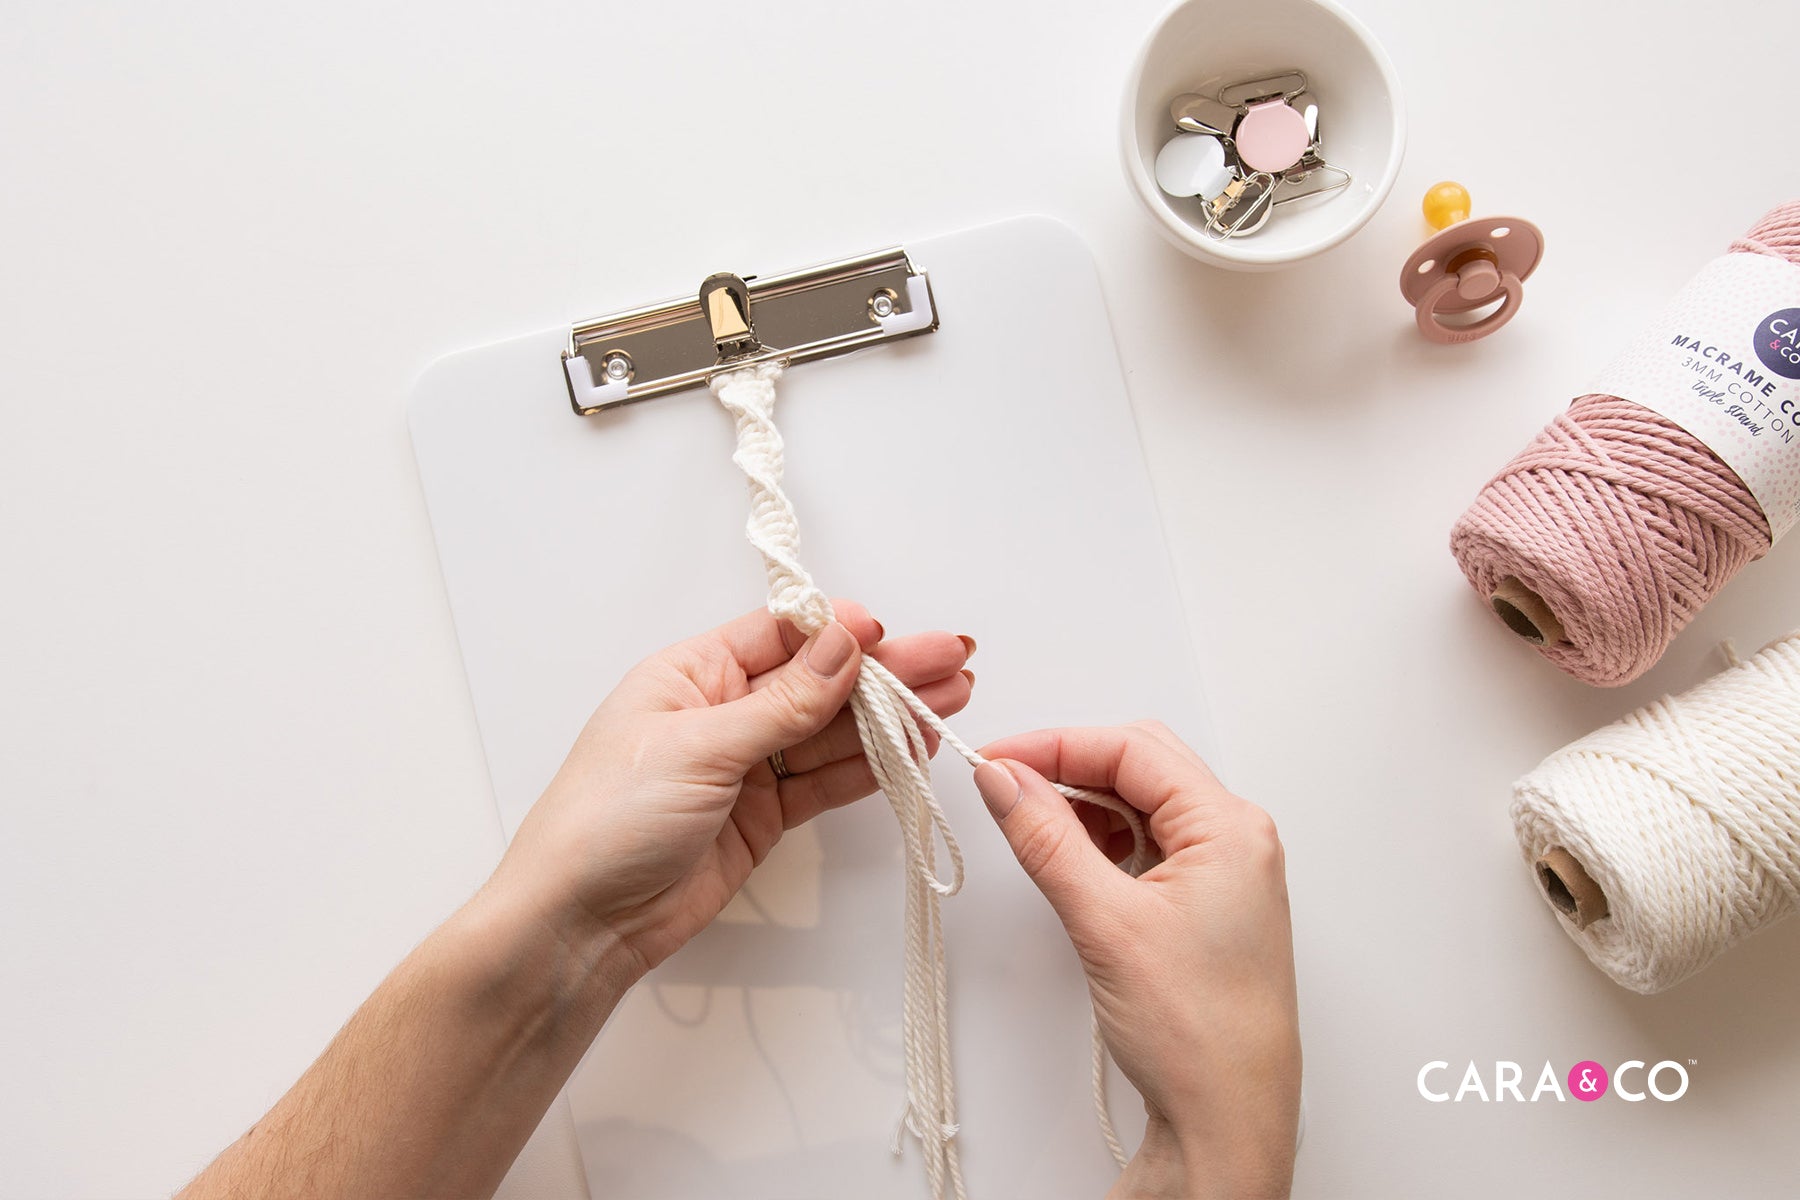
5. Using the two outside strands, begin to macrame using a Half Square Knot. To make a Half Square Knot, take your left strand and lay it over the middle strands. Take your right strand and pass it over the crossing left strand, behind the middle strands, and through the loop created on the left.


6. Pull your strands tight to cinch the knot up. Repeat this knot 25 times. Your knot will begin to twist as you go.

7. Once you have 25 knots, your soother clip design should be about 3” long. We recommend this length, but you can make your clip longer if you prefer. If making a longer soother clip, you will need to add length to your original 3 strands. Be sure that the length you choose won’t be a safety or strangulation hazard.

8. Unclip your paper clip if using. Lay your strings flat and find a middle strand that comes from the middle Hitch Knot at the top (on the clip). This will ensure that the design doesn’t unravel and that all pull stress will be directly connected to the soother clip. Pull this strand from the middle and off to the side, gathering your other strands together separately.


9. Finish your design with a Gather Knot. To make this knot, find a middle strand from one of the middle knots on the clip. Make a loop down alongside your extra strands about 3” long. Bring it back up towards the bottom of your Half Square Knot design and leave a small loop at the top. Bring this working end back down.


10. Using your working end and holding all your remaining strands together, wrap your strand around the loose ends. The point that you begin wrapping will be the bottom of your knot, so place it in the spot that you’re happy. Your Gather Knot should be at least 1” long to ensure the strings are properly tied off.

11. Wrap upwards, maintaining a very tight tension until you reach the bottom of your macrame knots, without covering up the small loop. Take the working end and pass it through the little loop left at the top.


12. Holding your Gather Knot securely in one hand, begin to pull down on your long loop left out at the bottom with your other hand. One side of this loop will start to close the small loop at the top of your Gather Knot and slowly pull it into the wrapped portion, creating a small tie inside the Gather Knot. Once you can no longer see the knot, you’ve pulled far enough! You’ll be able to see where this knot is because of a slight bulge in your Gather Knot.


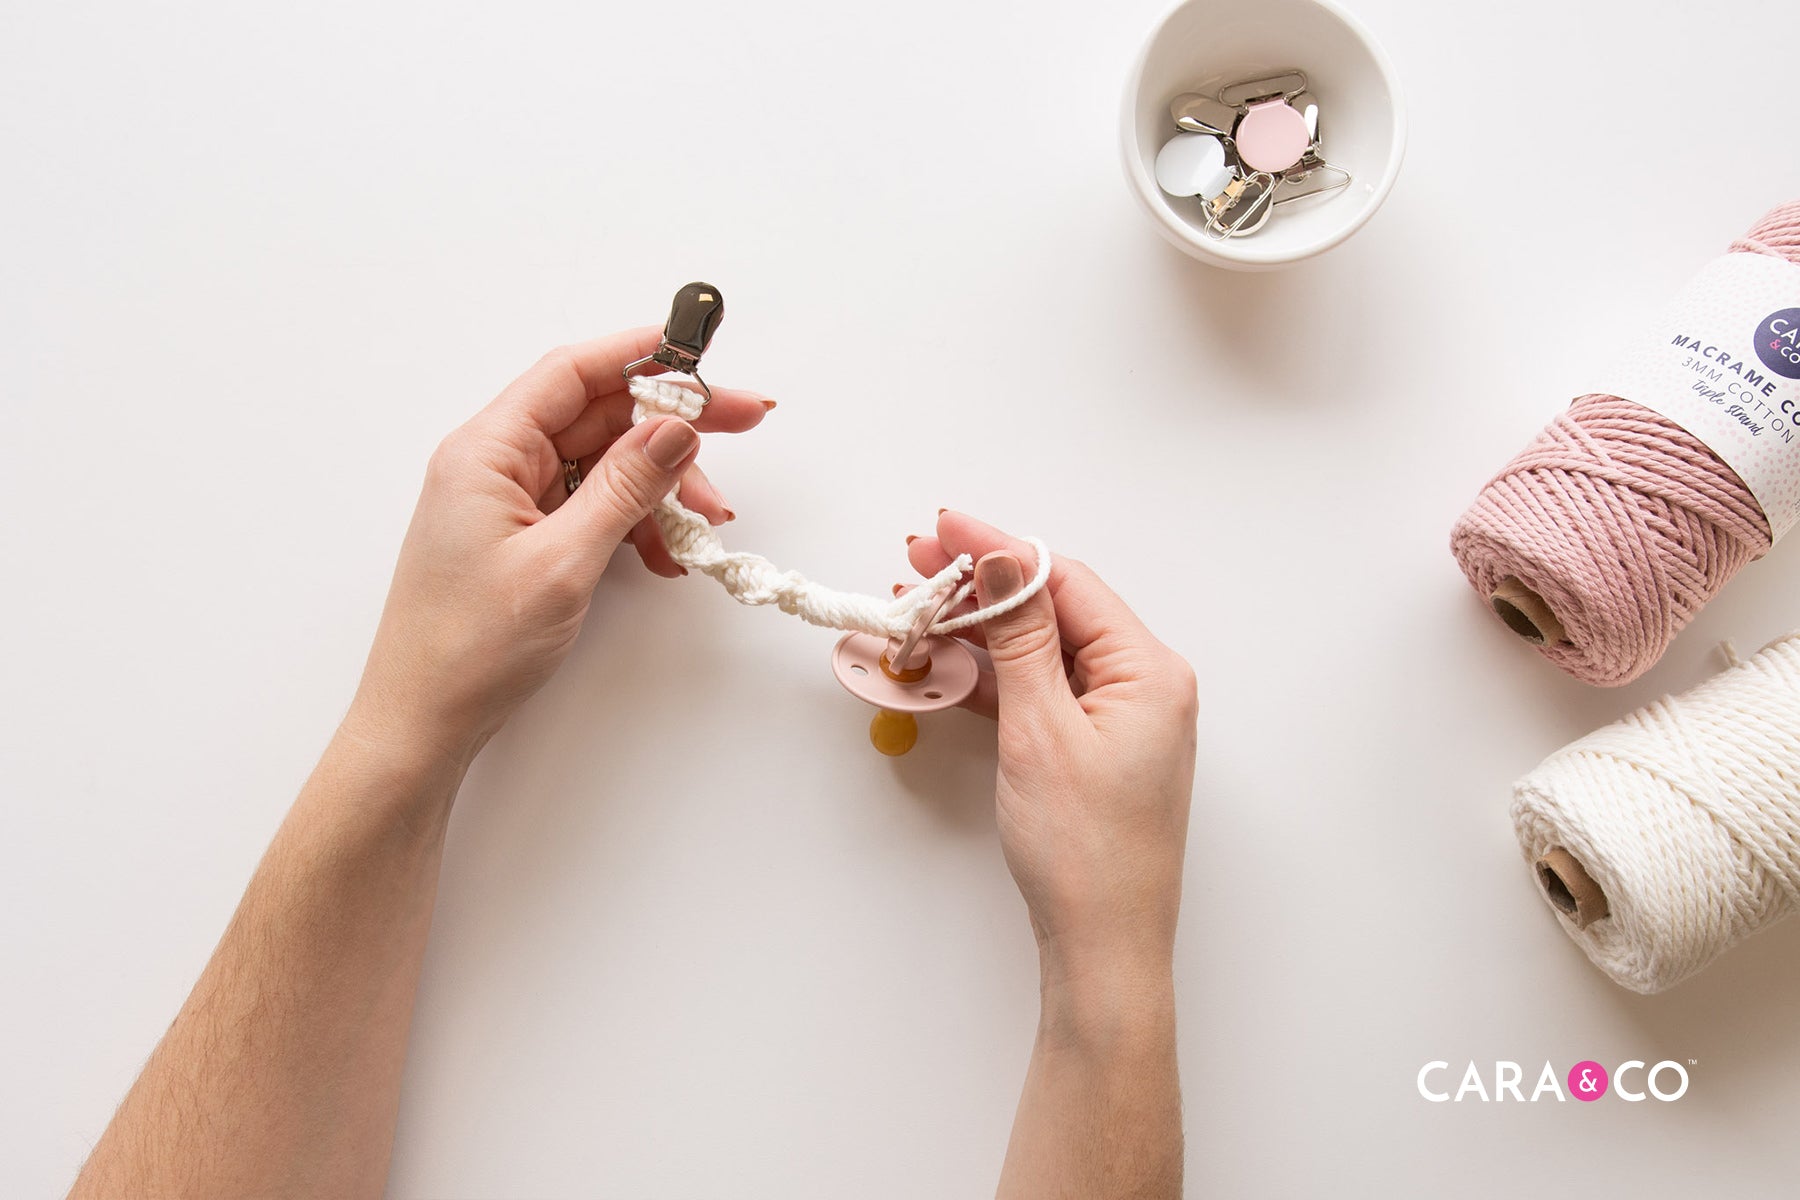
13. Take your looped end and simply secure a loop knot at the base. This extra knot will keep your soother clip from unraveling if it was pulled aggressively.


14. Trim up your loose ends to how you prefer them. You can either keep them out or trim them back, whatever you prefer! You can also choose to brush out your ends if you like the tassel ends to be fluffy looking!


15. Attach your favorite pacifier by looping the end onto the handle of a pacifier.


Make sure you tag us in your creations using the hashtag #createdwithcarasupply!
Happy Crafting!
Xo
-the girls
**The products, materials, and supplies sold by Cara & Co. Silicone Craft Supply are intended for use by adults and should never be left unattended with a child.
***Small objects and beads can present choking hazards to young children. Never leave a child unattended with beads or other products. Always dispose of any damaged product. No product is completely indestructible, and fully formed teeth could potentially damage product if chewed aggressively, so responsible attentiveness is needed for any user or purchaser. Customers should always inspect and monitor their products, discontinuing use at the first sight of damage.
****Once our products have been sold and shipped to our customers, Cara & Co Silicone Craft Supply Inc., waives all responsibility and liability from the use of our products. Customers are responsible that their final products made from our supplies meet the appropriate safety requirements for their region. Our buyers understand that by purchasing our products or using suggestions from the above tutorial, the buyer assumes any and all responsibility and liability for the use of the products.
*****Cords, clasps and pacifier clips are not intended to be chewed on and may present choking hazards.
12 comments
Hi Miranda!
Thanks so much for your request! Xo
Hi there, I would also like to see a video of this!
Hey Kirstley!
Thanks so much for your request. Your feedback is so helpful! This is a high priority on our customer wish list. Xo
I second a request for a video please!!! I feel like there’s so many strands that being able to play and pause a video would be great for those of us who have not done any macrame before!
Hi Michaela!
Thanks for reaching out :) we don’t have a video tutorial for this at the moment but we can add it to our wish list, stayed tuned!
Xo