
If you love round teething balls as much as we do, this tutorial is for you! We would label this tutorial as ‘intermediate level’!
Looking to make a fun teething toy combining a few less commonly used supplies? Pull up a chair!
Supplies Needed:
- 51x 12mm Round Silicone Beads
- 2x Teething Rings
- 1x 60” Regular Cord
- Lighter
- Scissors
- Pliers (can be purchased as part of our Crafting Tool Set)
- Crafting Needle

Step-by-Step Instructions:
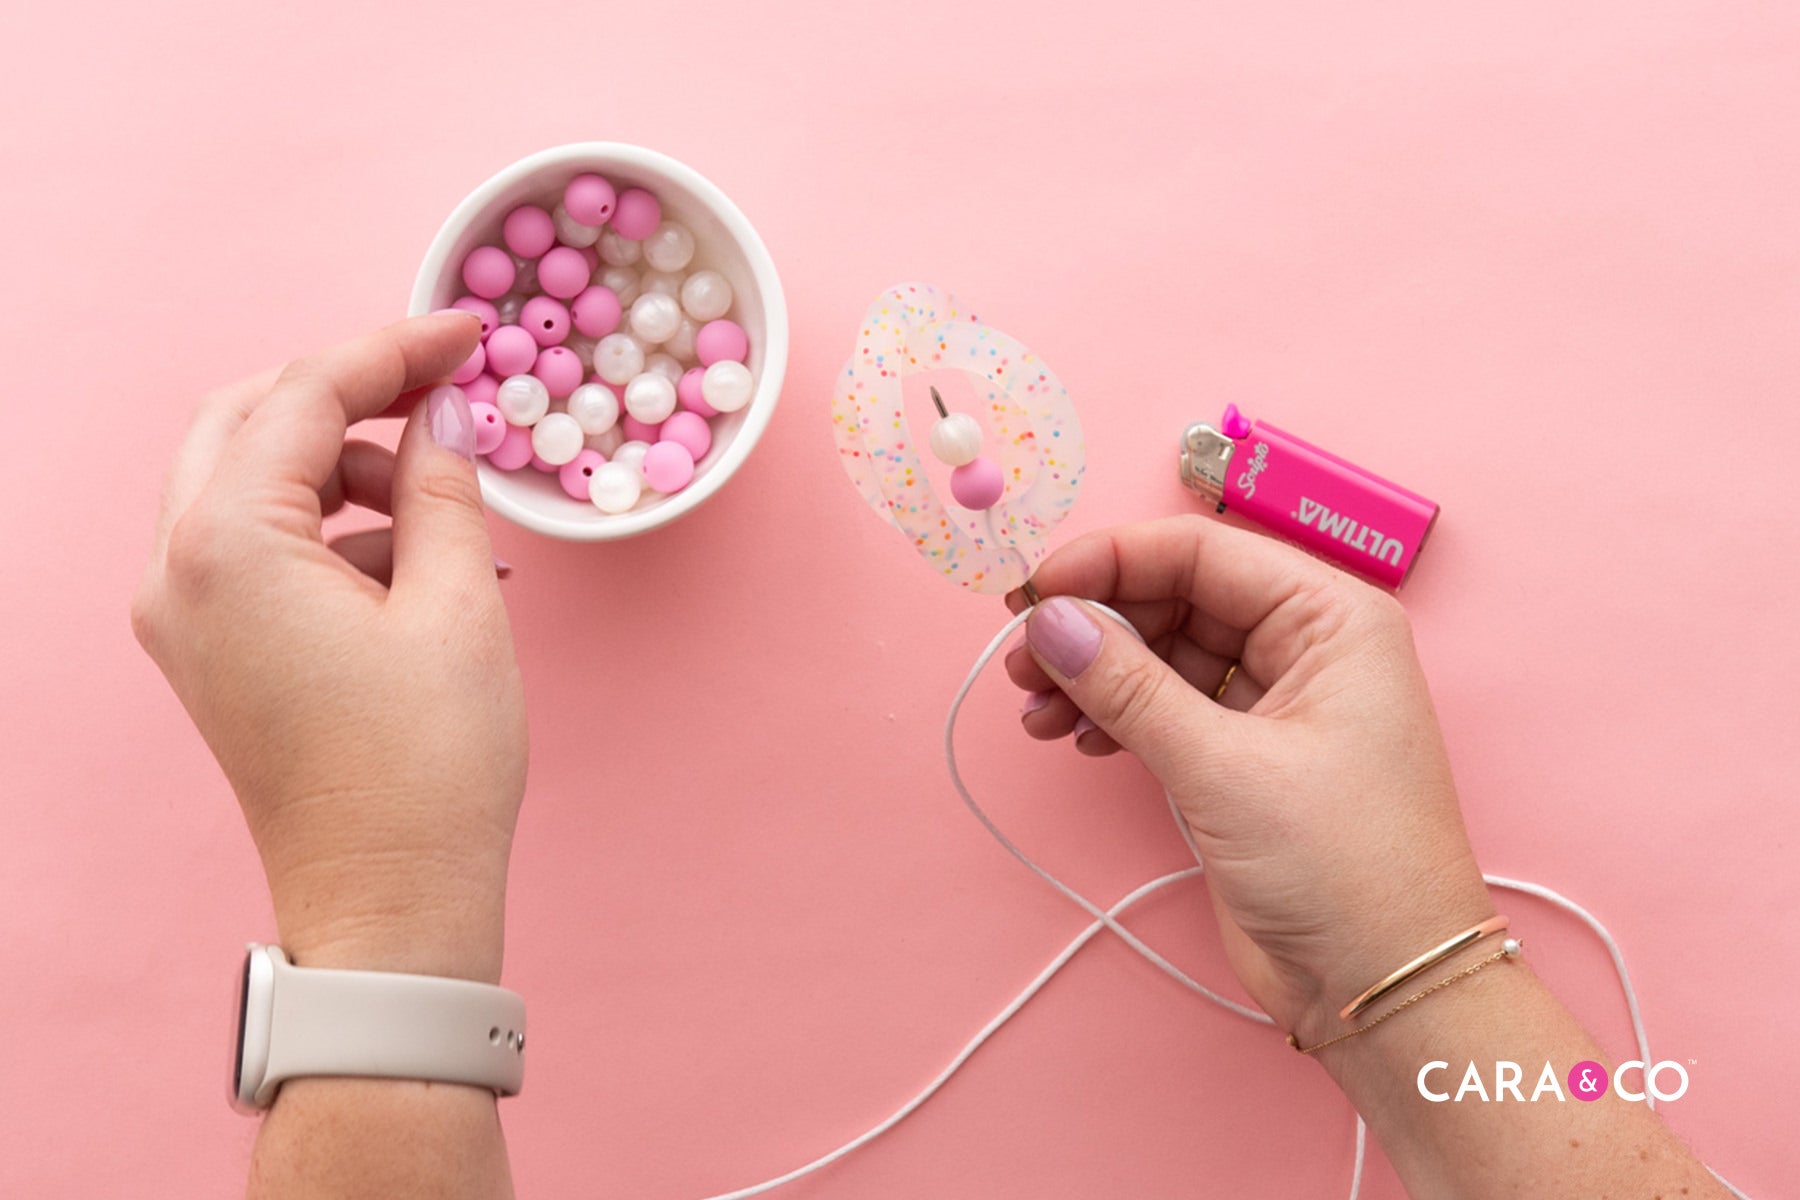
1. Taking both ends of the cord, lightly melt them to prevent fraying and to make threading your beads on easier. Carefully thread your needle onto one end of the cord.

2. Place one teething ring inside the other, lining up the holes. Insert the needle into the bottom two holes of the teething rings.


3. Place three of your 12mm Round Silicone beads onto your needle and continue threading the needle through the top two holes of your two teething rings. Because the needle is about the same length as this entire teething ring section, you will need to squish the teething rings down on a hard surface to help push the needle through and grab it with your pliers. Continue to pull the cord through until you have about 10” left on the one end of the cord.


4. On your longer end of cord, thread on twelve of your 12mm round silicone beads. Insert your needle back into the bottom of your teething ring section (where the 10” length comes through), pushing it all the way through the teether.

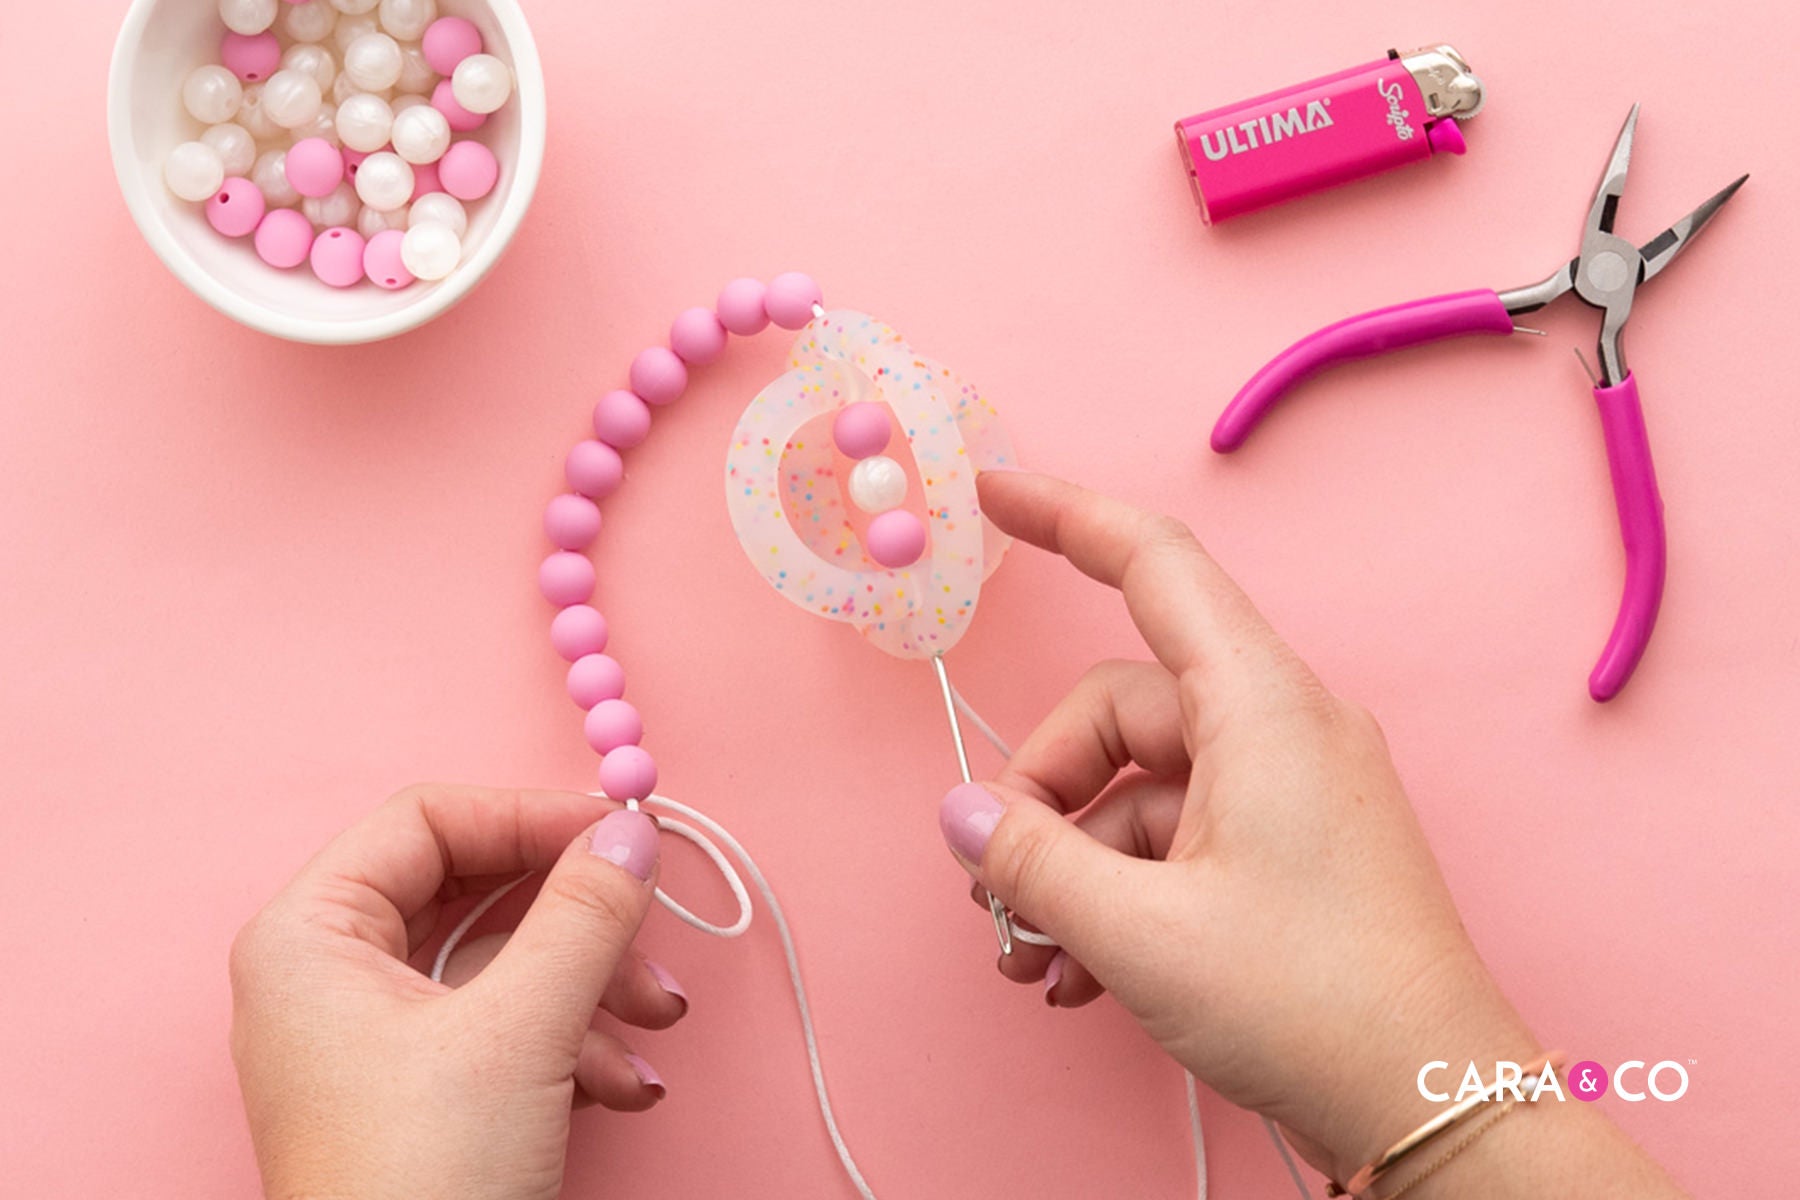

5. Pull tightly on both ends of your cord, and position this beaded loop in between two of the teething ring loops.

6. Add two more beaded loops by repeating steps 4 & 5, making sure to pull tightly on both ends of the cord between each additional loop.


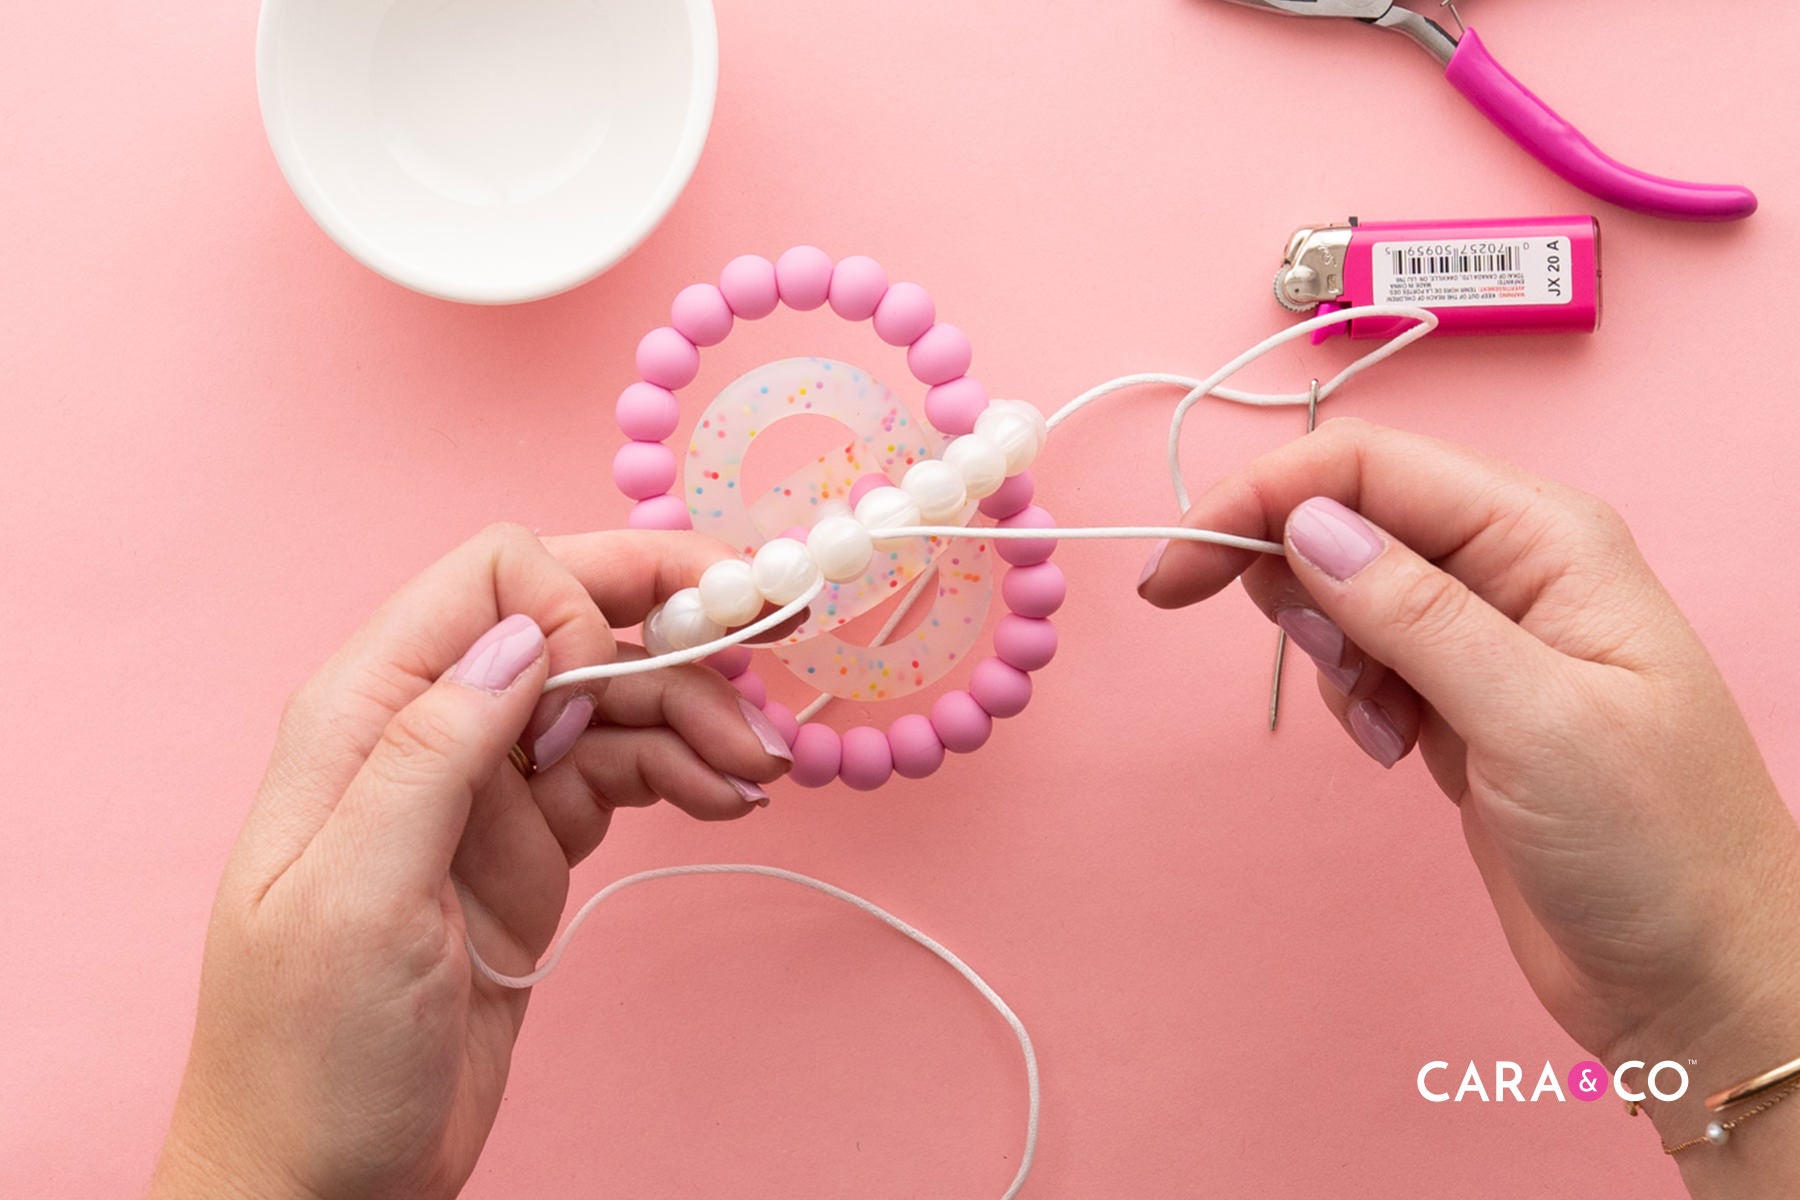
7. Thread the last twelve 12mm silicone beads onto the remainder of your long cord and your 10” cord length. You should have six beads on either cord.

8. Tie a double (or triple!) knot. Lightly melt the knot with your lighter.

9. Thread your crafting needle onto one end of the cord, and thread the needle through one of the silicone beads beside your knot. Pull the knot into the middle of the bead. (You might need pliers to help pull the needle through.) You should have a cord on either side of the bead.

10. Trim both ends of the cord, and lightly melt the ends to prevent fraying. (If you need, you can tuck the melted ends into the adjacent beads to hide them.)


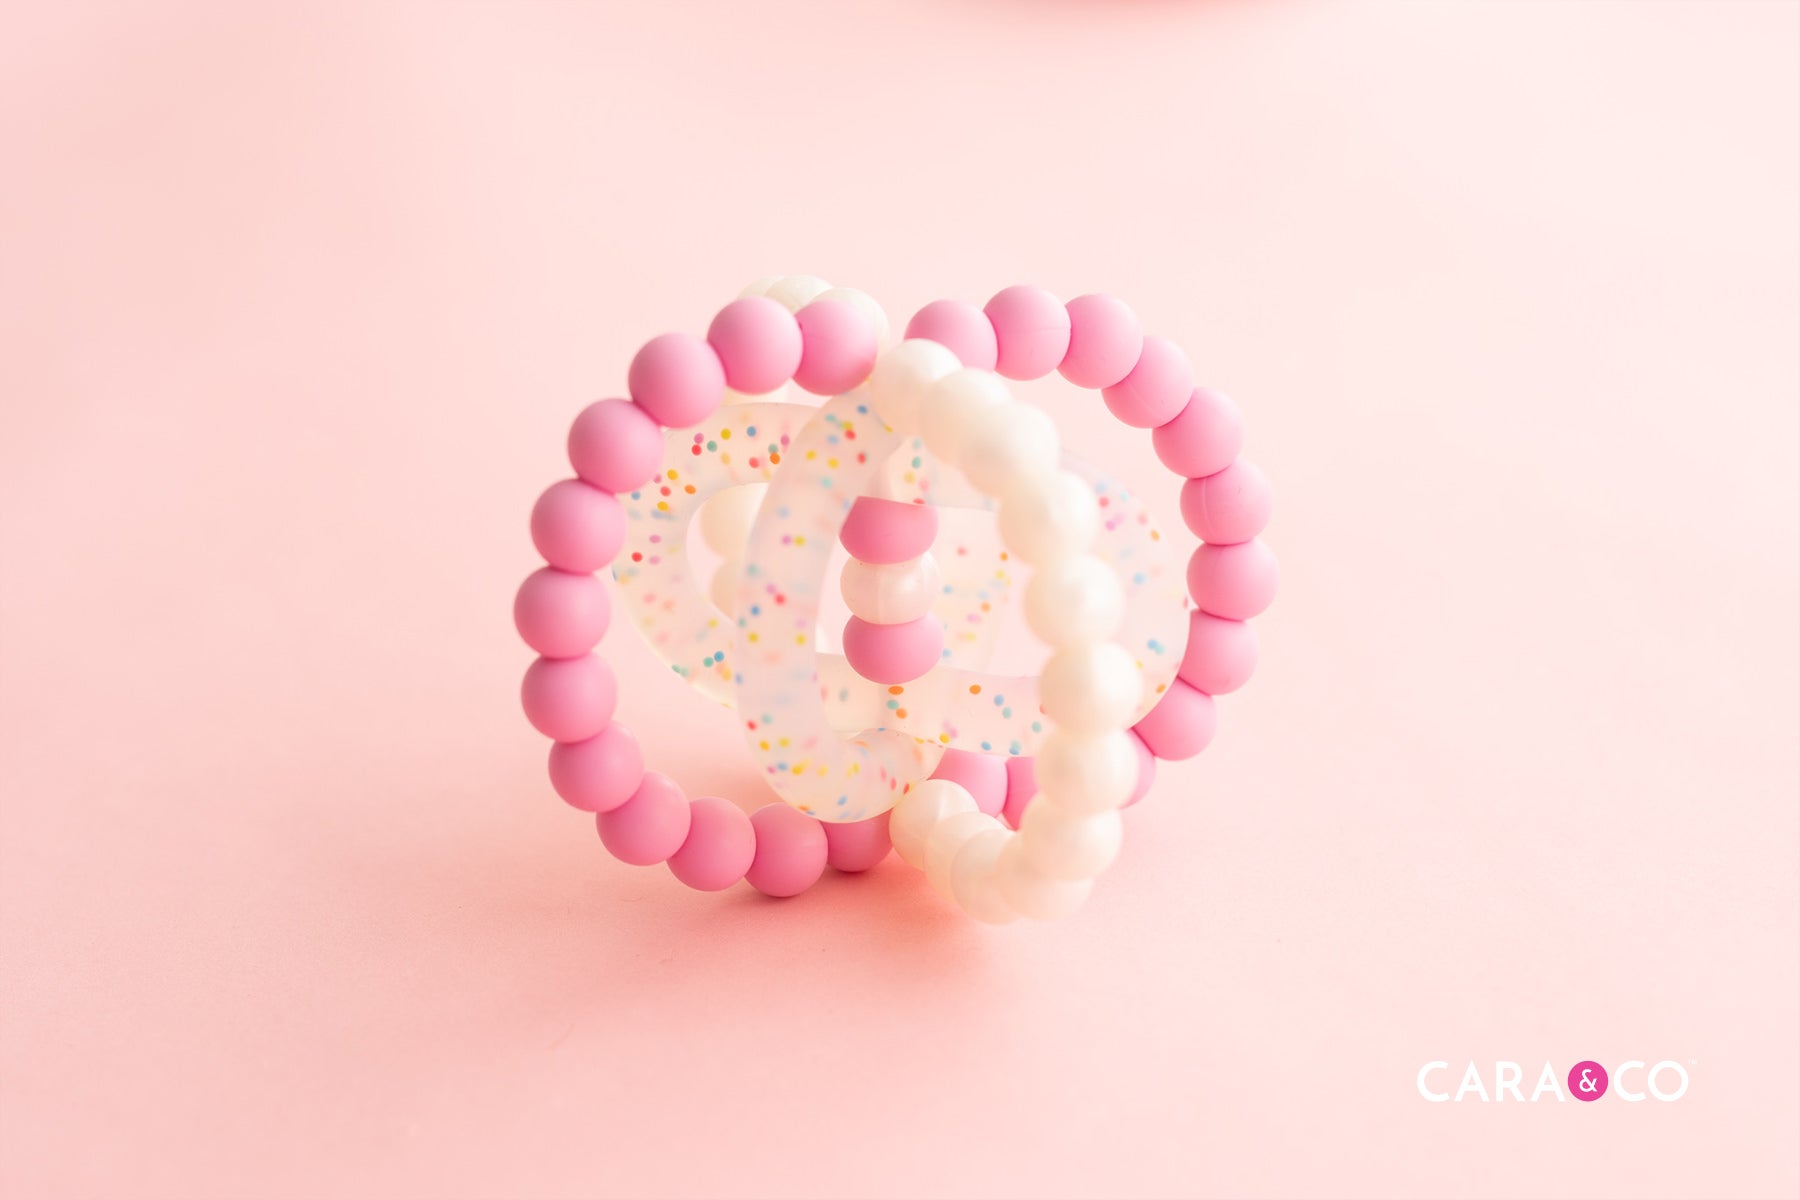
How cute!

We hope you enjoyed this tutorial! If you create your own four strand teething toy, make sure you tag us on social media using the hashtag #createdwithcarasupply! We love seeing the beautiful products you make!
Happy Crafting!
Xo
-the girls
*The products, materials, and supplies sold by Cara & Co. Silicone Craft Supply are intended for use by adults and should never be left unattended with a child.
***Small objects and beads can present choking hazards to young children. Never leave a child unattended with beads or other products. Always dispose of any damaged product. No product is completely indestructible, and fully formed teeth could potentially damage product if chewed aggressively, so responsible attentiveness is needed for any user or purchaser. Customers should always inspect and monitor their products, discontinuing use at the first sight of damage.
****Once our products have been sold and shipped to our customers, Cara & Co Silicone Craft Supply Inc., waives all responsibility and liability from the use of our products. Customers are responsible that their final products made from our supplies meet the appropriate safety requirements for their region. Our buyers understand that by purchasing our products or using suggestions from the above tutorial, the buyer assumes any and all responsibility and liability for the use of the products.
*****Cords, clasps and pacifier clips are not intended to be chewed on and may present choking hazards.