The cutest little EASTER toy for the cutest little easter baby! If you’re looking for a quick and easy sewing project look no further!

Supplies Needed:
- Cotton Fabric
- Minky Fabric
- 3.20" Beech Wood Ring
- Sewing Machine & Thread
- Fabric Pencil or a Heat Erasable Fabric Marking Pen
- Fabric Scissors
- Fabric Iron
Step-by-Step Instructions:
1. Download and print our Fabric Bunny Toy Pattern PDF. Pin two layers of fabric with the good side of the fabric facing inside. Trace the pattern on the fabric, and sew along the pattern line. Leave a 2 inch gap on one end to turn your fabric right side out.


2. Trim your fabric down to about ¼ inch from the pattern line, leaving a larger angled area around your sewing hole. Using the hole left in your sewing, flip the fabric right side out.


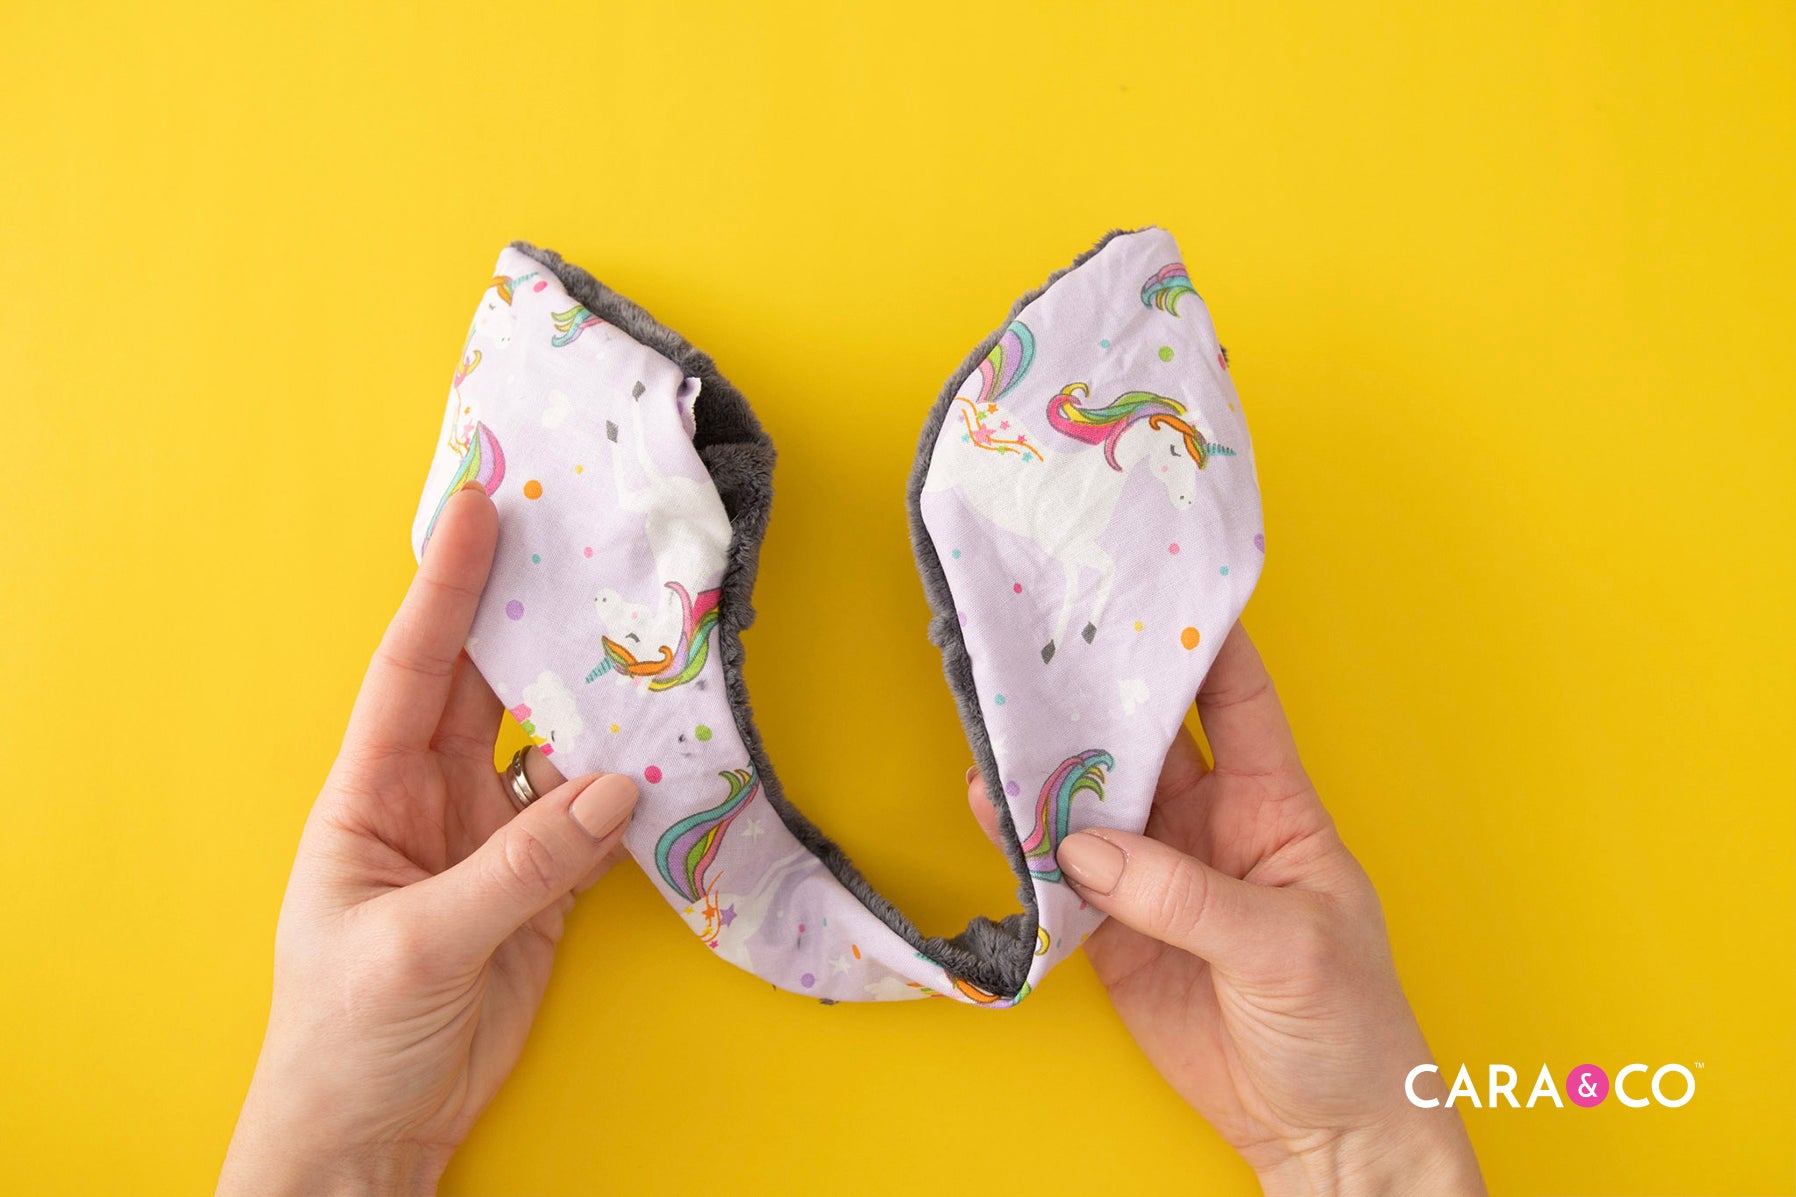
3. Iron out your bunny ears carefully, and top stitch around the shape about ¼ inch away from the edges.

4. Fold your fabric shape in half and loop it through the wood ring hole.

5. Pass the ends of the fabric through the fabric loop, and tighten it up.


6. Make sure that your fabric is flat, and voila! Bunny teether toy complete!

As always, we L O V E seeing your creations - Tag us in your photos on instagram using the hashtag #createdwithcarasupply.
Happy Crafting!
xo
- the girls