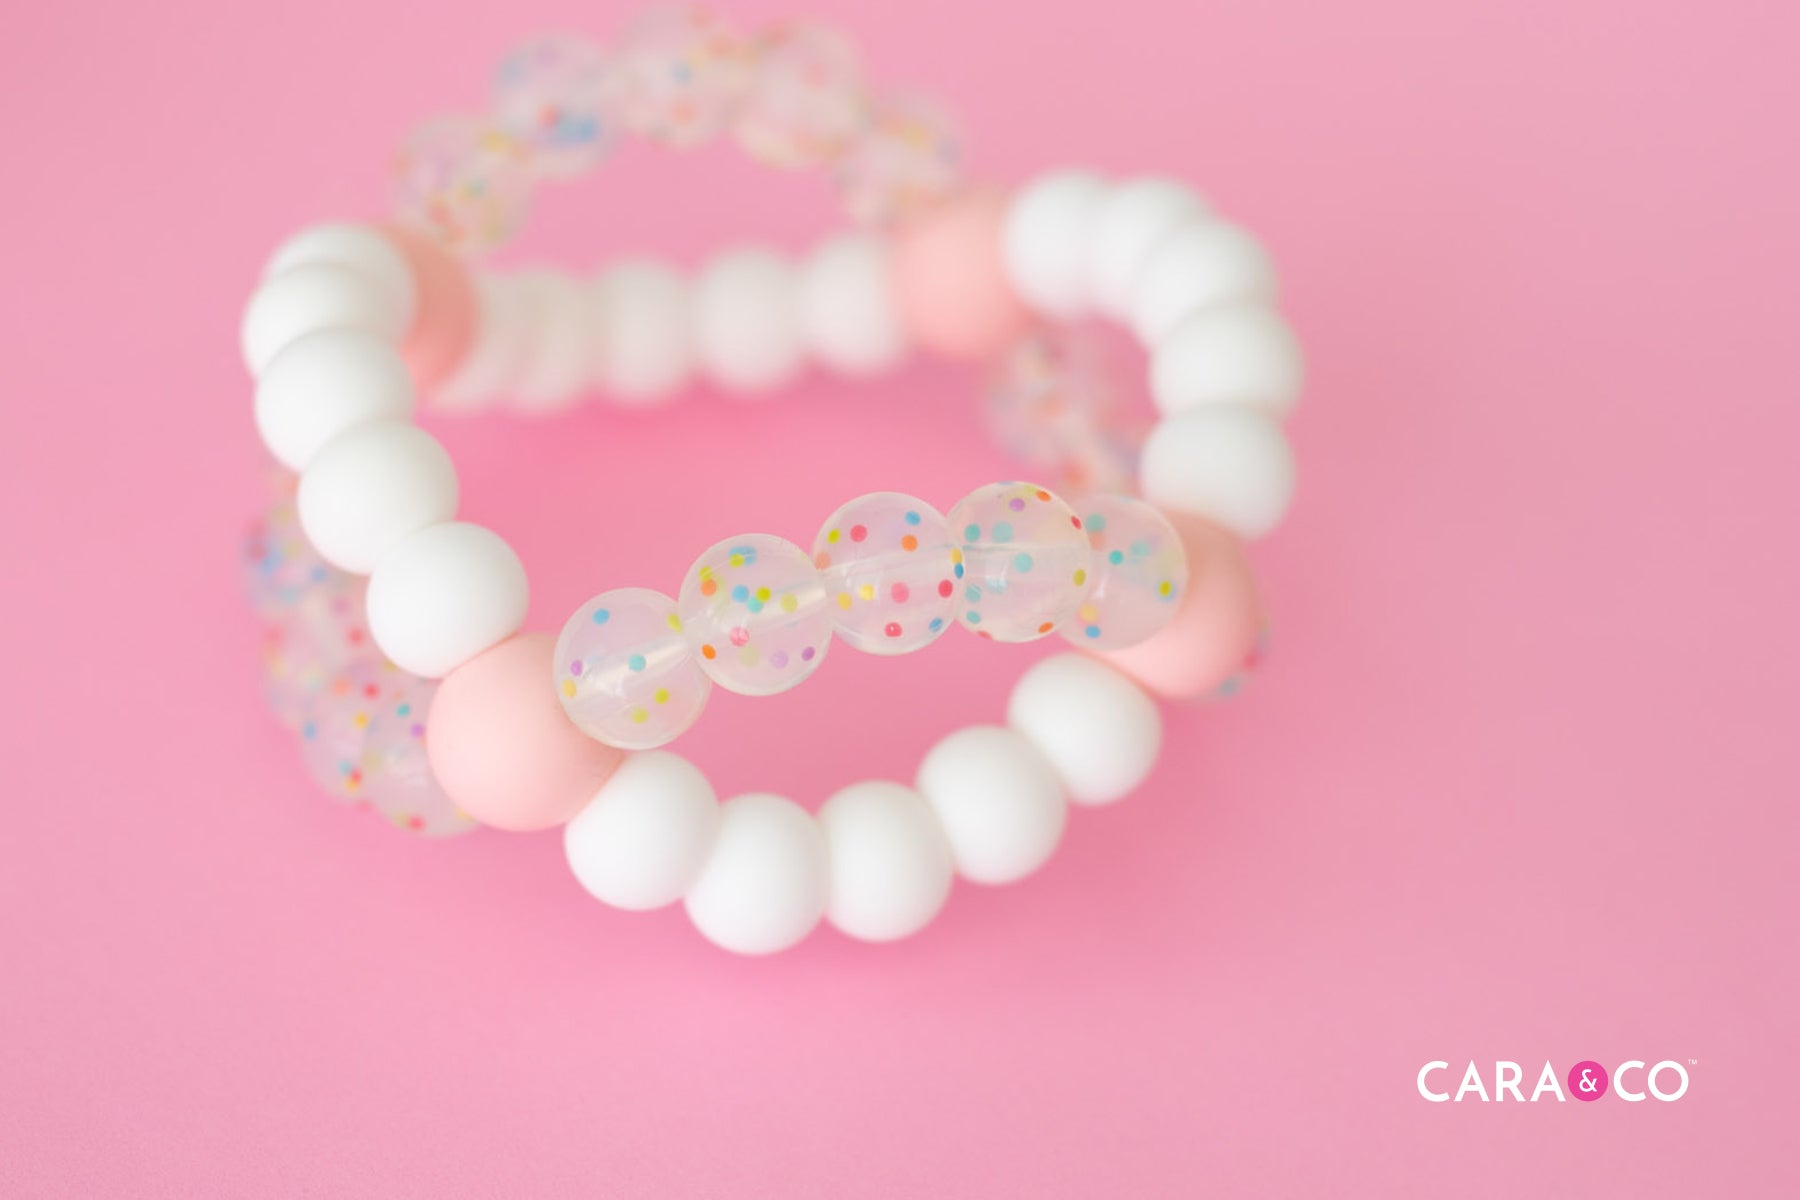
We’ve been playing with these beads from the moment we got them, and we had to try a couple designs out. If you’re familiar with making a simple bead circle, you’ve got all the skill you need to make this toy! The double hole beads make crossing your strings a breeze and assembly couldn’t be safer or faster.
Check out our easy tutorial below!
Supplies Needed:
- 2 x precut lengths of cording, 60” long
- 4 x 19mm double hole beads
- 40 x 15mm round beads (in various colours or two of your favorite!)
- Sharp scissors
- Crafting needle
- Lighter
Step-by-Step Instructions:
1. Take one of your cording lengths and thread your crafting needle on to one end.

2. Begin threading your beads in the following order: 1x 19mm double hole bead, 5x 15mm beads, 1x 19mm double hole bead, 5x 15mm beads, 1x 19mm double hole bead, 5x 15mm beads, 1x 19mm double hole bead, 5x 15mm beads.

3. Tie a double or triple knot as tightly as you can with your two string ends. If you have a pair of knot grippers use them now to tighten up your knot even further!


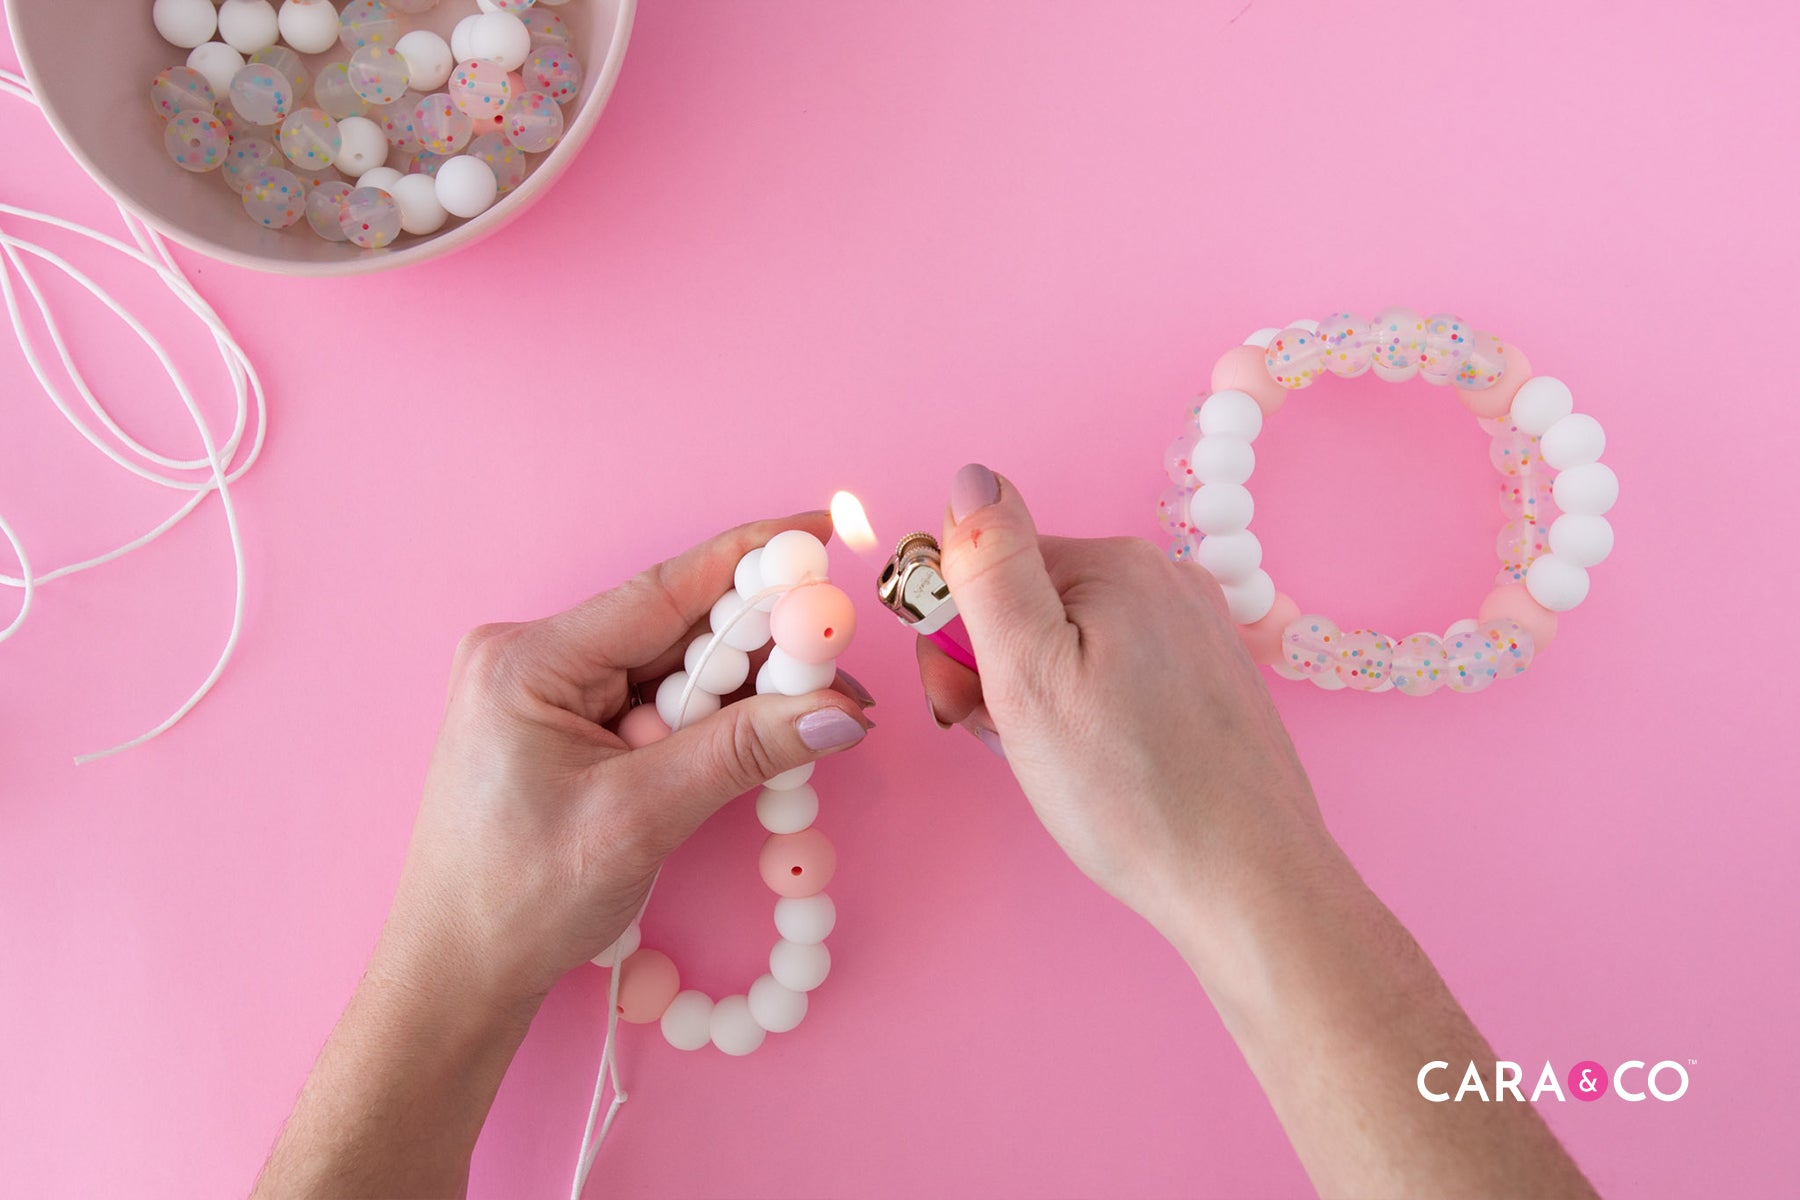
4. Take your lighter and melt the knot. Thread your crafting needle on to the one string end, pushing your needle through a bead on either side of your knot. This bead will hide your knot. Pull your needle and string through and gently pull your fused knot under the bead. Trim your ends then melt them with your lighter.


5. Take your second string and thread your crafting needle onto it. Push your needle through one of your double hole beads on the round you just created. Once through, thread on 5x 15mm beads. Find the next double hole bead on your round and push your needle through it. Continue threading 5x 15mm beads and weaving your string through the double hole beads on your round until you meet up with your string.


6. Follow steps 3 & 4 to securely tie off and fasten your string. You should have a bead pattern that weaves through your double hole beads.


7. Voila! A cute, bendable and gorgeous round teething toy!


We hope you love this little tutorial! We’re so excited about all the possibilities these new beads open up, and we can’t wait to see what creative and beautiful things you make with them! Make sure you tag us on Instagram using the hashtag #createdwithcarasupply
Happy Crafting!
Xo
-the girls
*At Cara & Co, we take safety seriously. We have had our custom tutorial design above third-party tested by a CPSC accredited testing lab to ensure it meets compliance standards for Canadian (SOR/2011-17) and US (ASTM F963-17) children's teething toy requirements. However, this does not remove the responsibility of each customer to ensure that the products they create from this tutorial are tested and meet all relevant compliance standards.
**The products, materials, and supplies sold by Cara & Co. Silicone Craft Supply are intended for use by adults and should never be left unattended with a child.
***Small objects and beads can present choking hazards to young children. Never leave a child unattended with beads or other products. Always dispose of any damaged product. No product is completely indestructible, and fully formed teeth could potentially damage product if chewed aggressively, so responsible attentiveness is needed for any user or purchaser. Customers should always inspect and monitor their products, discontinuing use at the first sight of damage.
****Once our products have been sold and shipped to our customers, Cara & Co Silicone Craft Supply Inc., waives all responsibility and liability from the use of our products. Customers are responsible that their final products made from our supplies meet the appropriate safety requirements for their region. Our buyers understand that by purchasing our products or using suggestions from the above tutorial, the buyer assumes any and all responsibility and liability for the use of the products.
*****Cords, clasps and pacifier clips are not intended to be chewed on and may present choking hazards.
