It’s the easiest phone lanyard you’ve ever made! And probably the only phone lanyard you’ve ever made ;)


Before beginning, you’ll need to purchase your own phone case that fits your phone model and also has lanyard holes in the side of the case (we wouldn’t suggest puncturing holes in an existing phone case - get something that’s made with holes!).
Below are links to the phone cases we found on Amazon for our iPhone - always double check listings to be sure they’re the right size for your phone!
Clear Case with Lanyard Holes
Silicone Case with Lanyard Holes

Supplies Needed:
- 1 x 12mm round bead
- 40 x 9mm round beads
- 1x 35” precut length of cording
- Scissors
- Crafting needle
- Lighter
- 1 x Phone case with lanyard holes
Step by Step Instructions:
1. Take your cording and trim and melt the ends with your lighter. This will make threading your beads much easier!

2. Thread your cording through the holes in your phone case, making sure that the working ends of the cording are coming OUT of the side of the phone case, and not out through the area where your phone will sit. Centre your case loop halfway on your cording.


3. Including both strands, tie a simple knot in your cording about 1-1.5” from the phone case. This will allow your lanyard to move freely and easily. Take your lighter and lightly melt the knot to help fuse it.

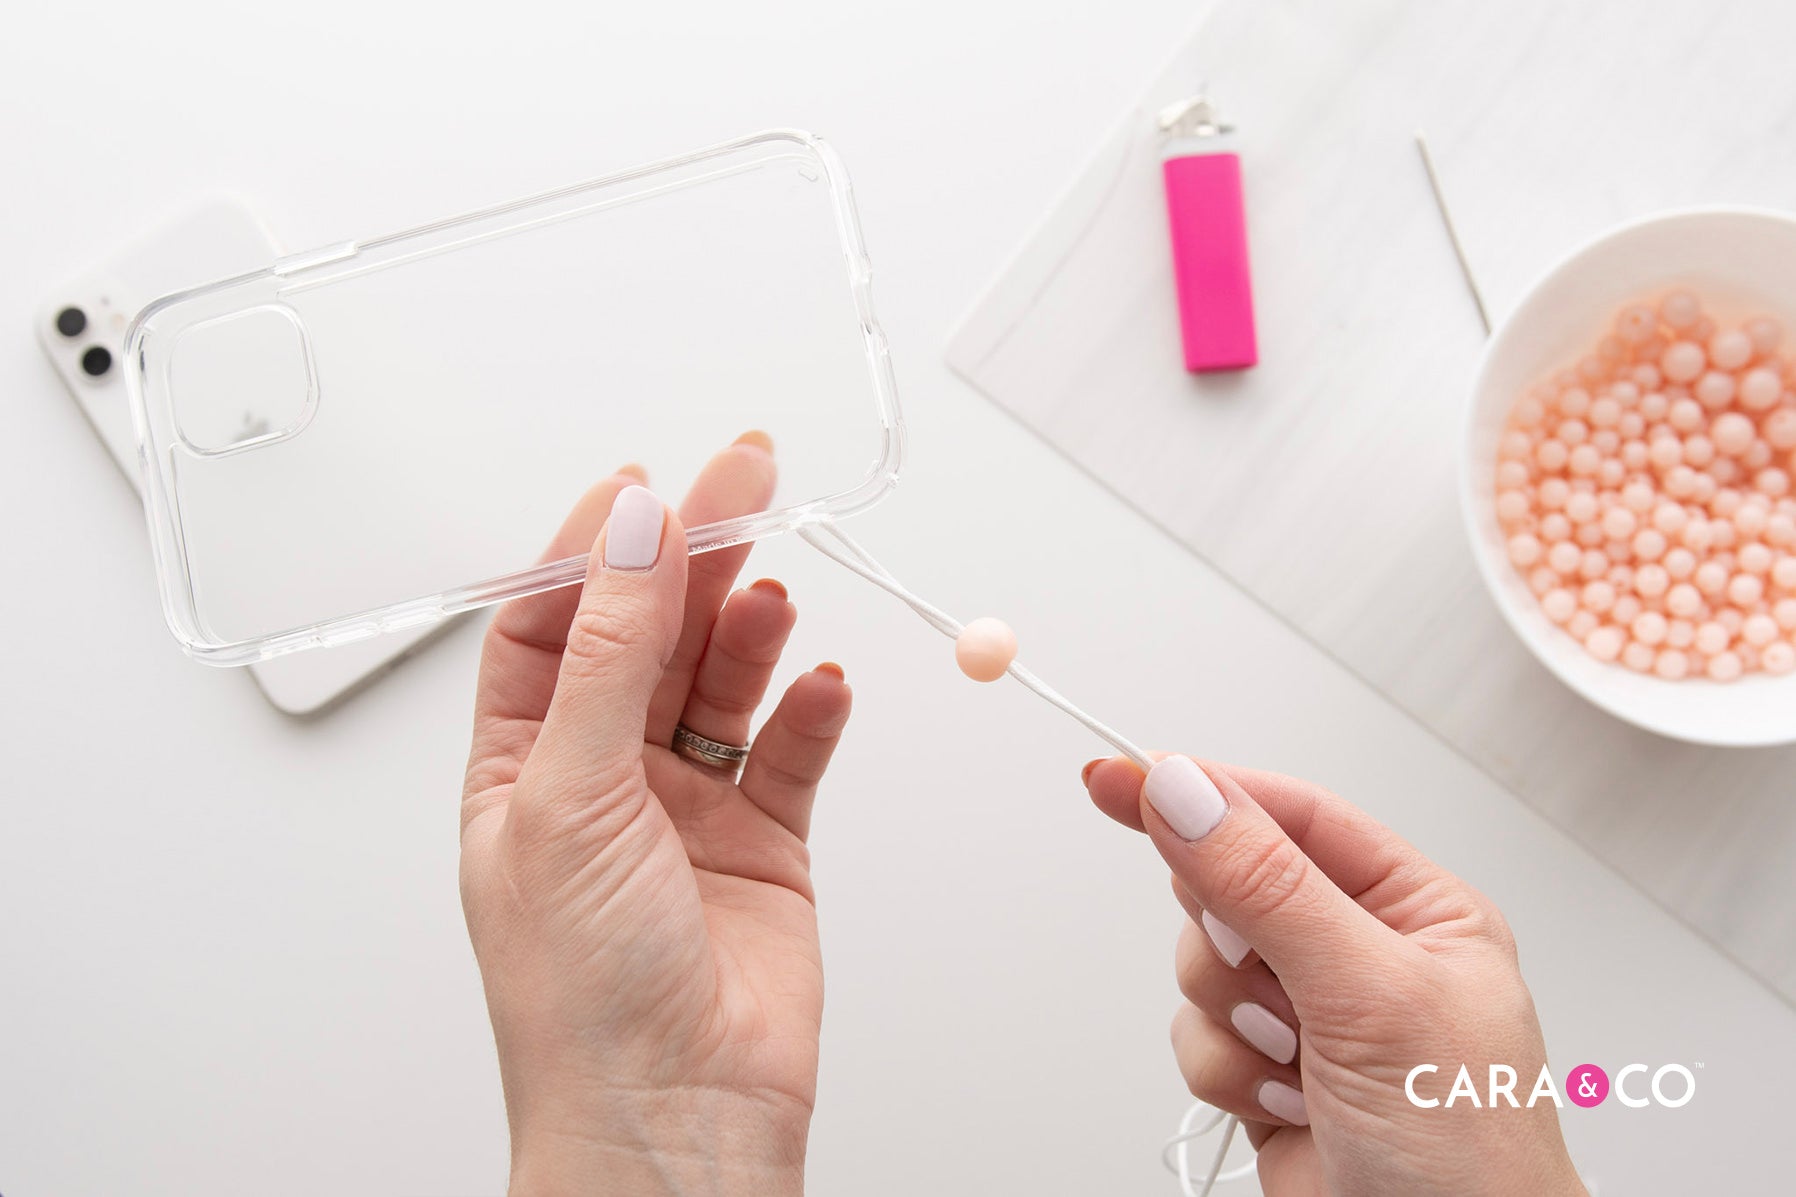
4. Take your crafting needle and thread both strings onto it. Thread your 12mm beads onto both strands and push it all the way up to the knot.

5. Gently push the 12mm bead over the knot to hide it.
6. On each side of string coming out from your 12mm bead, thread on 20x 9mm beads.

7. Tie the two ends together into a double knot. Run your lighter over it to fuse the knot and secure your beads. Thread your crafting needle on one cording side.


8. Push your needle through one of the neighboring beads, and gently pull the double knot into that bead to hide it. You should be left with a cording string coming out each side of this bead.

9. Trim and melt your ends to keep the cording from fraying. Tada! The chicest and easiest phone lanyard you’ve ever made out of your favorite crafting supplies!


There are so many variations you could put on this phone lanyard! Use your favourite beads, colors or patterns!

As always, we L O V E to see your creations! If you tried this tutorial, make sure that you tag us on Instagram using our hashtag #createdwithcarasupply.
Happy Crafting!
xo
-the girls
*The products, materials, and supplies sold by Cara & Co. Silicone Craft Supply are intended for use by adults and should never be left unattended with a child.
***Small objects and beads can present choking hazards to young children. Never leave a child unattended with beads or other products. Always dispose of any damaged product. No product is completely indestructible, and fully formed teeth could potentially damage product if chewed aggressively, so responsible attentiveness is needed for any user or purchaser. Customers should always inspect and monitor their products, discontinuing use at the first sight of damage.
****Once our products have been sold and shipped to our customers, Cara & Co Silicone Craft Supply Inc., waives all responsibility and liability from the use of our products. Customers are responsible that their final products made from our supplies meet the appropriate safety requirements for their region. Our buyers understand that by purchasing our products or using suggestions from the above tutorial, the buyer assumes any and all responsibility and liability for the use of the products.
*****Cords, clasps and pacifier clips are not intended to be chewed on and may present choking hazards.