

Christmas decor is SO personal - it reflects the things that you love, the things that are important to you, and your unique personality. We have a weakness for handmade Christmas decor items (of course!) and the wood bead garland trend is giving us LIFE.

We absolutely love our wood beads! They’re high quality and come in so many different variations - the options are endless for making your garland look and feel unique.
We wanted to try our hand at making some adorable tassels as well and we LOVED how they turned out, so much so that we just had to pass on how to do it! Your supplies are minimal and it's such a fun little craft to do.
We suggest brewing a hot cup of coffee, turning on some Christmas tunes, and playing around with your crafting supplies ;)

Supplies Needed:
- Thick yarn of your choice (we chose two colors!)
- Sharp sewing scissors
- Piece of cardboard cut approximately 4-5” in length or width
- Small decorative bells
- Long length of string or cording
- Wood beads of choice (we used 16mm Beech)

Step-by-Step Instructions:
1. Take a piece of cardboard and cut it down to a square approximately 4-5" in length.

2. Taking your yarn, wrap it loosely around the cardboard. We wrapped ours about 15 times to get the thickness we wanted from our tassel.

3. When you’re happy with the thickness, trim your yarn to the end of the cardboard.

4. Cut another piece of yarn about 8-10” in length. Slip it underneath the wrapped yarn. Slide it up towards the top edge and tie a simple double knot.


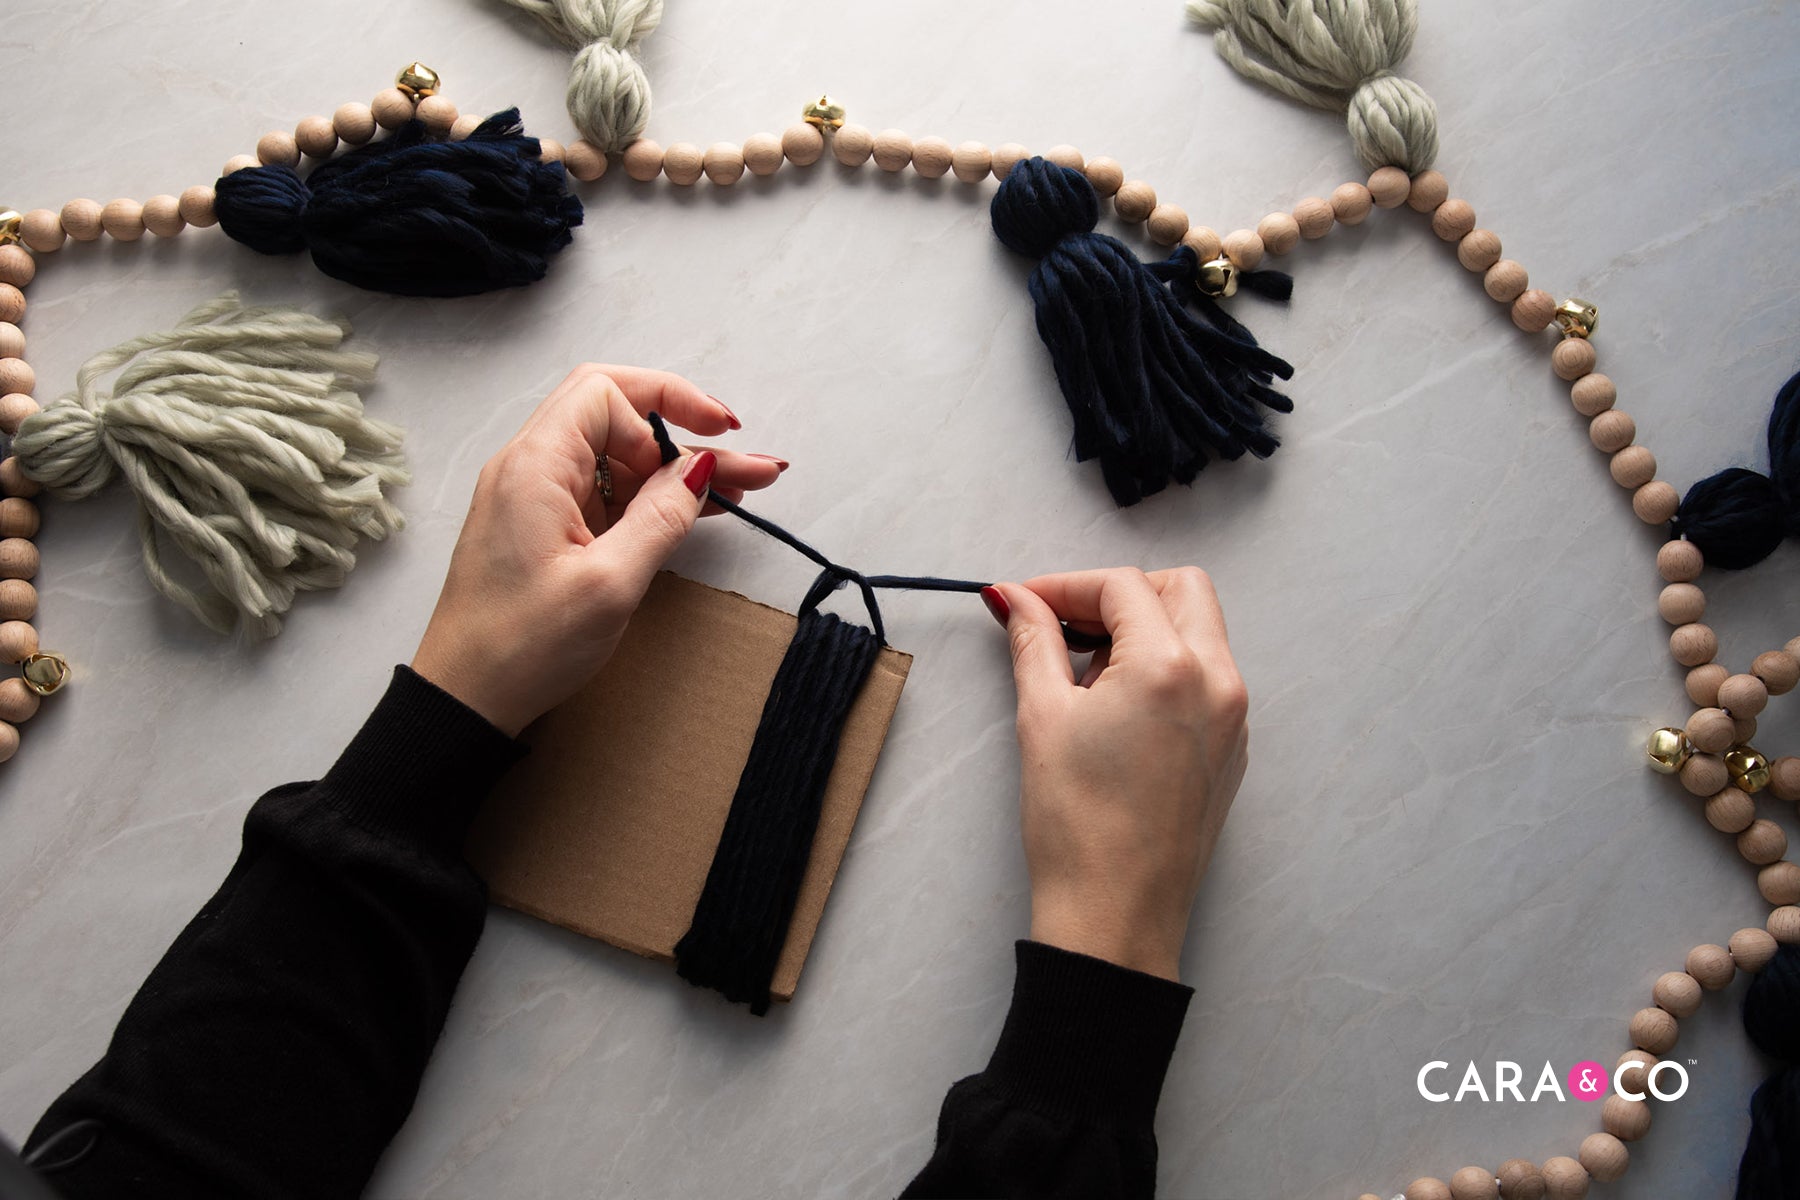
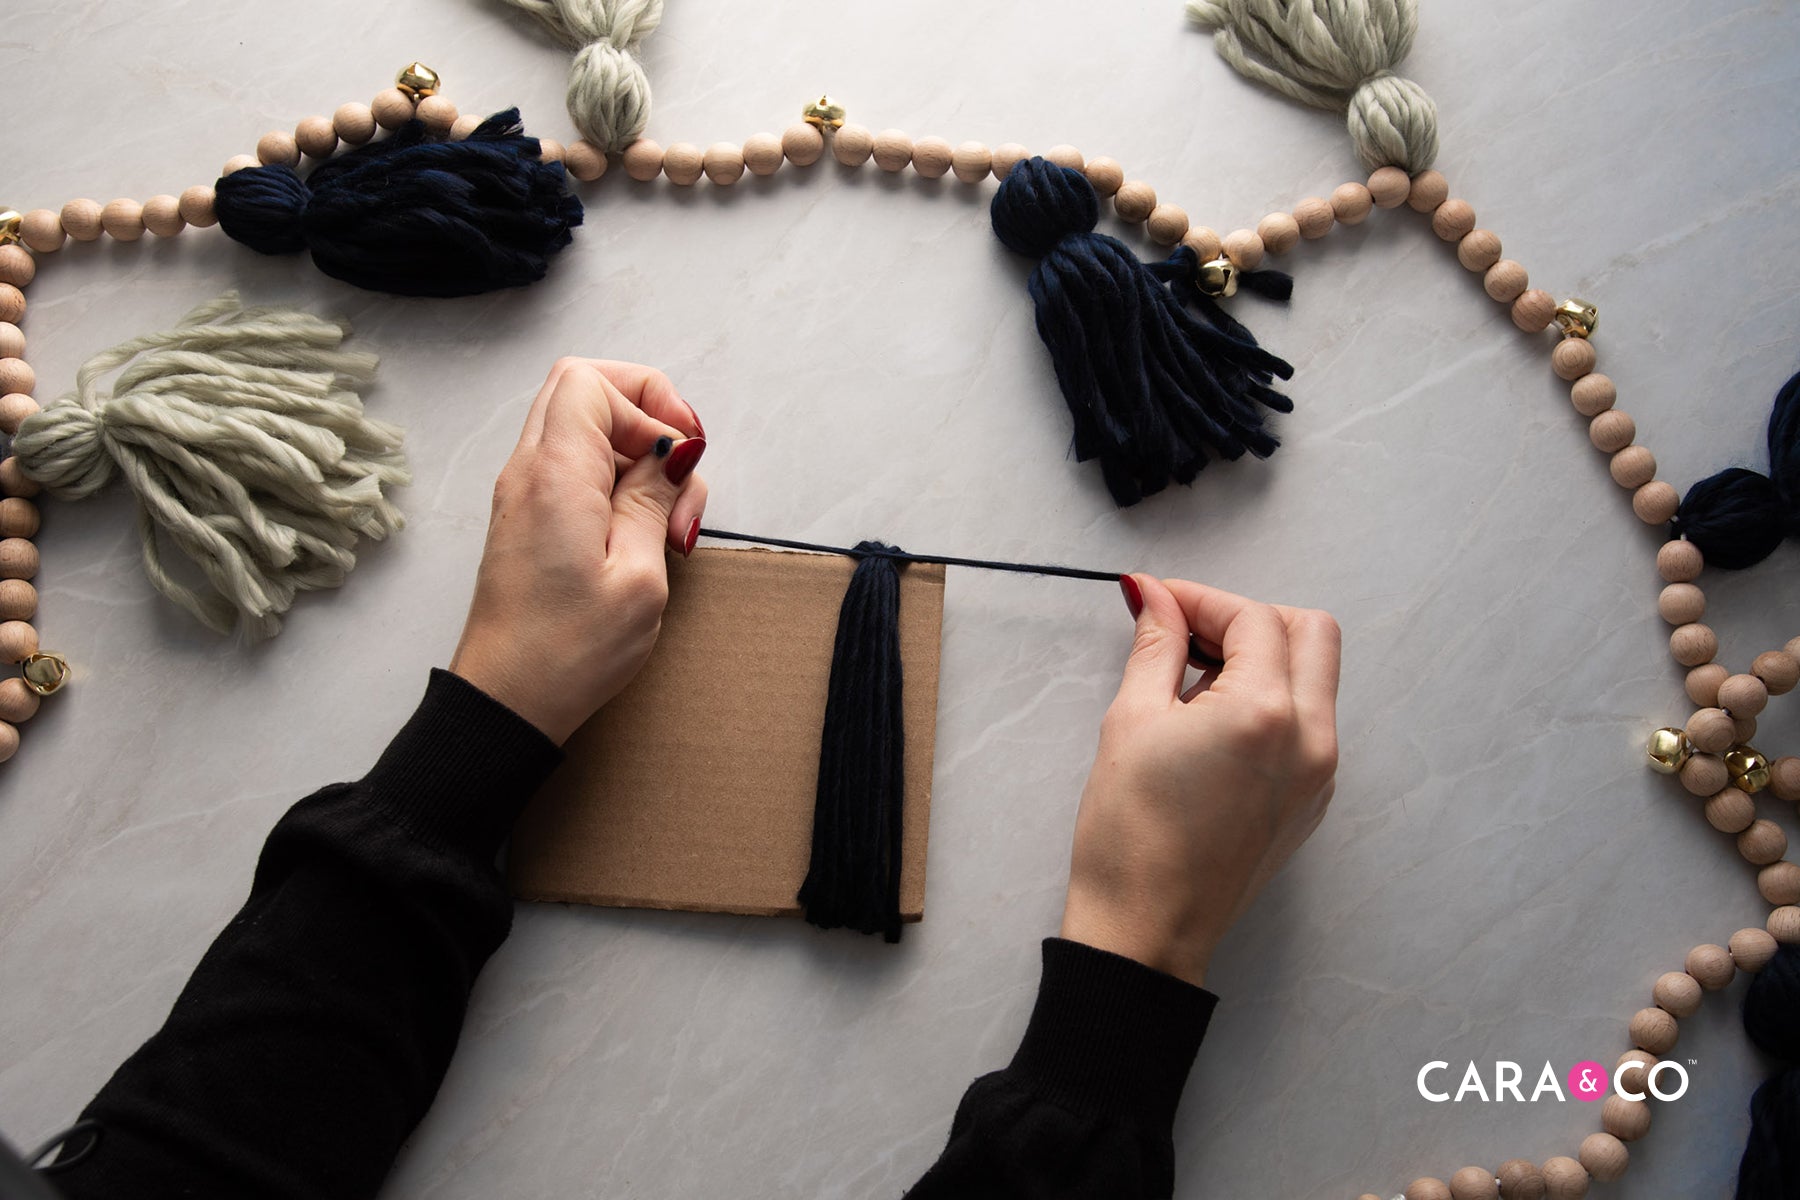
5. Slide your looped yarn off the cardboard. Holding the knotted end, cut the opposite looped ends.

6. You’ll notice your knot in the middle has a knot side to it and a nicer looking finished side. Keeping your knot in the middle of the tassel, fold your strands the opposite way so that you can hide the knot. The opposite side of your middle knot will be where you fish your string through when assembling your garland.


7. Straighten out your yarn threads. Cut another separate piece of yarn about 8-10” long. Lay it down on the surface in front of you.

8. Place your tassel on top of the yarn with about 1.5” overlapping at the top. Tie a double knot with your single strand. Comb down the excess strings from the knot so that they lay flat with the other strands. Trim the length to the look and length you prefer!


9. Looking for a fun variation on your yarn tassel! Try adding in a wood ring! Repeat steps 1-3 and before tying your knot, slip a wood ring on to your tying strand.


10. Slip the yarn off the cardboard, and trim the loops.

11. Carefully take the knot you tied around the wood ring and yarn, and slide it into the bottom side of the strands. This will hide the knot.


12. Continue steps 7-8 to finish up your wood ring tassel!


That’s all it takes to make the cutest little tassels! You can change up the colors, the sizes, and the materials for a completely different look every time!

To make your garland, simply string on your beads followed by tassels. We added in some decorative bells for a little extra cheer, and tied off the ends with loops to hang on our mantle!

The cutest handmade decor item! Make one as a gift, but make sure you make one for yourself as well ;)
As always, we L O V E seeing your creations - Tag us in your photos using the hashtag #createdwithcarasupply
Happy Crafting!
xo
- the girls
*The products, materials, and supplies sold by Cara & Co. Silicone Craft Supply are intended for use by adults and should never be left unattended with a child.
***Small objects and beads can present choking hazards to young children. Never leave a child unattended with beads or other products. Always dispose of any damaged product. No product is completely indestructible, and fully formed teeth could potentially damage product if chewed aggressively, so responsible attentiveness is needed for any user or purchaser. Customers should always inspect and monitor their products, discontinuing use at the first sight of damage.
****Once our products have been sold and shipped to our customers, Cara & Co Silicone Craft Supply Inc., waives all responsibility and liability from the use of our products. Customers are responsible that their final products made from our supplies meet the appropriate safety requirements for their region. Our buyers understand that by purchasing our products or using suggestions from the above tutorial, the buyer assumes any and all responsibility and liability for the use of the products.
*****Cords, clasps and pacifier clips are not intended to be chewed on and may present choking hazards.