
If you’ve been in this space and industry long enough, you’ll know that each creator brings their own personal flare to their products.
We love how diverse your shops can be and how creative you are with the supplies you have!
If you’re looking to shake up your products, we thought we’d get you started with a couple ideas - hopefully they’ll inspire more products and designs for your shop! There are sooo many beautiful things you can do with simple supplies, and so many ways you can make your brand and style stand out from the rest!
Soother Clip Design 1 - Baubles


How cute is this bauble design?? It sort of looks like lace - there’s something so stylish and elegant about it! It’s a really easy pattern to follow and can look so different depending on what colours you pick!

Supplies Needed:
- 1 x Length of 60” regular cording
- 4 x 19mm silicone beads
- 3 x 12mm silicone beads
- 9 x 9mm silicone beads
- 1 metal clip
- 1 soother
- Crafting needle
- Scissors
- Lighter
Step-by-Step Instructions:
1. Take your cording and fold it in half. At the middle point, feed your cord through the loop on your metal clip and create a loop knot.
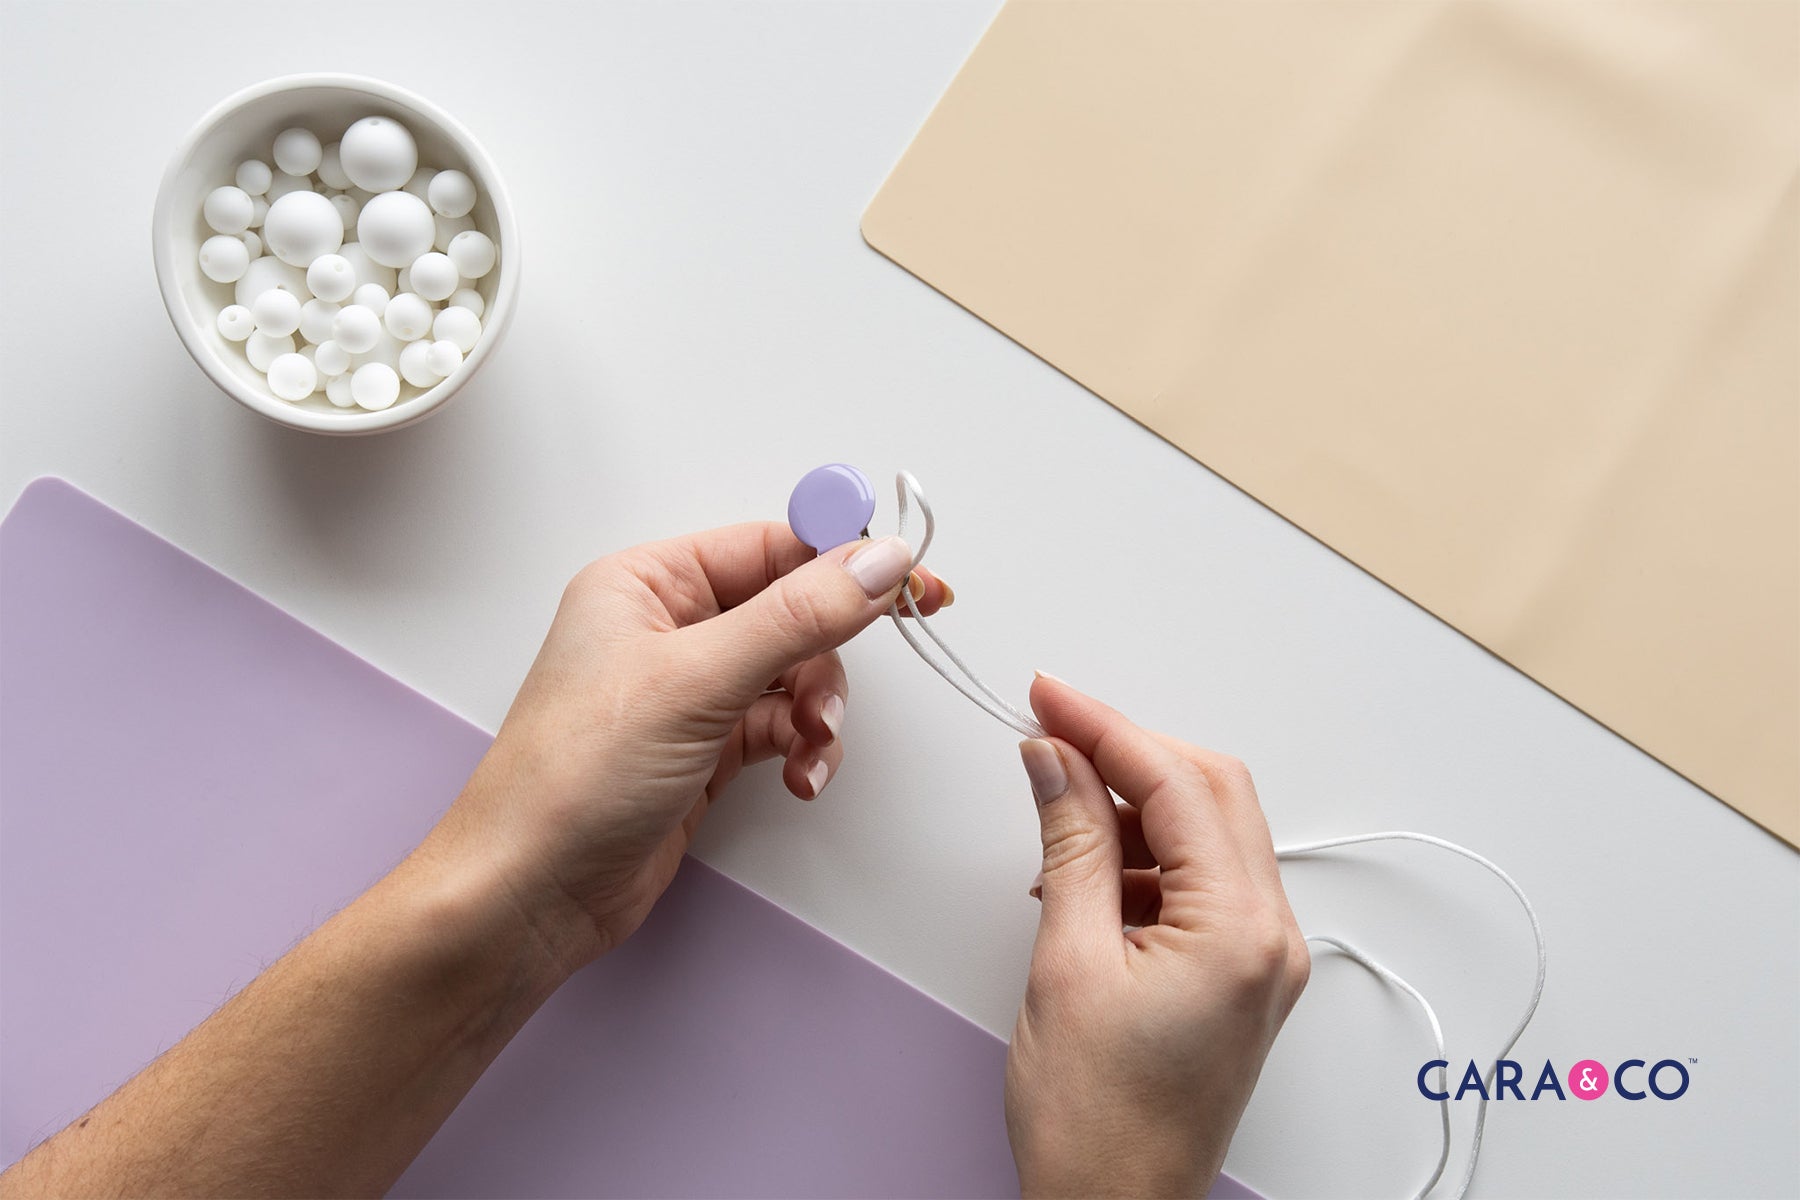
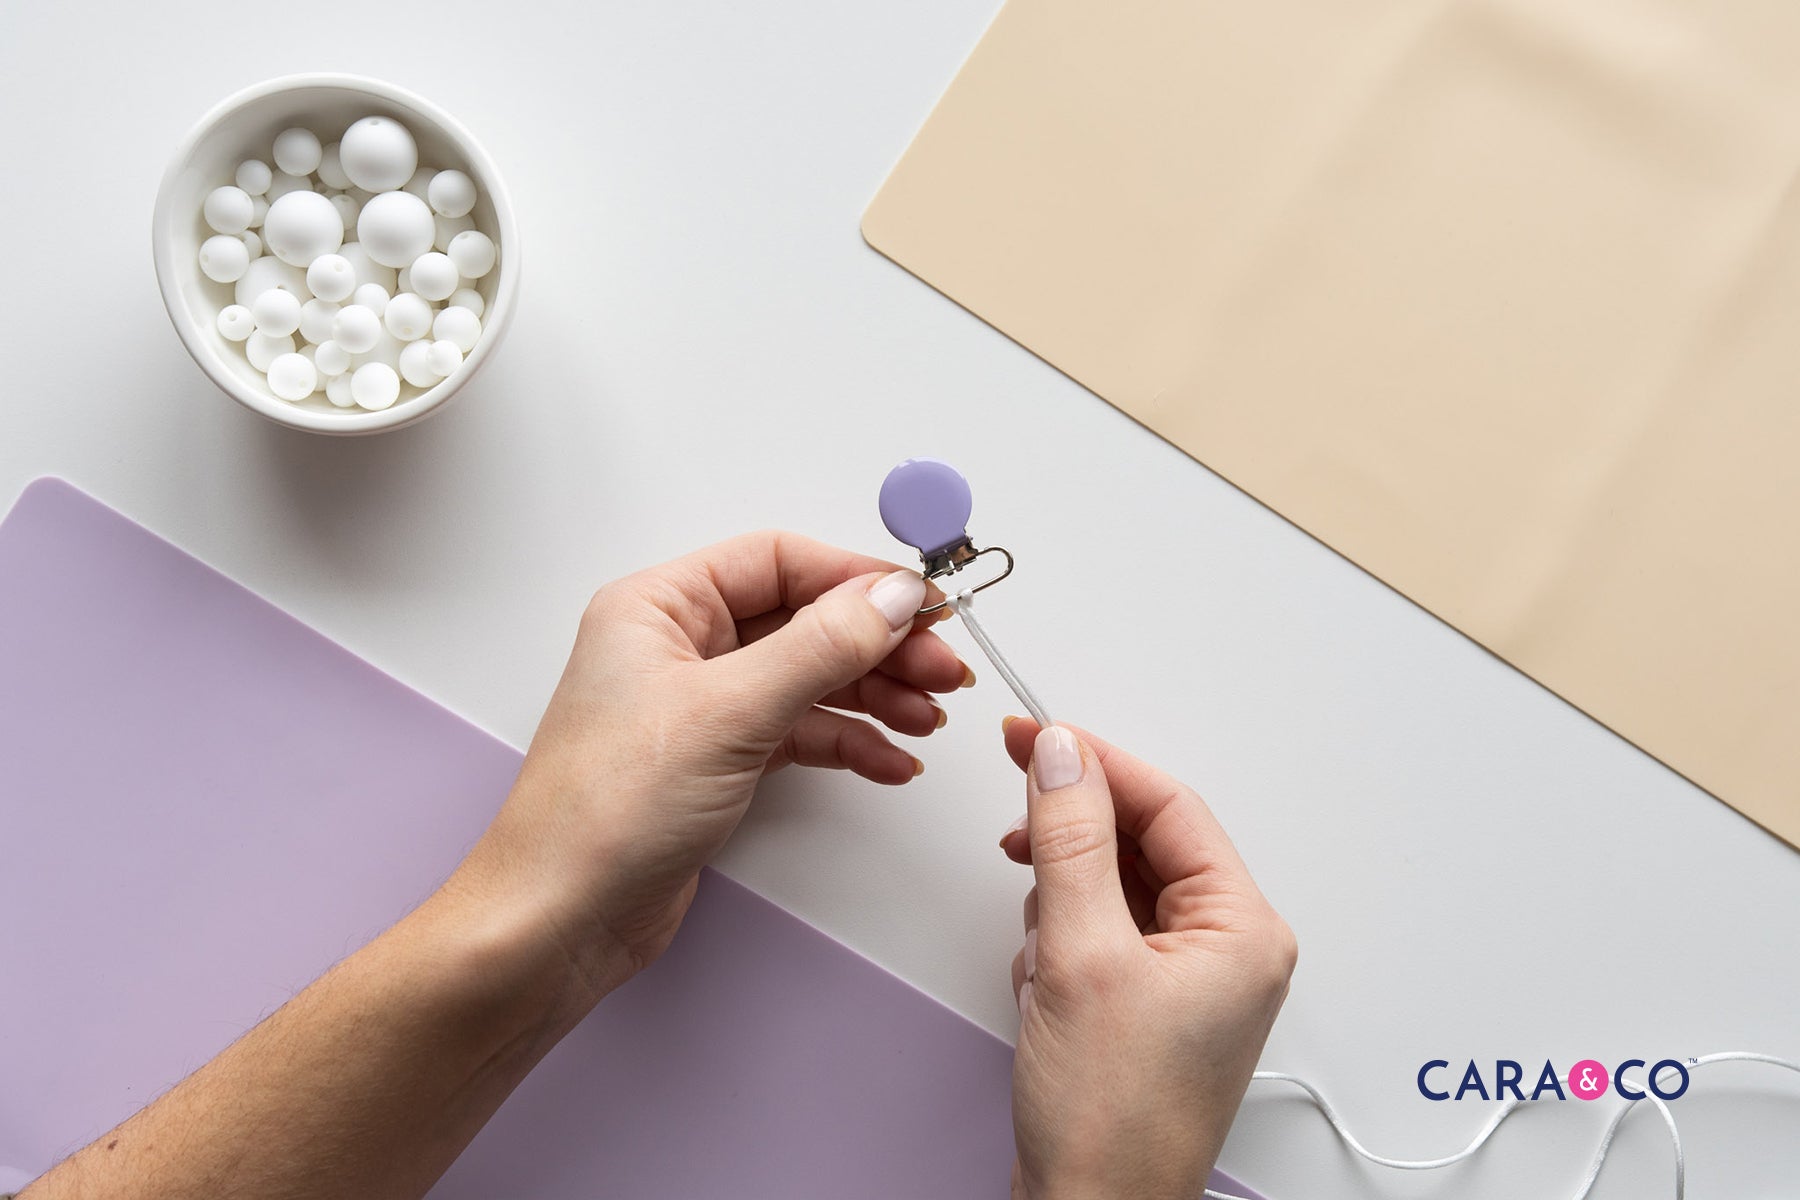
2. Tie a knot 0.5" from the base of the clip.
3. Using your crafting needle, thread on one 19mm bead and push it all the way down over the knot to the clip.

4. Remove your crafting needle, and thread on to one string 3 x 9mm beads and on the other 1 x 12mm bead.

5. Push those beads all the way up to the first 19mm bead.

6. Put your craft needle back on both strings and thread on another 19mm bead. Push this bead all the way up tightly against the 12mm and 9mm beads just added.
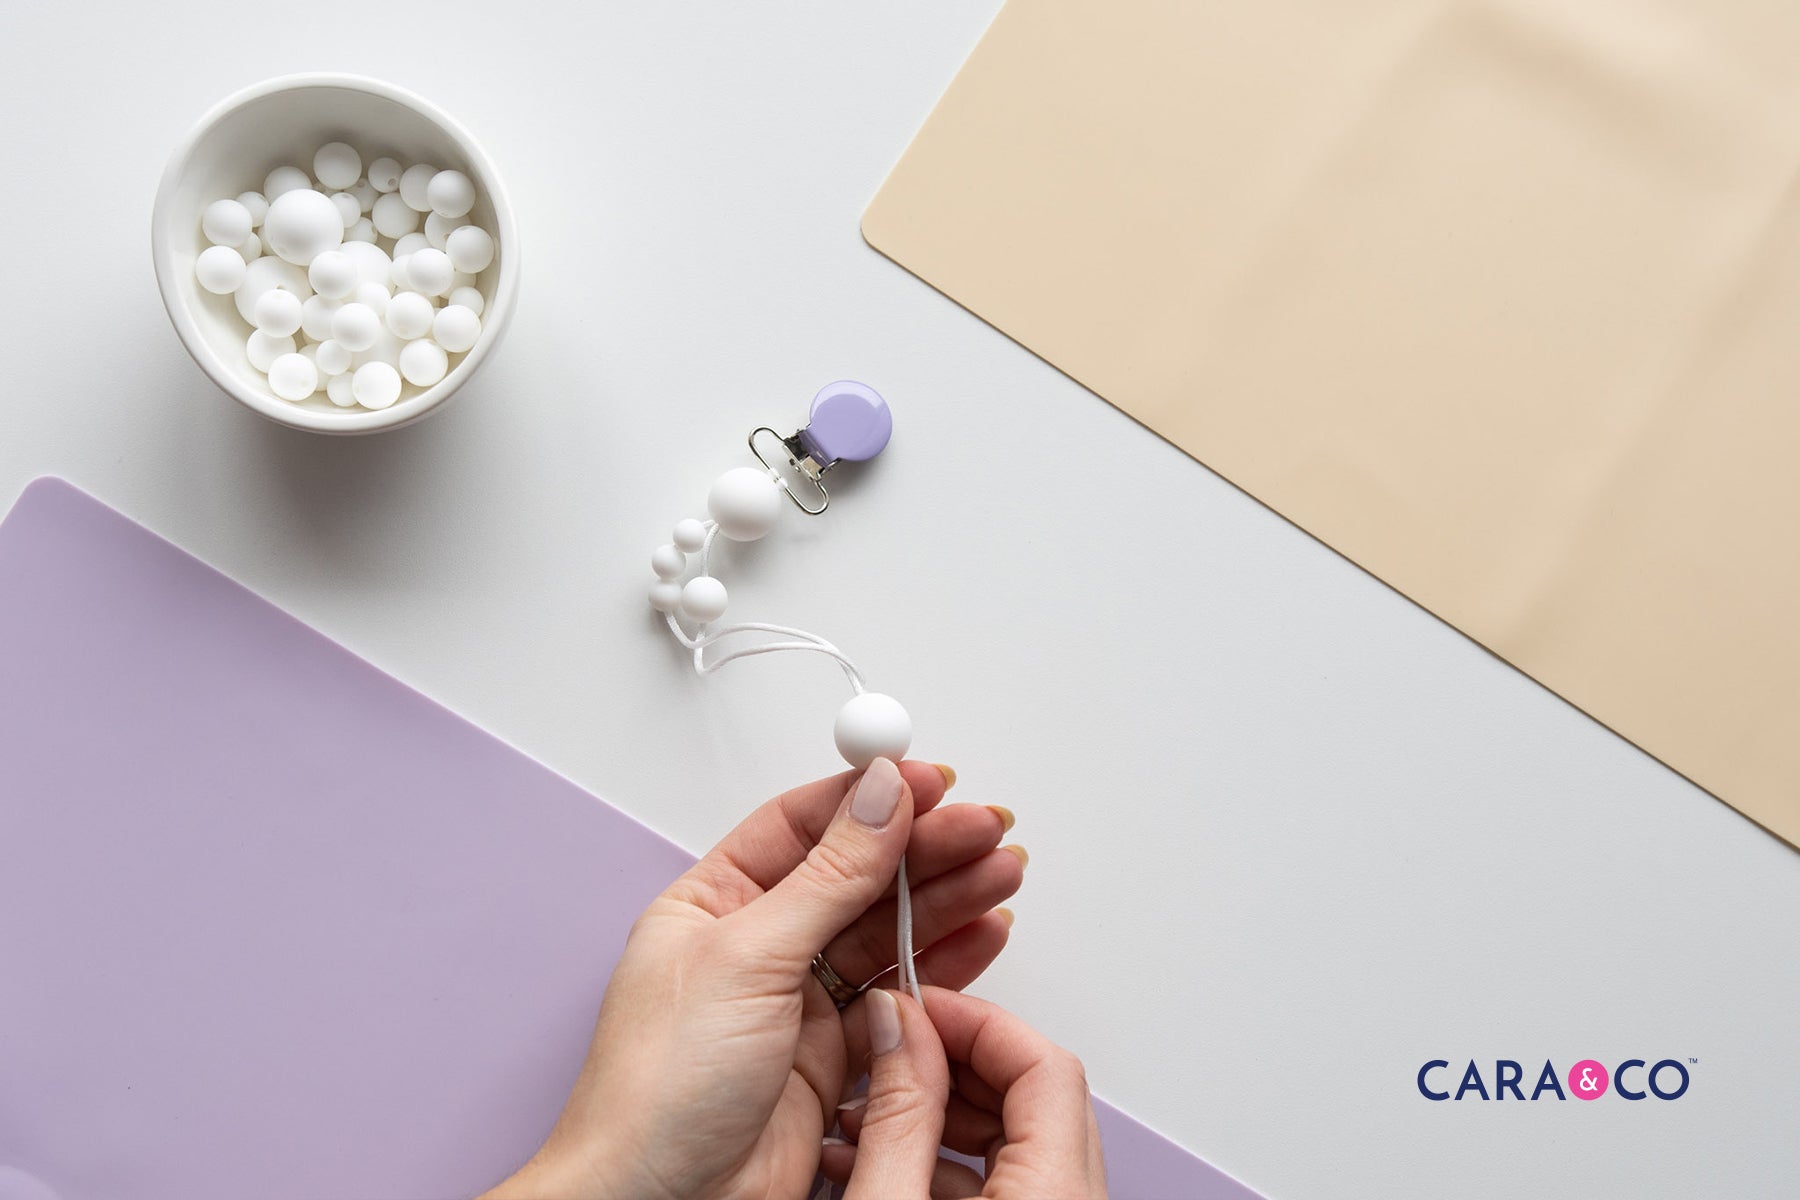
7. Repeat step 3 & 4 three more times, until you have your bauble pattern. Make sure that you put the 9mm beads on the opposite side as the last pattern segment. You should have the pattern finished with a 19mm bead at the end. Push all the beads up tightly against each other and straighten out the design.


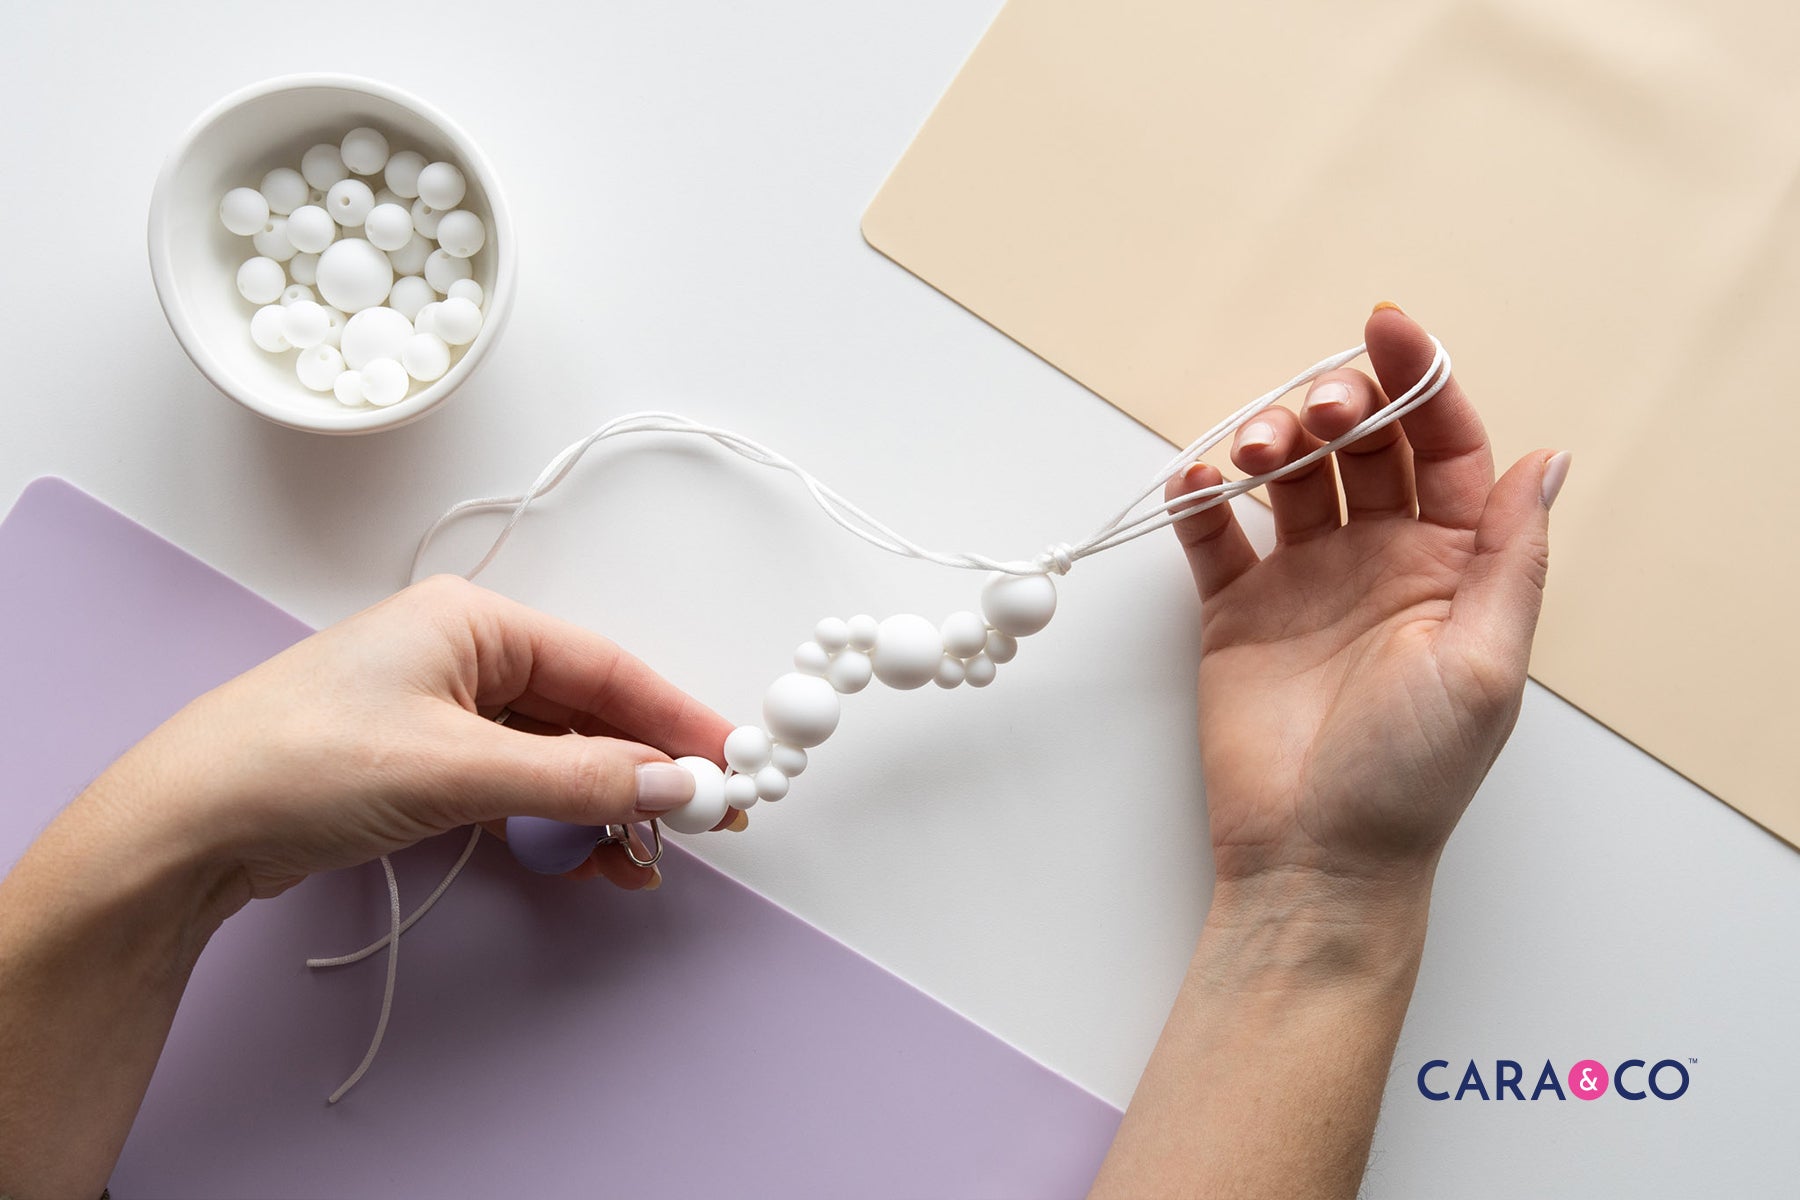
8. Make a loop with both strings about 3.5” long. Loop a knot as tight as you can against your last 19mm bead. Note that for US pacifier clip standards, the total length should be no longer than 8" (including the clip), so adjust length if needed.

9. Make a second loop knot about 0.5” from the double knot with your two loose strings. This will be a knot that sits in the middle of the last bead, so make sure your knot is in an appropriate spot.

10. Thread your crafting needle back on the loose strings and push the needle back through the last 19mm bead. Pull your small knot into the last bead.

11. Trim your strings, and melt the ends with your lighter. Make sure that you also run your lighter well over the large double knot to fuse it.


12. When your knots are cool, simply loop your soother of choice on the end.


Soother Clip Design 2 - Flowers


An unexpended twist on a design can be the difference that gets your product noticed, and we love this detailed flower design using our delicate Saucer beads.

 Usually saucer beads are used to give space between larger beads or to give a small detail between beads, but why can’t they spotlight every once in a while?? With this design, the focus is all on them!
Supplies Needed:
- 1 x Length of 60” regular cording
- 30 x Saucer beads
- 1 Metal clip
- 1 Soother
- Crafting needle
- Scissors
- Lighter
Step-by-Step Instructions:
1. Take your cording and fold it in half. At the middle point, feed your cord through the loop on your metal clip and create a loop knot.


2. On one side of your strings thread on 2 saucer beads. On the opposite string, thread on 3 saucer beads.

3. Take your string that has two saucer beads, and feed the working end through the last saucer bead on the end of the other string. This will create a crossing point.

4. Pull on the ends of your string to tighten the beads together into a flower shape. Repeat steps 2 & 3.


5. Continue to repeat the pattern until you are happy with the length of your lanyard. We liked the length of 30 saucer beads. Note that for US pacifier clip standards, the total length of your entire pacifier clip should be no longer than 8" (including the clip), so adjust length if needed.


6. Make a loop with both strings about 3.5” long. Loop a knot as tight as you can against your last saucer bead.


7. Pull on your knot to secure it well. Either with well melted ends, or with a crafting needle, take your two ends hanging down and feed them back through the top saucer bead.


8. Continue to feed your strings back down the pattern until you reach your next middle saucer bead.

9. Feed one side through the middle of the saucer bead, but leave a loop out. Feed your other string the opposite way through the middle saucer bead. Wrap the string once around the loop left out and pull tight on your working ends. By wrapping your string around the loop left out, you will create a single knot. By pulling on each side equally, your knot will end up under the saucer bead. Repeat this step if you want a second knot.


10. Trim your ends and melt them with your lighter. Make sure that you also run your lighter well over the large double knot to fuse it.


11. When your knots are cool, simply loop your soother of choice on the end.

Soother Clip Design 3 - Diamond Box


We wanted to come up with a design that felt a bit more geometric than the other two designs, and we’re so pleased with this Diamond Box design! The pattern couldn’t be simpler, and the detailed design is so unique!

Supplies Needed:
- 1 x Length of 60” regular cording
- 13 x Diamond beads
- 1 Metal clip (we used our new double hole clips in silver, found here.)
- 1 Soother
- Crafting needle
- Scissors
- Lighter
Step-by-Step Instructions:
1. Take your cording and fold it in half. At the middle point, feed your cord through the loop on your metal clip and create a loop knot.


2. Thread on to one string 1 diamond bead. Either with a well fused end or a crafting needle, feed the other string the opposite way through the diamond bead.


3. Tighten up either end to push your diamond bead all the way up to your metal clip. Make sure that the bead is sitting centered.

4. On each string, thread another diamond bead.

5. Repeat step 2-4 to create your diamond box pattern. We liked the length of about 13 beads.

6. When you have a centered middle diamond bead at the end of your pattern, make a loop with both strings about 3.5-4” long. Loop a knot as tight as you can against your last diamond bead. Note that for US pacifier clip standards, the total length of your pacifier clip should be no longer than 8" (including the clip), so adjust length as needed.


7. Take each loose string and thread it back down through the middle diamond bead and the two side diamond beads.
8. Feed one side through the next middle diamond bead, but leave a loop out. Feed your other string the opposite way through the middle diamond bead. Wrap the string once through the loop left out and pull tight on your working ends. By wrapping your string through the loop left out, you will create a single knot. By pulling on each side equally, your knot will end up under the diamond bead. Repeat this step if you want a second knot.


9. Trim your ends and melt them with your lighter. Make sure that you also run your lighter well over the large double knot to fuse it.

10. When your knots are cool, simply loop your soother of choice on the end.


Isn’t it amazing how a few small beads can make the most beautiful patterns and designs? These certainly aren’t your average string of beads ;)
We’re so excited to see what you do with some of these ideas! As always, we L O V E seeing your creations - Tag us in your photos on instagram using the hashtag #createdwithcarasupply. Make sure to comment below if you found these tutorials helpful!
Happy Crafting!
xo
- the girls
*At Cara & Co, we take safety seriously. We have had our custom tutorial designs above third-party tested by a CPSC accredited testing lab to ensure they meet compliance standards for Canadian (SOR/2011-17) and US (ASTM F963-17) children's pacifier clip requirements. However, this does not remove the responsibility of each customer to ensure that the products they create from this tutorial are tested and meet all relevant compliance standards. Note that the bauble and diamond box pacifier clips meet both the US and Canadian compliance standards. However, the flower pacifier clip meets the safety compliance standards for Canada, but the design is not recommended for US customers, as CPSIA/ASTM F963 standards require that no pacifier clip be able to pass through the standard choke test when in a non-compressed, folded state.
*The products, materials, and supplies sold by Cara & Co. Silicone Craft Supply are intended for use by adults and should never be left unattended with a child.
***Small objects and beads can present choking hazards to young children. Never leave a child unattended with beads or other products. Always dispose of any damaged product. No product is completely indestructible, and fully formed teeth could potentially damage product if chewed aggressively, so responsible attentiveness is needed for any user or purchaser. Customers should always inspect and monitor their products, discontinuing use at the first sight of damage.
****Once our products have been sold and shipped to our customers, Cara & Co Silicone Craft Supply Inc., waives all responsibility and liability from the use of our products. Customers are responsible that their final products made from our supplies meet the appropriate safety requirements for their region. Our buyers understand that by purchasing our products or using suggestions from the above tutorial, the buyer assumes any and all responsibility and liability for the use of the products.
*****Cords, clasps and pacifier clips are not intended to be chewed on and may present choking hazards.