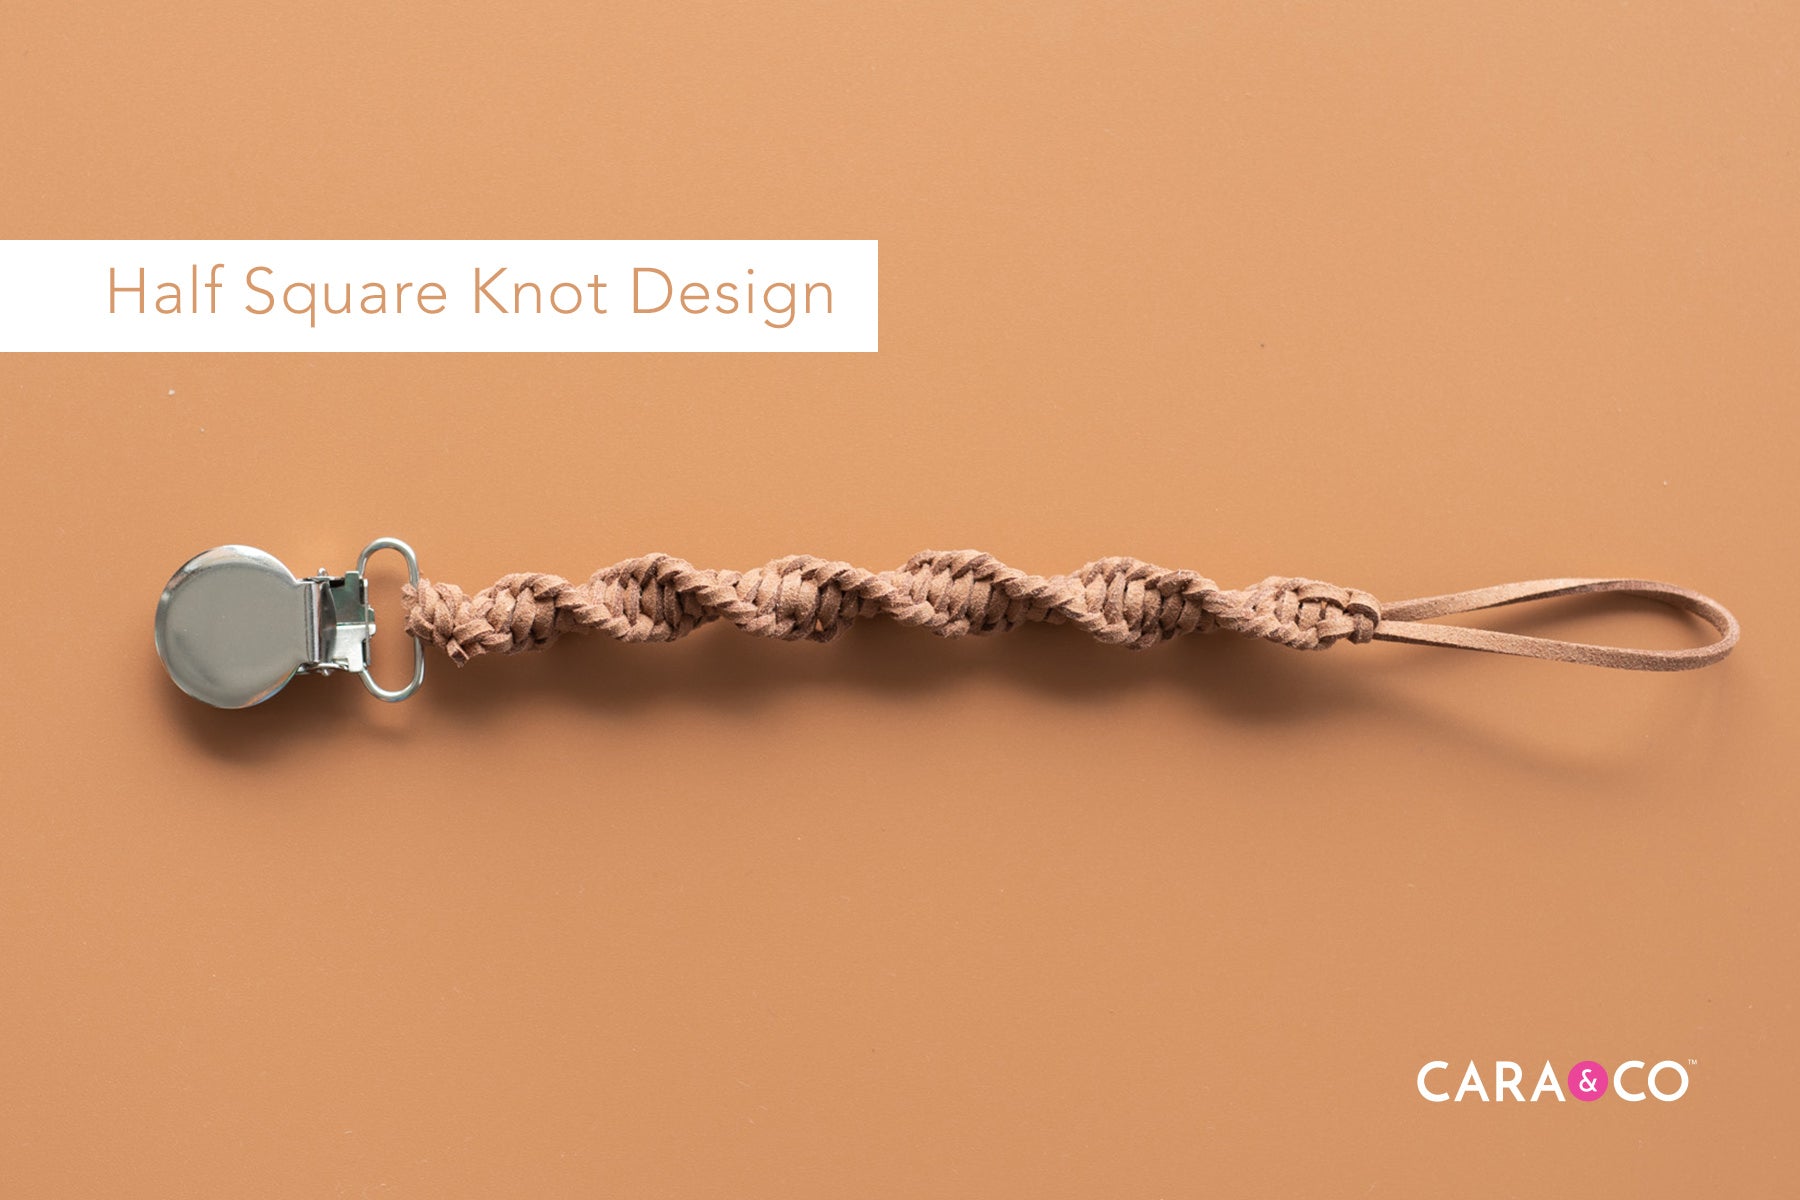
Leather pacifier clips are so delicate and pretty - and WAY easier than you think! Today’s blog post is all about making these simple pacifier clips!

Suede leather is a favorite craft supply over here, and we love how it transforms into such a beautiful pacifier clip!

There are so many interesting braids and designs you can find on Pinterest! Better yet? If you know basic macrame knots (and trust us, they’re soooo simple!), you can use really simple square knots or half square knots to create thicker designs. If you’re looking for instructions on how to make these knots, we’ve got you! Head on over to our DIY Tutorial for Macrame Pacifier Clips here to learn how to make a half square knot!


Today’s blog post breaks down how to make a super simple Four Strand Pacifier clip! Suede leather is a great material for these braids! It’s durable, soft, and with all our color options - completely customizable!
Usage is similar to a regular beaded soother clip (general rule of thumb is to replace your pacifier clips every 2-3 months!), however, you should replace a suede leather pacifier clip more often. Because the material is porous, baby saliva will get into the leather and over time may make it stiff. We recommend replacing your suede leather clip every 2 months and discontinue use after or at the first sight of damage.
Supplies needed
- Suede Leather
- Round metal pacifier clip
- Scissors

Step by Step Instructions
1. Gather your supplies. Cut 2 lengths of cording about 3’ in length each.

2. Take one strand and fold in half. Shape a loop, making it about 1.5-2” in length. Keep in mind that this end will loop onto a pacifier or teether.

3. Hold your first folded piece of cord and line up your cording to lay flat. Take your second piece of cording and at the halfway point, lay it behind the first folded cord.

4. The four strands will be what you use to make your braid. Take your far right piece of cord, fold it across and place it in between the far left cord and the middle two strands.

5. Holding that folded cord in place, take your far left strand and fold it over just one cord.

6. Grab your far right cord, fold it across the two cords beside it, then grab your far left strand and fold it over just one cord.


7. Repeat this braid until your pacifier clip is as long as you prefer it.


8. When you have a length you’re happy with, use both the far left and far right cord and tie a simple knot. You can double knot this if you like. Trim the excess cord from this knot.


9. You should still have two cords coming down through the knot you just made. Feed those cords onto your clip.

10. Bring your two sides up from the back side of your clip and tie a single knot on TOP of your braid.

11. Flip your braid over to the back side, bring your pieces across and tie another knot on the BACK side of your pacifier clip. Repeat tying knots on either side of your pacifier clip two more times for a total of 4 knots.

12. Trim the excess cording and you’re done!


You can make so many color variations on this delicate looking pacifier clip! Change up your cording color, pick two colours, maybe even pop a few wood beads in the design!

We would love to see the designs you come up with! Tag us in your creations using the hashtag #createdwithcarasupply
Happy Crafting!
Xo
-the girls
*The products, materials, and supplies sold by Cara & Co. Silicone Craft Supply are intended for use by adults and should never be left unattended with a child.
***Small objects and beads can present choking hazards to young children. Never leave a child unattended with beads or other products. Always dispose of any damaged product. No product is completely indestructible, and fully formed teeth could potentially damage product if chewed aggressively, so responsible attentiveness is needed for any user or purchaser. Customers should always inspect and monitor their products, discontinuing use at the first sight of damage.
****Once our products have been sold and shipped to our customers, Cara & Co Silicone Craft Supply Inc., waives all responsibility and liability from the use of our products. Customers are responsible that their final products made from our supplies meet the appropriate safety requirements for their region. Our buyers understand that by purchasing our products or using suggestions from the above tutorial, the buyer assumes any and all responsibility and liability for the use of the products.
*****Cords, clasps and pacifier clips are not intended to be chewed on and may present choking hazards.
