Everyone loves a little green in the house. Cleans the air, looks fresh, gives the kids something to play in...bonus points to the person that can actually keep them alive too. Wait, the kids or the plants?! :) :) :) Ok, bonus points for BOTH feats of amazingness!
We may not have green thumbs over here, but we sure love house plants... so we took some of our simplest crafting materials and came up with a stunning corded plant hanger tutorial.
There’s only two knots you need to know. Is it technically macrame? Who knows. We’ll leave that for you to decide!
Supplies Needed:
- 50m Regular cord bundle
- 15mm accent bead of your choice (we used Navy Peony). You will need 15 or more beads, depending on how long you make your hanger.
- 2.35" Beech Wood Ring
- Scissors
- Crafting needle
Step-by-Step Instructions:
1. Measure out 8 lengths of 10 ft long cord. Cut out 2 additional pieces that are 2 ft in length - these smaller pieces will be used to secure your planter on the top and bottom.
2. Line up your 8 lengths and find the middle point.

3. String your 8 lengths onto the beech ring to the middle point.

4. Line up your cords nicely beside each other so that they lay flat on the beech ring.

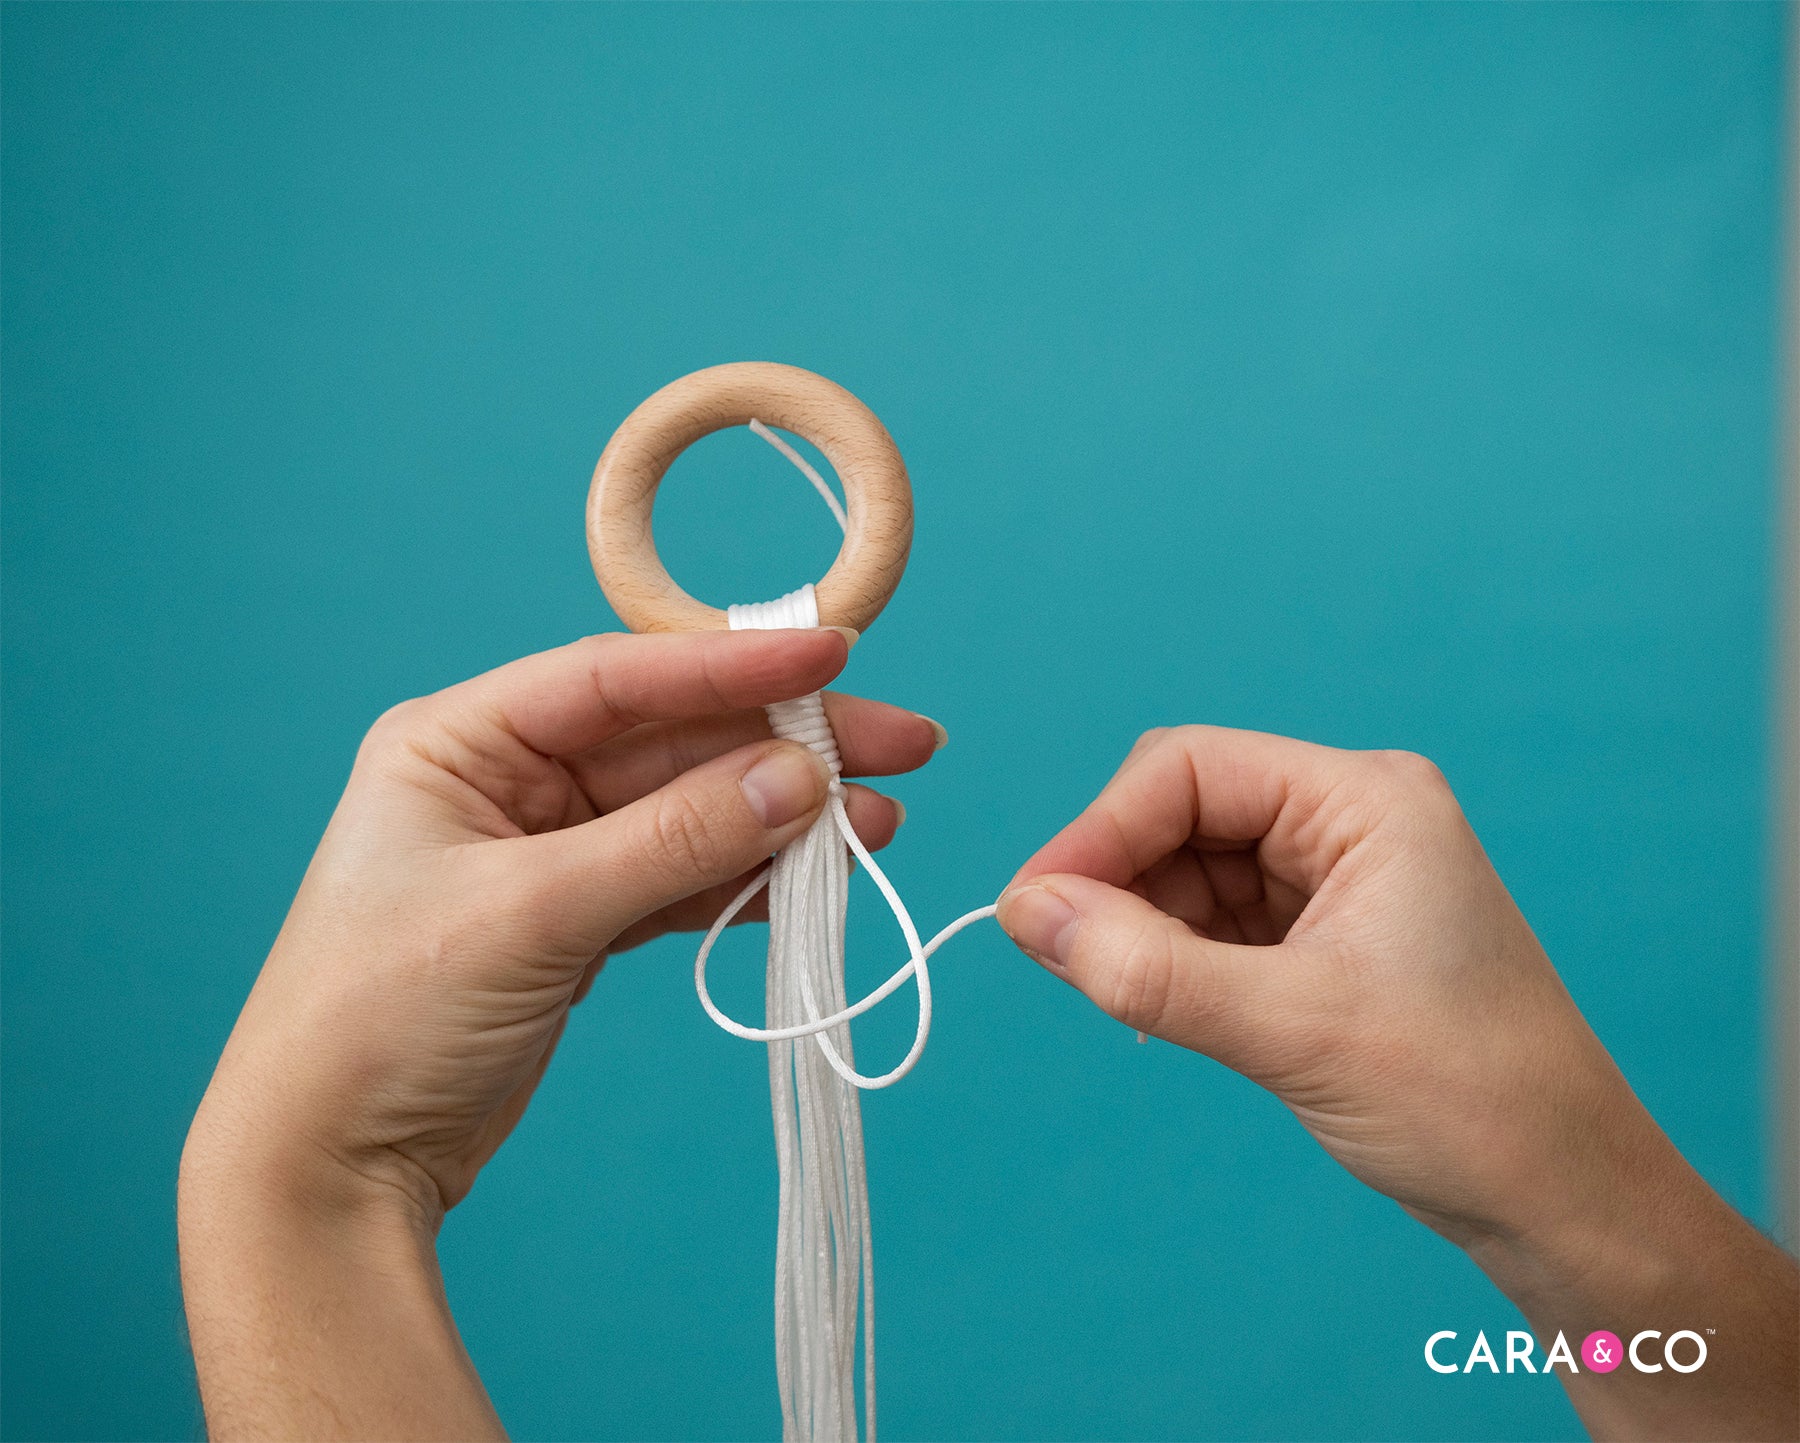
5. Take one of your smaller 2 ft lengths. While holding your longer lengths and the wood ring, loop about 3” of the smaller length with a couple inches out at the top.

6. While holding the loop you just created, wrap the longer end of the string around all of the cord pieces. Keep it taught, but not too tight.

7. Keep wrapping the cord around until you’re happy with the length of your wrapped knot. Take the end that you’ve been wrapping around and feed it through the bottom loop you made initially.
8. Reach to the top piece of cord you left out of the knot and gently pull upwards.

9. As you pull upwards, the loop at the bottom will get smaller and close around the bottom piece. Continue to pull until the loop is completely gone and starts to get pulled into the wrapped section of cord.

10. Pull the top cord until you have pulled the loop end to about the middle of the wrapped section. Your wrapped cord should cover the knot being made.

11. When your knot feels secure, trim the smaller pieces left from your 2 ft cord. You should still have 16 pieces of long cord coming out of the knot.

12. Section out 4 pieces of cord that are beside each other.

13. The following knot will be used all through the rest of the tutorial. It is called a square knot. Take the far left string and cross it OVER the middle two cords.

14. Take the far right piece of cord, loop it over and then behind the far left piece you just brought over. Pass it behind the two middle pieces of cord, and forward the loop made between pieces 1 & 2.

15. Pull the knot taught so that the far left and right cord pieces are straight.

16. While keeping the first knot taught, take the far right piece. Cross it OVER the middle two pieces of cord and hold it there.

17. Take the far left piece, loop it over the far right piece you’ve brought over, behind the two middle pieces, and then through the loop between pieces 3 & 4. This is the opposite knot to the first one you just made.

18. Pull the knot tight up against the first one to secure it.

19. You’ve made your first square knot! Yay! Grab another section of four cords beside the first four you were working on and repeat steps 12-18. Do this another 2 times. You should have four knots created, and no extra strings. Be sure to make your knots the same length and placement to keep your hanger balanced.

20. Take one of your four knot groups. Find the two middle cords, and thread your crafting needle on to the end of them. Slide one of your accent beads onto both middle strings.

21. Push the bead all the way up to the first knot you created, without pushing the knot upwards.

22. As you did with the other knots, created a square knot under the accent bead.


23. Continue to thread one bead on the middle two cords of each knot group. You should have four groups with beads, and a square knot under each bead to secure it.

24. Take two side by side knot groups. Take the two far right and two far left cords from each group and pull them together to create a NEW group of four cords. Taking cords from the neighbouring group will start to create the lattice look of the plant hanger.

25. Taking these four new pieces, move down about 4 inches and create a square knot. Once you’ve created your knot, you should have two spare cords hanging down on each side. Take the far right two, and find the next knot group. Take the far left two cords, create a square knot. Go around your cords until all the new knot groups are tied.

26. Repeat threading an accent bead to the two middle cords and securing them with square knots. You should now have two sections of knotted beads on your hanger. Depending on how long you want to make your hanger, keep making knotted bead sections. We made ours 4 sections long.

27. Once you’re happy with the length of your hanger pull all the cords together into one handful.

28. Using the same knot, repeat steps 5-11 to create a wrapped knot. This knot will hold your pot secure, so be sure to make it tight enough to handle a bit of weight.


29. Once your wrapped knot is done, trim the ends to the length that you prefer.

30. Slip your plant pot into the middle of the lattice work of cord. Gently bring it to the bottom knot to sit. We suggest a pot about 4 inches wide.

31. Enjoy your handiwork! If you follow this tutorial, we would LOVE to see what you come up with! Tag us on Instagram with the hashtag #createdwithcarasupply. And don't forget to water the plants :)!

Happy Crafting!
xo
- the girls