
There’s something SO therapeutic about doing a ‘mindless’ craft with your hands. Think crocheting, knitting, etc. We probably all know someone who has a bag of yarn beside their couch or easy chair, and knitting, weaving, crocheting - that’s their quiet down time. Time to relax, time to think. And that’s exactly what French Rope Knitting is. A repetitive, easy, and relaxing pastime.
So easy, in fact, that we were introduced to it by our own children!

A little story time: one of our team members has a dear family friend who introduced her and her children to French Rope Knitting on a family holiday. It was called something else by the friend - ‘corking’. A bit of an odd word, but we learned it was the englishized word from the original Dutch word ‘kurken’. A bit more google digging and we learned that rope knitting is nothing new, and actually a bit of a historical hobby activity!

As told by our family friend, and echoed by some of our team members, this style of rope knitting has been a pastime and been taught by many grandparents to their grandchildren. The ropes produced from these families were then sewn into door mats, pot holders, and even rugs! Usually old or worn out jersey or cotton t-shirts were cut into thin ribbons, creating a bit of a variegated look to the projects.
We decided to rediscover and recreate both the tool and the technique for you and for us! It makes the perfect product for our soft and durable Jersey Yarn - we’re so excited to see our Jersey Yarn shine in yet another beautiful project!
Grab a coffee, and come learn with us! We’ll teach you how to make your own homemade tool that you and your family can use, (show you some purchasable options as well!), and give you a super creative and fun idea on how you can use your new-found rope making skills!
Making Your Own Tool
French Rope Knitting is a pastime, skillset, and technique that actually dates back to the 1500’s. References to knitting can be found between then and now through many historical documents, and the tool used has largely remained the same!
Originally a large wooden sewing spool (with a hole in the middle), it would have four nails in the top of the spool. As you weave your string or cording, your rope forms in the open hole of the spool and you end up with a beautiful and detailed product that almost appears like it's been braided! Just gorgeous.
The tools we have available now are basically the same! No need to change a good design ;)

So let’s walk through making your own out of cardboard tubing and crafting popsicle sticks! You can also purchase your own knitting tool if you prefer!
Supplies Needed:
- 1x 1” to 1.5” cardboard tube (the thicker the walls of the tube the better!)
- 4x popsicle sticks
- Hot glue and gun
- 4 small buttons
- Jersey yarn
- Scissors
Step-by-step Instructions:
1. Gather up your supplies. If your cardboard tube is longer than 4” long, cut it down to about 4” with a utility knife or scissors. If you find a strong plastic tube, that will also work!

2. Take your hot glue gun, glue one popsicle stick along the side of your tube, making sure it is straight and parallel with the tube length. Leave about 0.25-0.5” of the popsicle stick extending past the end of your tube.

3. On the opposite side of your tube, glue another popsicle stick in the same position, with the same amount of stick extending over the edge of your tube. Do this again in between each popsicle stick on the sides of your tube until you have four popsicle sticks evenly spaced and glued to the outside. Looking down the top of your tube, imagining a clock face, they should be in the following positions 12, 3, 6 & 9 o’clock.

4. Glue a small button to the top outside face of the popsicle stick. Your button should be placed at the top of your stick, but not sticking out past it.

5. Voila! Your french knitting tool is done! The top of the tool is the side that has buttons glued to the popsicle sticks.

Using Your French Knitting Tool
Now that you’ve made your own knitting tool, let's learn how to use it! It’s a simple concept that repeats itself over and over!
This knitting technique uses loops to ‘braid’ or knit the yarn. The buttons glued to the top of your knitting tool help keep your yarn from slipping up or getting mixed up.

Step-by-step Instructions
1. Take your Cara & Co Jersey Yarn, unravel some yarn from the spool. Feed your end down the center of your knitting tool tube so that it comes out of the bottom. As you start your rope knitting, you’ll need to hold this end in place. Once your rope begins to form, you can let it go!

2. While holding the end of the yarn taut against the side of the tool in your hand, we will begin to knit the long end! Taking your long end, wrap it once around one of your popsicle stick ends near the bottom portion. Your loop will come out from the tube, around the stick, and back towards the tube. It’s important to always keep this loop direction the same!


3. After you’ve looped your first loop, go to the next popsicle stick to the right (or counter clockwise) on your tube and loop your yarn again. It’s important to always keep the direction you work in the same. Continue on the next two popsicle sticks, until all four sticks have loops around them, and you’ve met up with your first loop.

4. Next, go around your sticks again, and make a second loop directly above your first loops. Each popsicle stick should have two loops on it at this point - no more and no less!

5. Hold your working end down with your thumb (while still holding your short beginning end as well!), begin at the first loop you created. Carefully pull this bottom loop up and over the first loop and over the buttons at the top of your popsicle stick and into the center of your tube. You will be left with one loop on this stick.

6. Moving counterclockwise, continue to pull the bottom loops over the top loops and buttons into the center of your tool.

7. All these loops will start to make a bit of a star formation in the middle of the tube. This is the beginning of your knitted rope!

8. Repeat steps 2-5 and make a new set of second loops on your popsicle sticks. Work your way around the sticks again, bringing the bottom loops up, over the button ends, and into the middle of the tube.

9. Every time you finish pulling your loops up, over and into the middle of your tube, tug the short end of your string coming out of the bottom of your knitting tool. This will help tighten up the knit, and pull your rope weave together.

10. Repeat the pattern of making loops, pulling them over, and tugging your short rope end downward. After a few rounds of this, you’ll start to see a rope forming and making its way out of the bottom of the knitting tool!
11. To finish off a knitted rope, take your long end and trim off all but a few inches of length. Unloop each single loop, and feed your trimmed yarn end through the loop. Do this to all four popsicle loops. Pulling on the trimmed long end will tighten up and close the rope off. You can make an overhand knot to secure it further if you’re worried about the rope unraveling.


Where Can I Purchase A Knitting Tool?
As fun as making your own tool is, there are also easy places to find these knitting tools! They all have a different look, but the basic function is exactly the same!

Interestingly, as these knitting tools began to be used throughout the years, the design was never really changed! Some of the prongs that you use to loop have been made hollow so that you can grab your loops a bit easier. Some knitting tools will come with a needle of sorts to help you pull the loops over as well.
Because Jersey Yarn is quite a thick yarn, it’s very easy to grab! However if you made a smaller tool, or if you found a smaller tool to use, you may need to use a smaller yarn.
The most popular rope knitting tool that we found in crafting stores was the bee! There were also some very creative wooden figurines. On amazon, we found an interesting multi ended rope knitting tool that made 5 tip ropes and 9 tip ropes depending on which side you used!

What Can I Make With a Rope?
So. Many. Things!
We loved making our own lengths of rope and enjoyed the evenings we spent knitting them! But, it’s even better when you can make something out of it! Those of us that were taught by our grandmothers to do this craft would use the ropes to make small door mats, tea kettle trivets, and some even got adventurous enough to make large rugs!
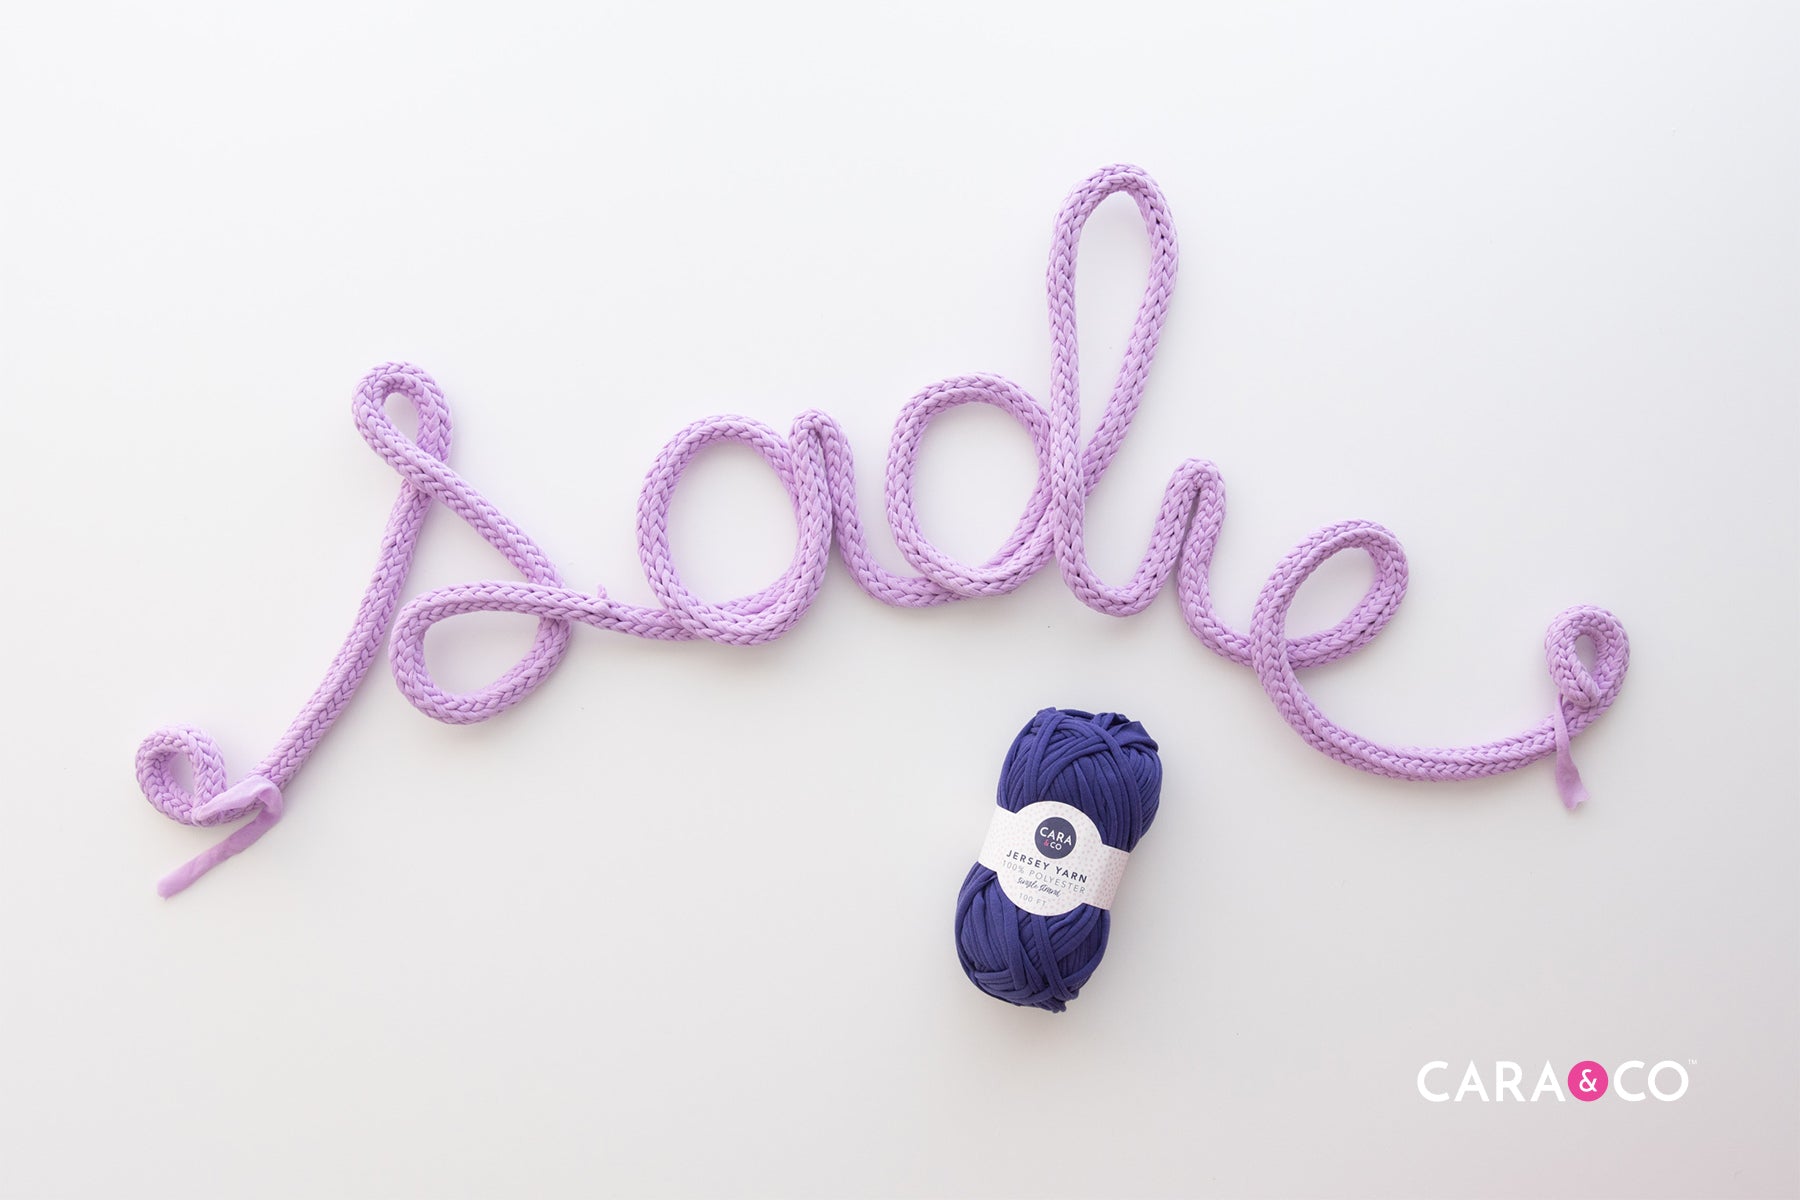
These are all really fun ideas, but what interested us was making a decor piece out of our ropes! We took our inspiration from some of the beautiful name ropes that we’ve seen in nursery and children’s rooms - surely if you could make beautiful hand twisted name signs out of smaller scale knitted rope, you could make some fun crib or bed name signs!

We found some thick 12 gauge wire available by the spool and felt that the thickness fit the project! Carefully we fed the wire into the hollow inside of our rope.

Once it was all fed through we simply began to twist the wire into letters! Pinterest is a great resource for finding wire letter examples if you need any inspiration!

We hot glued all the connection points to keep the design stable, hung some wire from the letter loops and tada! The cutest name sign!

We love how our sign turned out! Depending on the length of the name or how much rope you need knitted, you may need more than one bundle of Jersey Yarn. The name sign we made is 5 letters long and approximately 3 feet in length. We used exactly two bundles of Jersey Yarn!

We hope this has been an interesting blog post for you to read through! We loved sharing a fun past time we’ve been doing with our own children. It’s so touching to be able to do projects with them that our grandparents did with us!

If you make your own tool or make anything with your new found rope knitting skills, we would LOVE to see! You can always tag us on social media or use our hashtag #createdwithcarasupply
And make sure you send us pictures of your crafts all set up and pretty ;)
Enjoy and happy crafting!
Xo
-the girls
*The products, materials, and supplies sold by Cara & Co. Silicone Craft Supply are intended for use by adults and should never be left unattended with a child.
**Small objects and beads can present choking hazards to young children. Never leave a child unattended with beads or other products. Always dispose of any damaged product. No product is completely indestructible, and fully formed teeth could potentially damage product if chewed aggressively, so responsible attentiveness is needed for any user or purchaser. Customers should always inspect and monitor their products, discontinuing use at the first sight of damage.
***Once our products have been sold and shipped to our customers, Cara & Co Silicone Craft Supply Inc., waives all responsibility and liability from the use of our products. Customers are responsible that their final products made from our supplies meet the appropriate safety requirements for their region. Our buyers understand that by purchasing our products or using suggestions from the above tutorial, the buyer assumes any and all responsibility and liability for the use of the products.
****Cords, clasps and pacifier clips are not intended to be chewed on and may present choking hazards.
10 comments
Hi Eloise!
You can find our Leopard/Zebra/Cow Print Beads in two ways! First by using the search bar in the menu above, or you go to Shop > Silicone Beads and find them under the “Printed – Standard – Silicone Beads” listing! I hope this is helpful – happy crafting! Xo
Hi Cara! I love your work!
I’m wondering if you would sell me some of the animal print beads.if not. Will you tell me where you bought them? I wonder if you made them! They’re special and very fun as you have shown here. I make jewelry as well, more bead weaving projects.
Well, think about it and let me know please, yay or nay.
Thank you Cara!
Hi Candace!
Thanks so much for your question! There are a few different factors that contribute to how much yarn you will need for a project: the type/thickness of material you are using, how tight the rope is and the size of your letters! For our project we used two bundles of our Jersey Yarn (approximately 60 meters or 65.5 yards). We hope this is helpful! Happy crafting! Xo
I was wondering how much yarn it took you? I started with 30 yards and and I’m almost out and will only have enough rope for like 2 letters. Maybe I’m not making it tight is the problem? Is it possible to undo all that I’ve done to start over?
Hi Celeste,
Thanks so much for your question. It can be tricky! We found it worked best with a thick stiff wire! When you’ve made progress, make sure you push down your bunched up rope as far as you can! Hope this helps! Xo